How to Schedule Data Removal using the Delete Integration | MoreApp
Activate the Delete integration to automatically remove data from the MoreApp Platform.
No MoreApp account yet? Sign up here.
This feature is available in the Branch, Tree and Forest plan. Visit our Pricing page.
1. Add the Integration
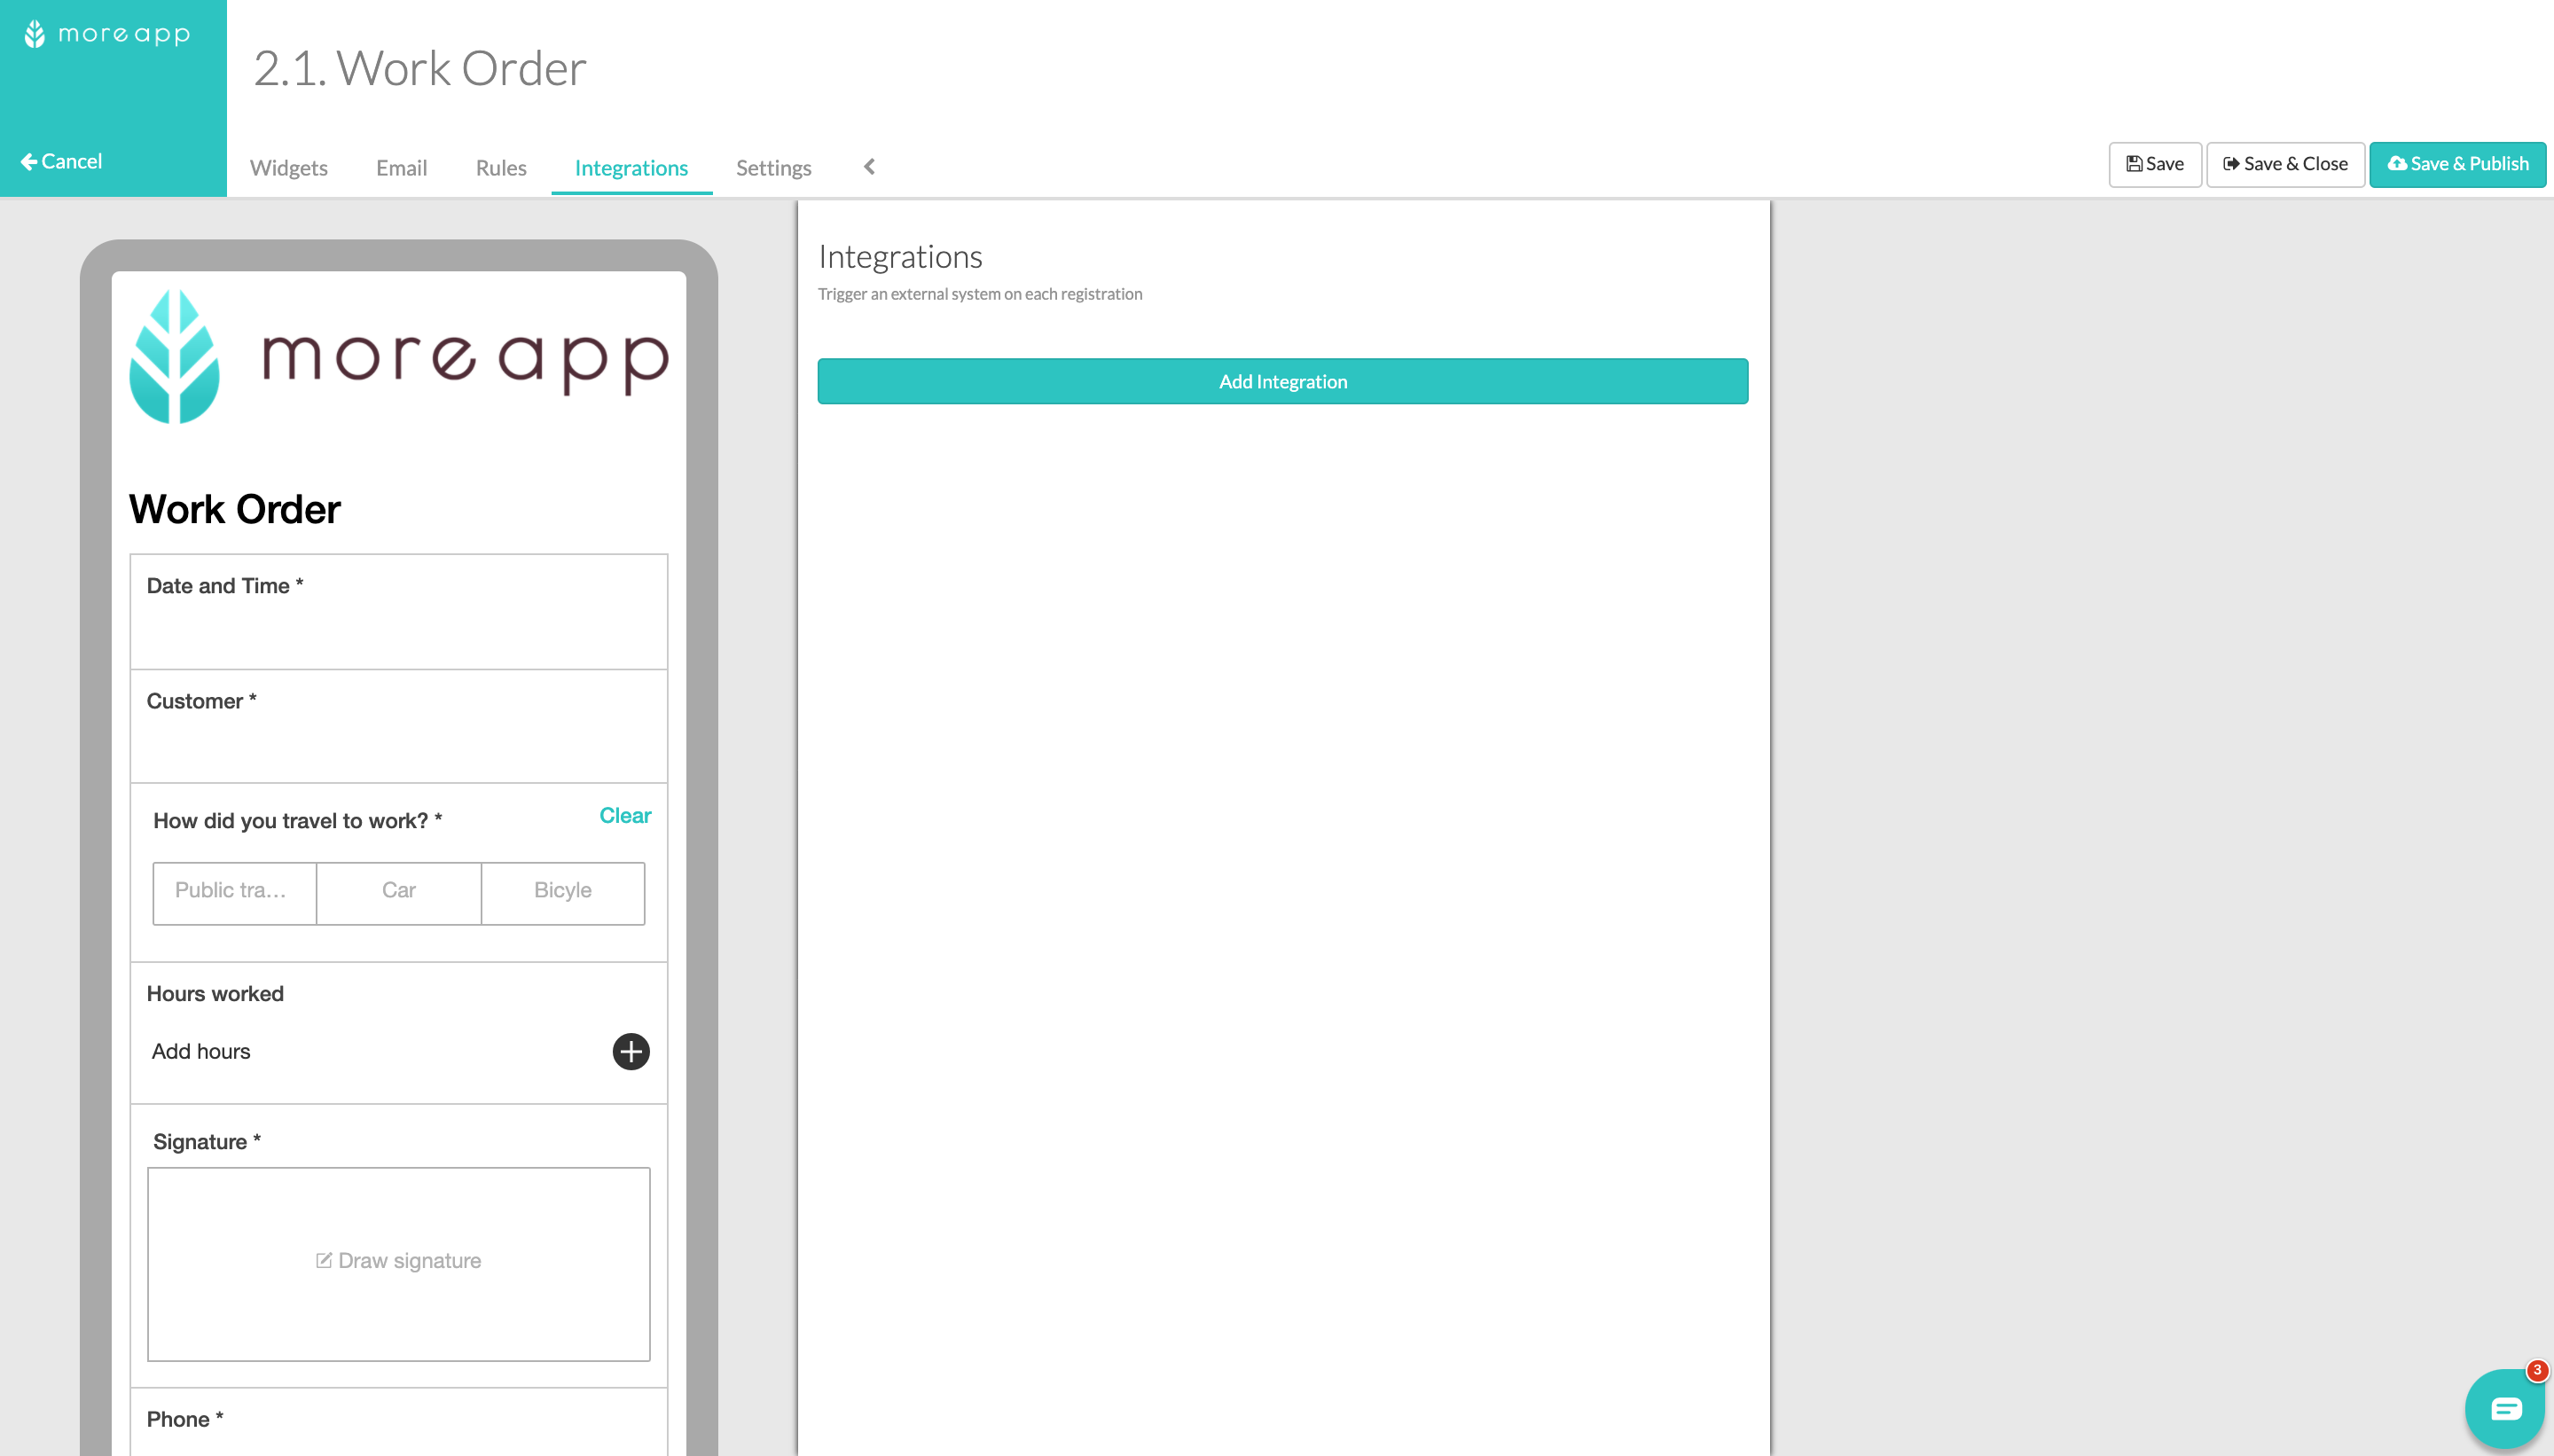
Go to the MoreApp Platform and select a form. Click on Edit Form and go to the Integrations tab. Then click on Add Integration.

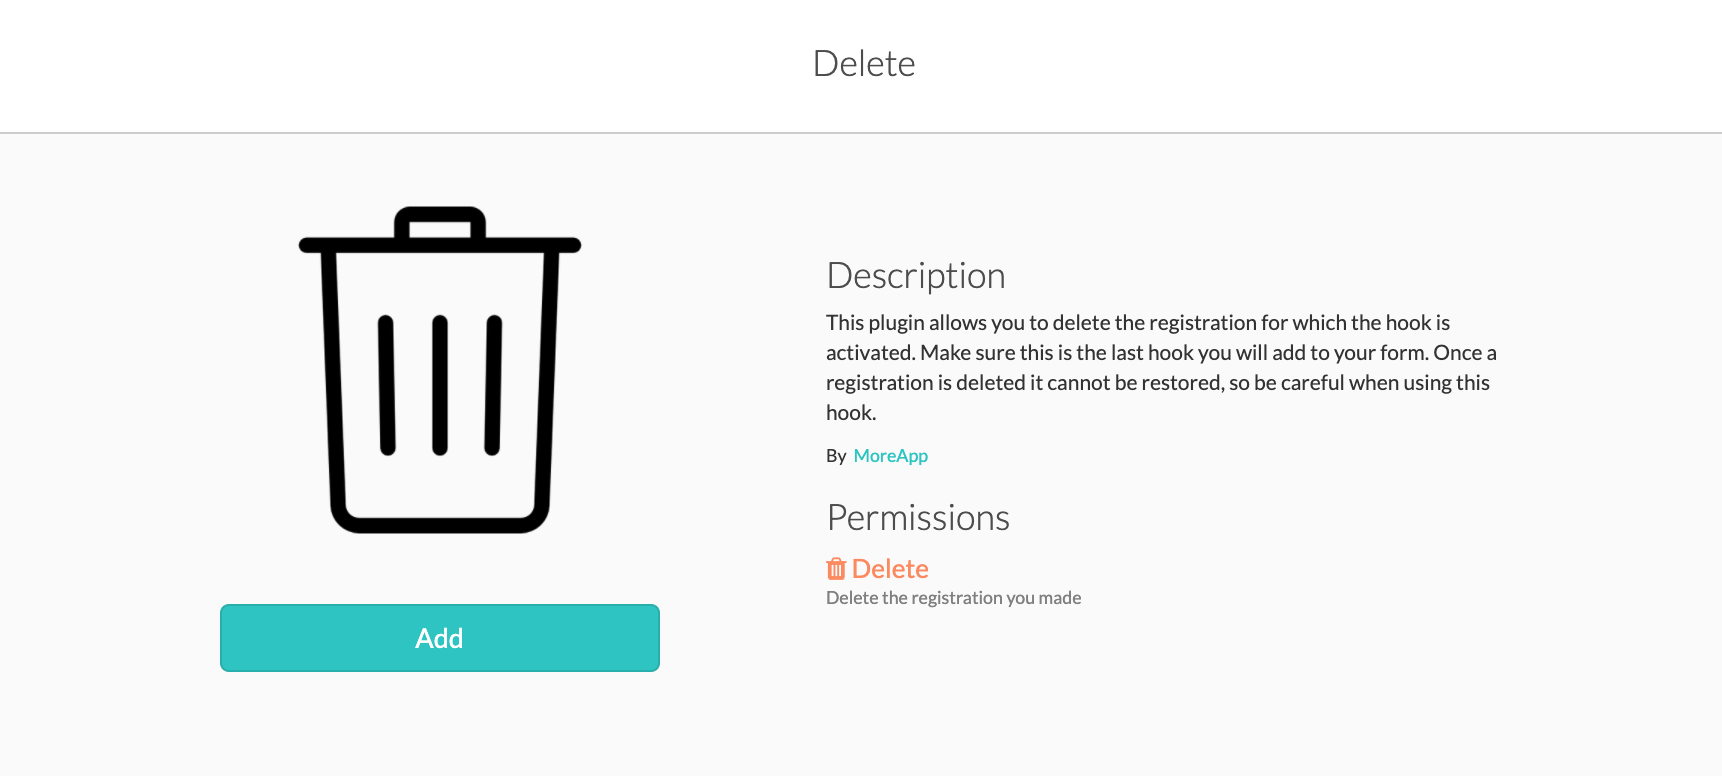
Select the Delete Integration and click on Add.

2. Configure the Delete integration
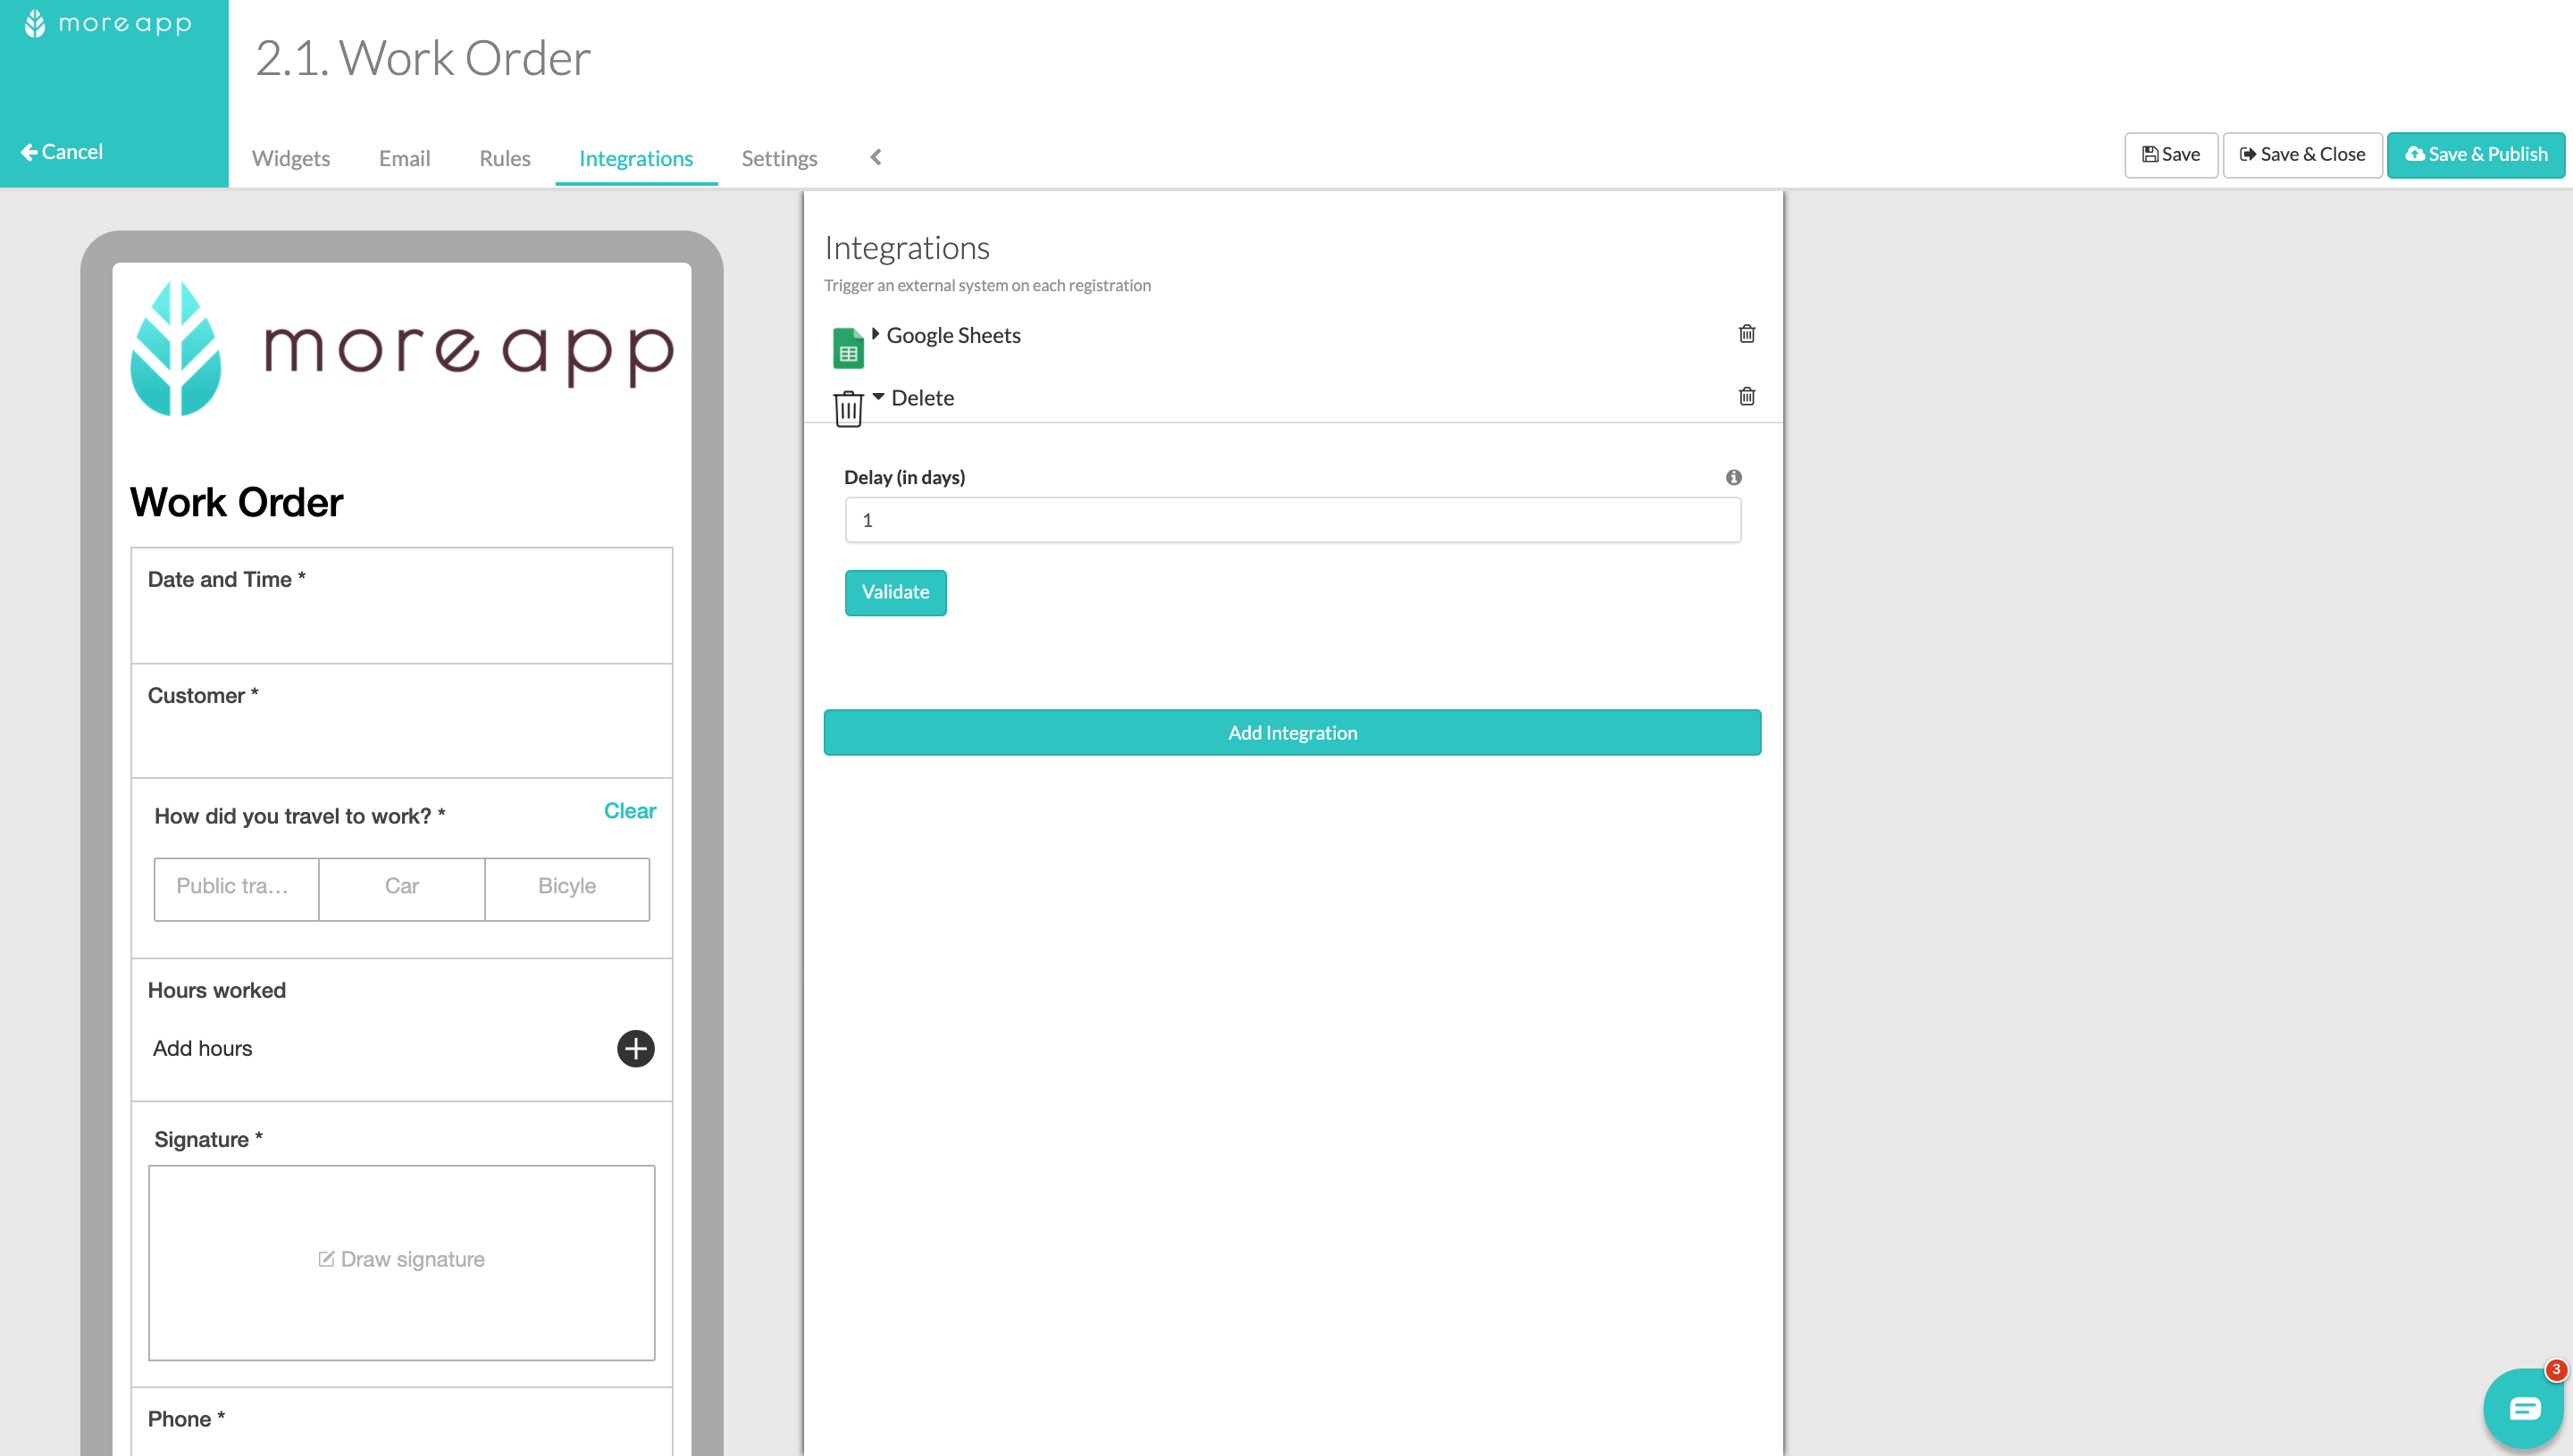
Once added, you will see the Delay (in days) box where you can write after how many days you want the registrations to be deleted.
Note: When changing the number of days, the configuration will apply for the new submissions done after this change. Previous submissions will be deleted according to the old configuration. By resending a previous submission, the new configuration will apply.
Finally, do not forget to click on Validate and next on Save and Publish.

3. Test the Delete integration
We have finished configuring the integration and it is time to test it!
Open your corresponding form in the App and fill it out. Once you filled in the form, send it. Once you have sent the form, the registration will be automatically deleted from the MoreApp Platform after the number of days you've added. After that, the registration is no longer available on the Platform.
Note: After the registration is deleted, it can not be restored. So be careful when using this integration and make sure to store the data elsewhere.
Want to stay up to date with our latest tutorials? Go to YouTube and hit the Subscribe button!