How to indicate the Location with the Showmap functionality | MoreApp
Use the Showmap functionality to indicate the location where the form was submitted.
No MoreApp account yet? Sign up here.
This feature is available in the Branch, Tree and Forest plan. Visit our Pricing page.
1. Turn on Location
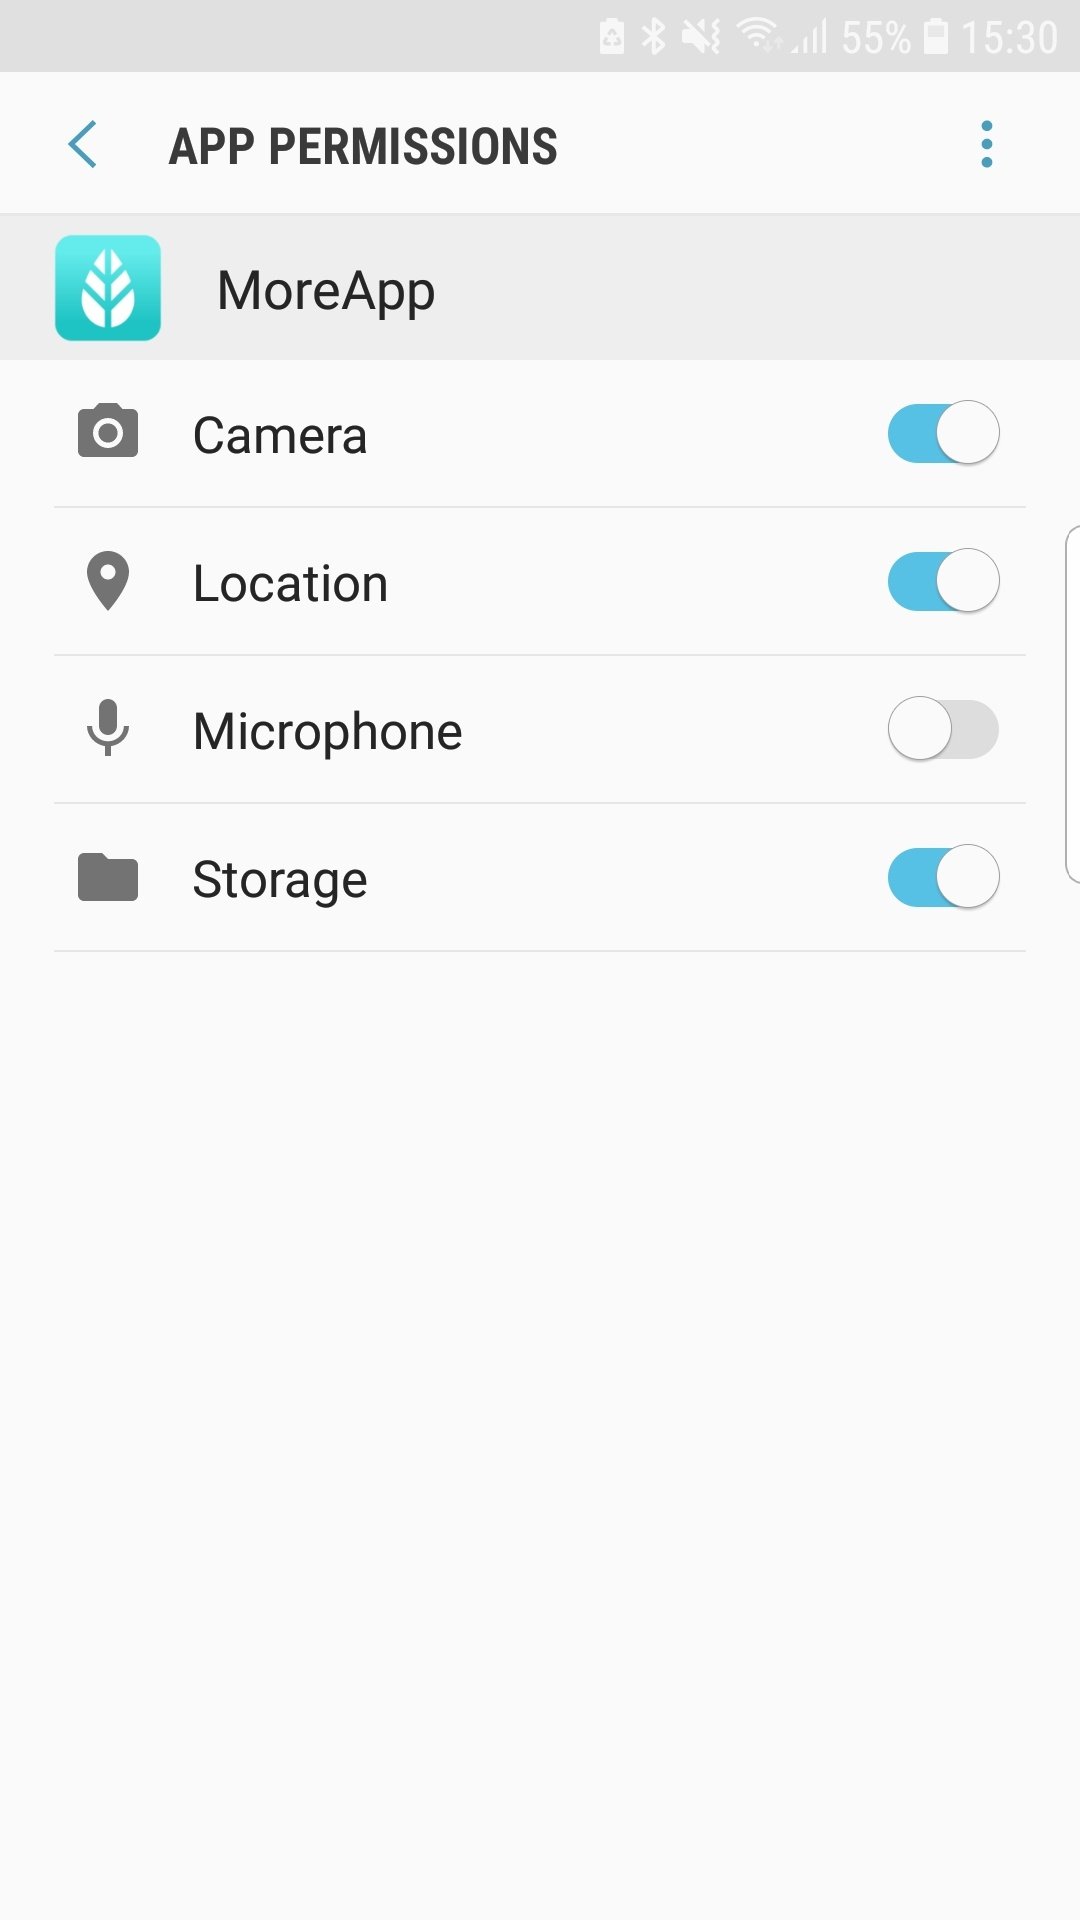
Make sure your smartphone location settings are turned on for MoreApp. Go to your Settings, Apps, then select MoreApp and check the app permissions.

2. Add Showmap to the email
Go to the MoreApp Platform and go to the Forms tab. Click on Edit Form to make changes to the form and go to the Email tab. Place your cursor on the position in the content box where you want to add the map and click on Showmap. The following code will appear: @{showmap#location=meta.location}.

3. Add Showmap to the PDF report
If you want to add the link to the map to your PDF report, turn on the Advanced mode in the Email tab. You can find the Showmap button just below the logo. Click on Showmap. The following code will appear: @{showmap#location=meta.location}. You can place it anywhere you want in the PDF report.
After you've switched on the Advanced settings of the Email, modifications in your form are not updated automatically in the PDF report. When you add a new widget to your form, manually add the widget in the PDF report using HTML-code or click on Reset attachment in the bottom right corner of the Email tab. MoreApp will update the new widgets in order with their places in your form.
You can also add the Showmap using HTML. For that, click on Code View () and place the following code anywhere you want:
<tr> <td>@{showmap#location=meta.location}</td></tr>
4. Test the form
After you've added the Showmap functionality, click on Save & Publish. After filling in the form, you will receive an email. This is how the PDF report will look like:

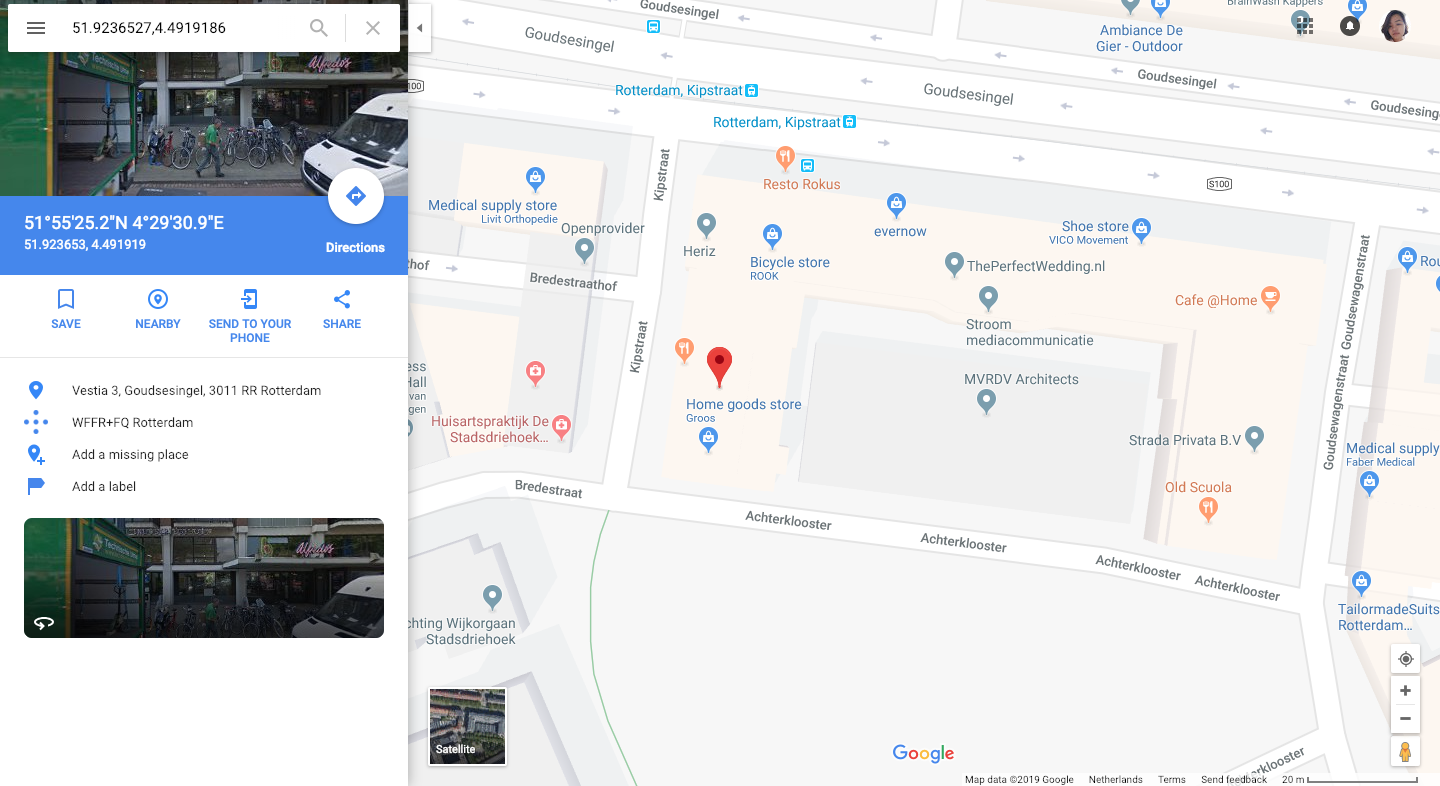
If you click on Showmap the following will appear:

Want to stay up to date with our latest tutorials? Go to YouTube and hit the Subscribe button!