How to use the File-widget | MoreApp
Easily add images, documents, video or audio files to your form using the File-widget!
No MoreApp account yet? Sign up here.
1. Add the File-widget to your form
Select the form you wish to use and click Edit Form. Under the Widgets tab, you see the Pro tab, here you can find the File-widget. Double click on the File-widget to add it to your form.
2. Edit File-widget properties
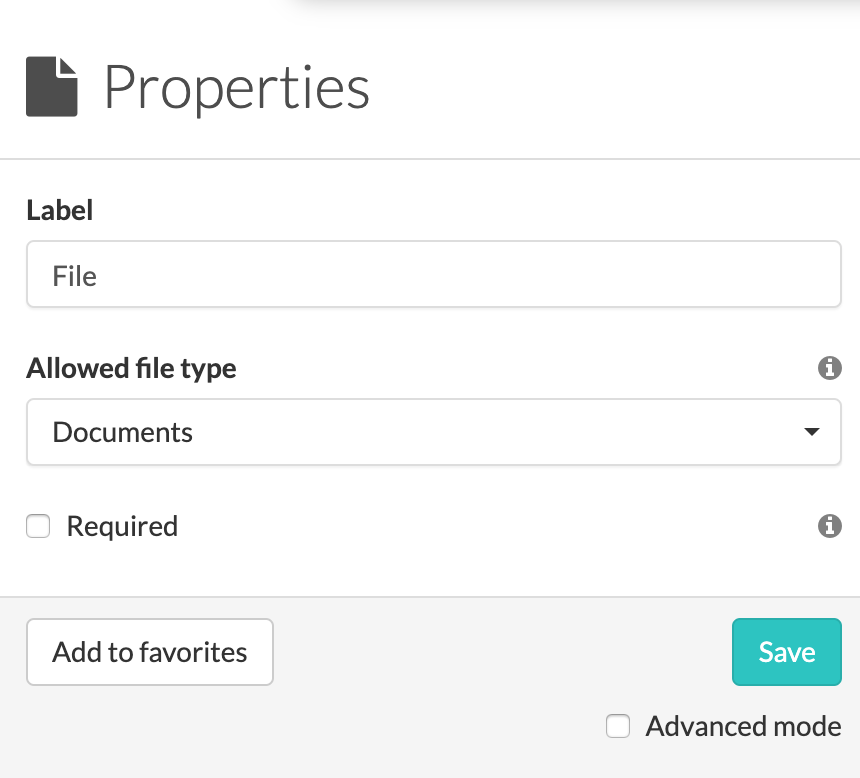
Click on the pencil of the File-widget to edit its properties. Give the widget a label and select the allowed file type: documents, images, audio, video.
Here is a list of extensions which can be used:
Document type: doc, .docx, .odp, .ods, .odt, .pdf, .ppt, .pptx, .rtf, .txt, .vsd, .xls smf .xlsx.
Image type: Any type of image extension
Audio type: Any type of audio extension
Video type: Any type of video extension

Tick the required box if you wish and click Save.
3. Configure your report
The file will automatically be added to your PDF report when using our standard PDF. Read all about configuring your PDF report.
Note: You cannot add the placeholder to the email itself.
Note: Images will also be added as separate files to your email when selecting Attach all images in the Email tab.
If you want to add the file to the Word integration export, use this placeholder: {%label}. For Example: {%image1}
4. Save & Publish
Once you have completed your form click Save & Publish.
5. How does it look in the App?
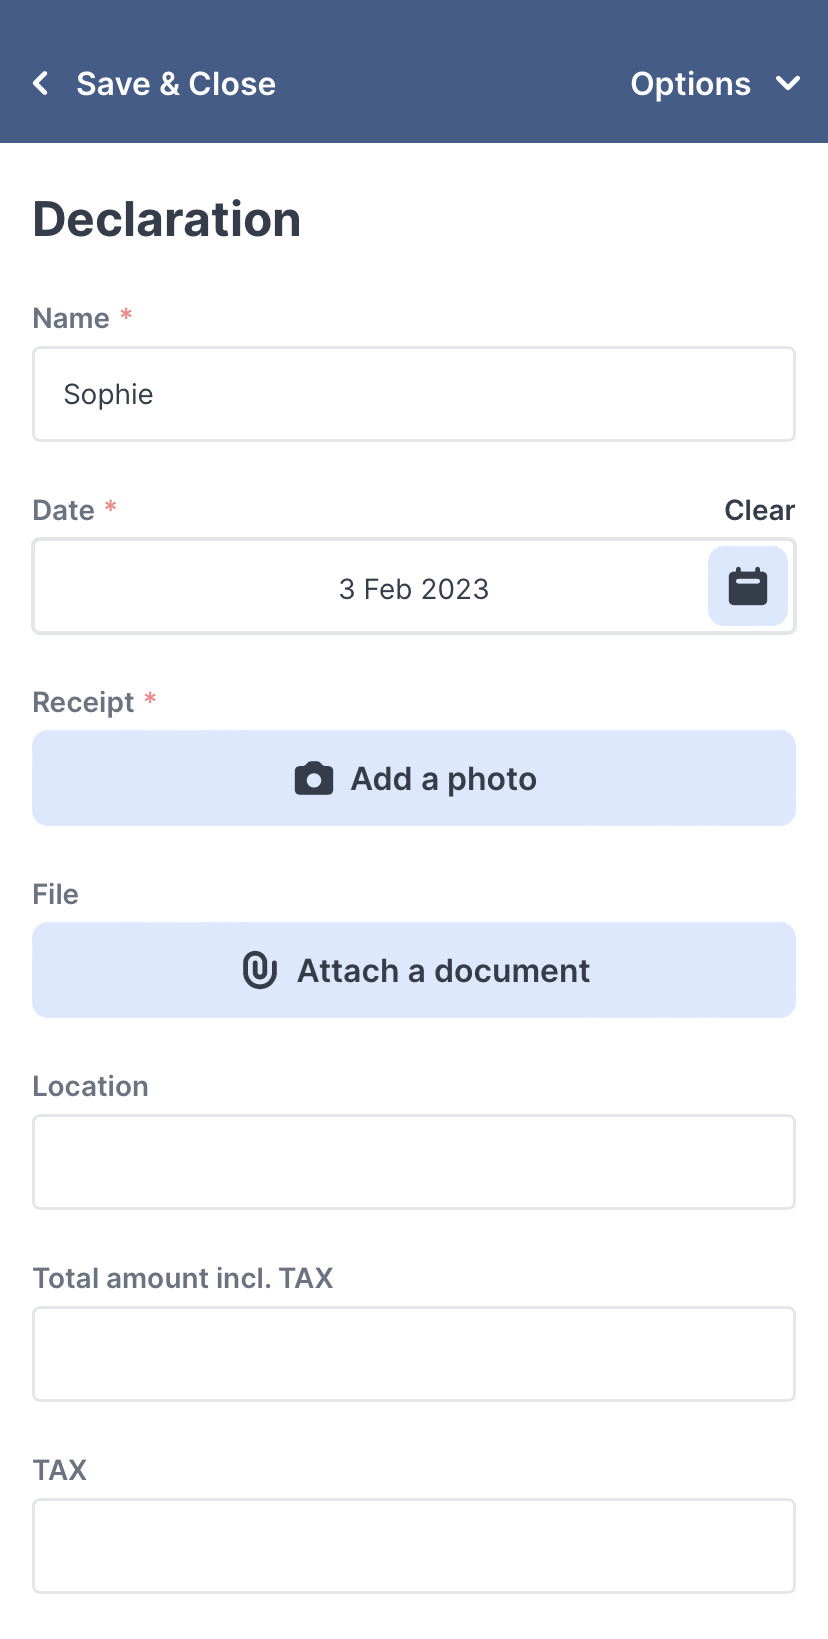
Click on Attach a document to upload your file.
Note: The max file size per File-widget is 10MB.

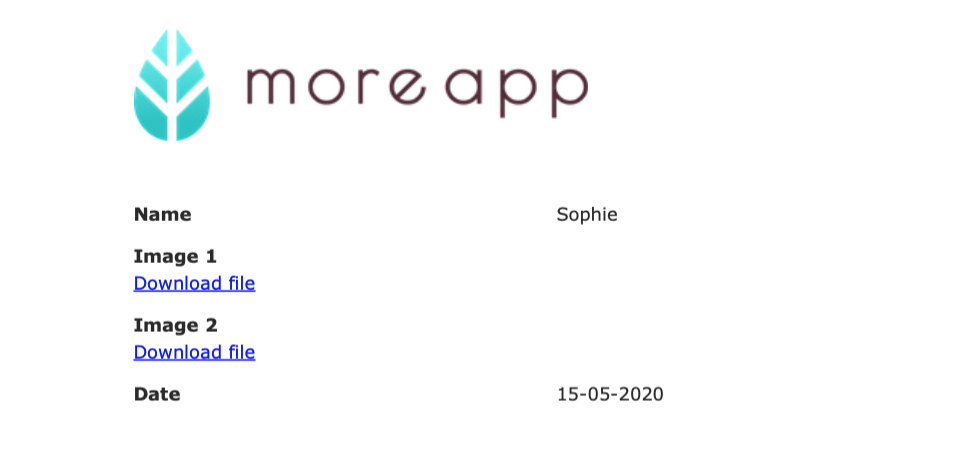
6. How does your report look in PDF?
Note: In the PDF report all types of files will be shown.

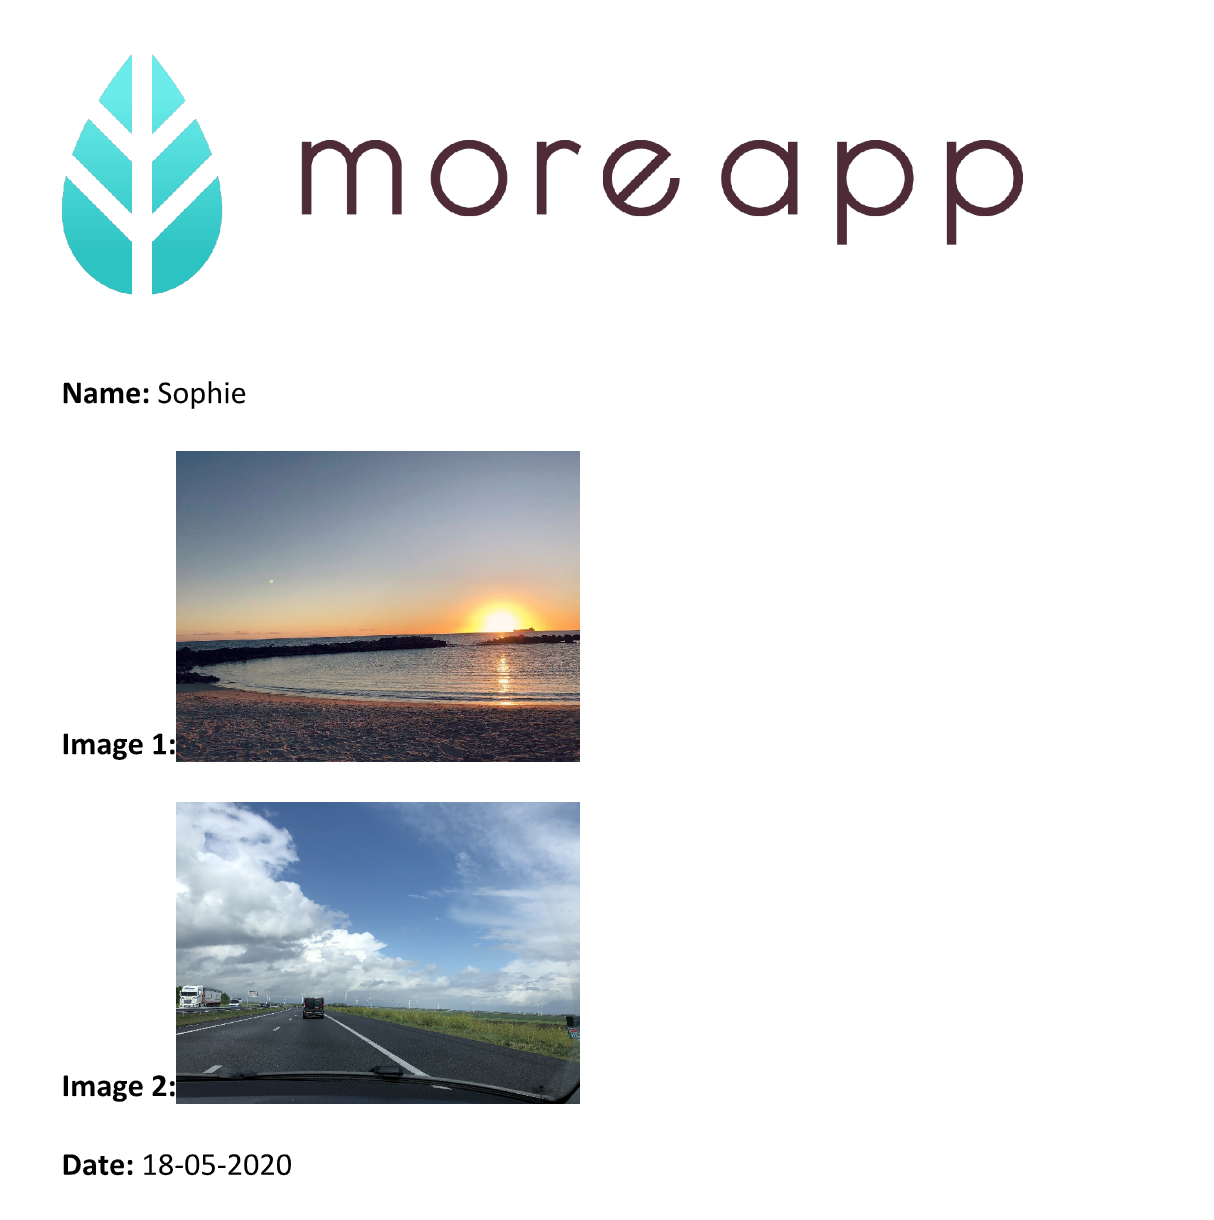
7. How does it look in the Word export?
Note: In the Word integration export only images will be shown.

Want to stay up to date with our latest tutorials? Go to YouTube and hit the Subscribe button!