No MoreApp account yet? Sign up here.
1. Add the Subform field
Open your form in the MoreApp Platform and click on Edit form. Add the Subform field to your form. Give the field a name under Label and adjust the Add button text. For example, Photos and Add photos.
Click on + New to configure the fields inside your Subform.
2. Add Photo fields
You will be redirected to the Subform. Add the Photo field and configure the properties. If necessary, you can add more fields to the Subform. If you are done, click Close to go back to the main form.

3. Adjust the Subform field
Once you are back into the main form, you can adjust other properties of the Subform. Navigate to the Subform summary. Here you can configure an overview of what has been filled in the Subform. Select the available parameters or write a text manually.
4. How does it look in the App?
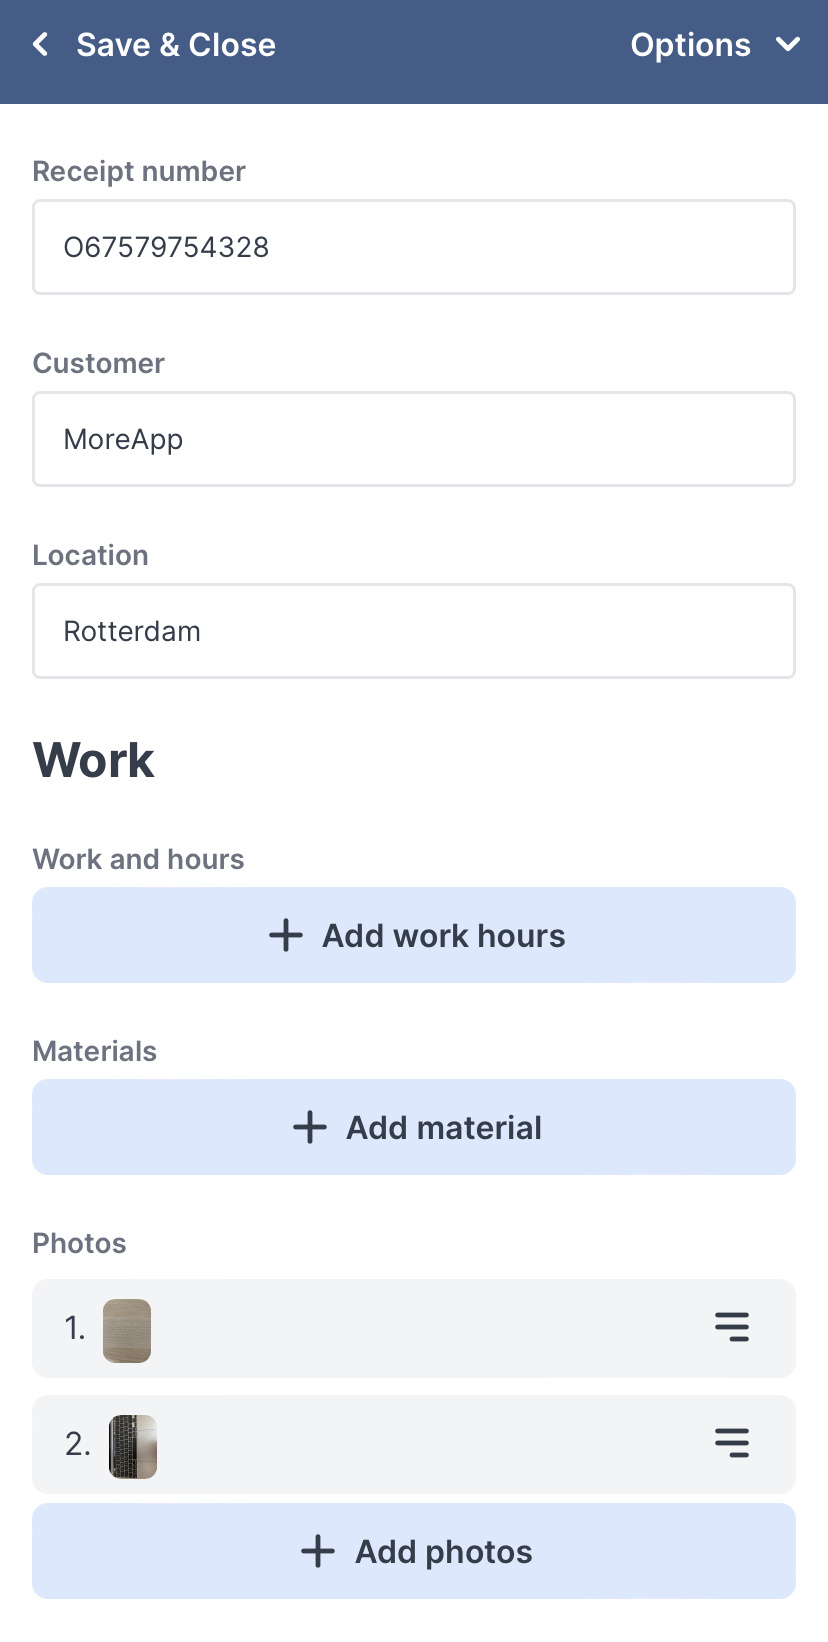
Open your form and click on Add photos. You will be directed to the subform where you are able to make or select a photo. After you took a photo, click on Save and the photo will be visible in the main form.
Note: Make sure the photo is completely loaded in the Subform before going back to the main form.
Do you want to take another photo? Repeat the steps!
Want to stay up to date with our latest tutorials? Go to YouTube and hit the Subscribe button!