No MoreApp account yet? Sign up here.
1. Add the field to the form
Log in to the MoreApp Platform, select an existing form and click on Edit form.
Once you're in your form, double-click on the Photo field to have it inserted into your form. By clicking on it, you will see the properties of this field.
Now, give the field a name by typing text under Label.
2. Set up the Photo Quality
Most mail servers won’t allow you to send an email that’s bigger than 25MB in total size, which for most emails, is more than enough. If your form includes a lot of photos and you’ve chosen to attach them all to the email, you can quickly reach this limit. Play around with the photo quality and see what's best for you! It depends on your use case and how much quality you need.
- Best possible: This means that MoreApp does not manipulate the photo when sending.
- Fast upload: MoreApp reduces the resolution of the image and applies compression. This results in the smallest file size, making uploading faster.
- High quality: This is a compromise between file size and photo quality.
Photo quality indicates the photo size for the export to excel and mailbox.
The same photo is used for the PDF, but we also optimise the PDF separately. Photos above a certain DPI will be resized to a size that makes sense for the PDF. In that way, we avoid extremely large PDFs. This is why you don’t see a difference in the file size of the PDF when using High Quality or Best possible.
Note: The photo quality is only applicable for photos you add using the App, not using the Web App.
3. Set up the Filename
You can also define the filenames of photos, making it easier to identify them in Excel exports or the email attachment later on. Here you can insert any descriptive text of your choice or you can also use the parameters by clicking on the thunder icon.
Here is an example of the configuration, using the default parameters:

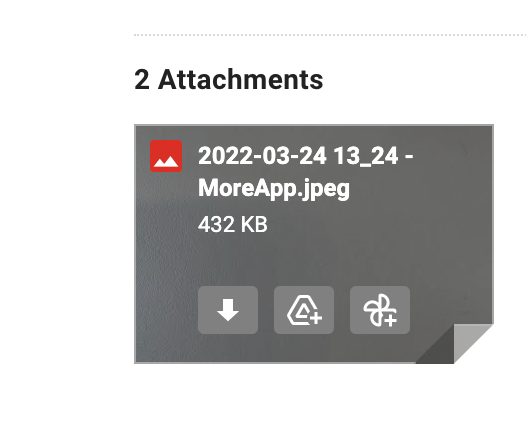
This will be the result of the filename in the Email attachment:
4. Complete the settings
Activate the option “Required” if you want the field to be required. In that way, the user has to add a photo; otherwise, the form can not be sent.
By selecting the option “Save a copy on the device”, a copy of the photo will be stored on your device. You can find the photo in your gallery.
If you disable the option “Allow selecting photo from device”, it is only possible to capture a new photo, and you ensure that no old photo can be added from the gallery.
Notes:
-
Photos taken with the Photo field are not automatically saved on your device.
-
It's not possible to take a photo with the Web App on your desktop.
5. Working Offline
If you are working in offline mode and you took photos, you can not send the form. You will need to save the form as a Draft because the photo will not load.
So, you can take photos, but you need to Save the submissions as a Draft and send it later when the device has a connection again.
Want to stay up to date with our latest tutorials? Go to YouTube and hit the Subscribe button!