No MoreApp account yet? Sign up here.
This feature is available in the Branch, Tree and Forest plan. Visit our Pricing page.
1. Create a Scenario
Access Make.com and click on Scenarios. Then, in the top right corner, click + Create a New Scenario. Use the search bar to find the software you want to configure for this connection. In this case, select Asana.
2. Configure your Trigger
You will have an overview of the possible Triggers with Asana. Search and select “Create a Task or a Subtask”. Fill in the details to set up the Trigger:
- Connection: Select your Asana account to start the connection.
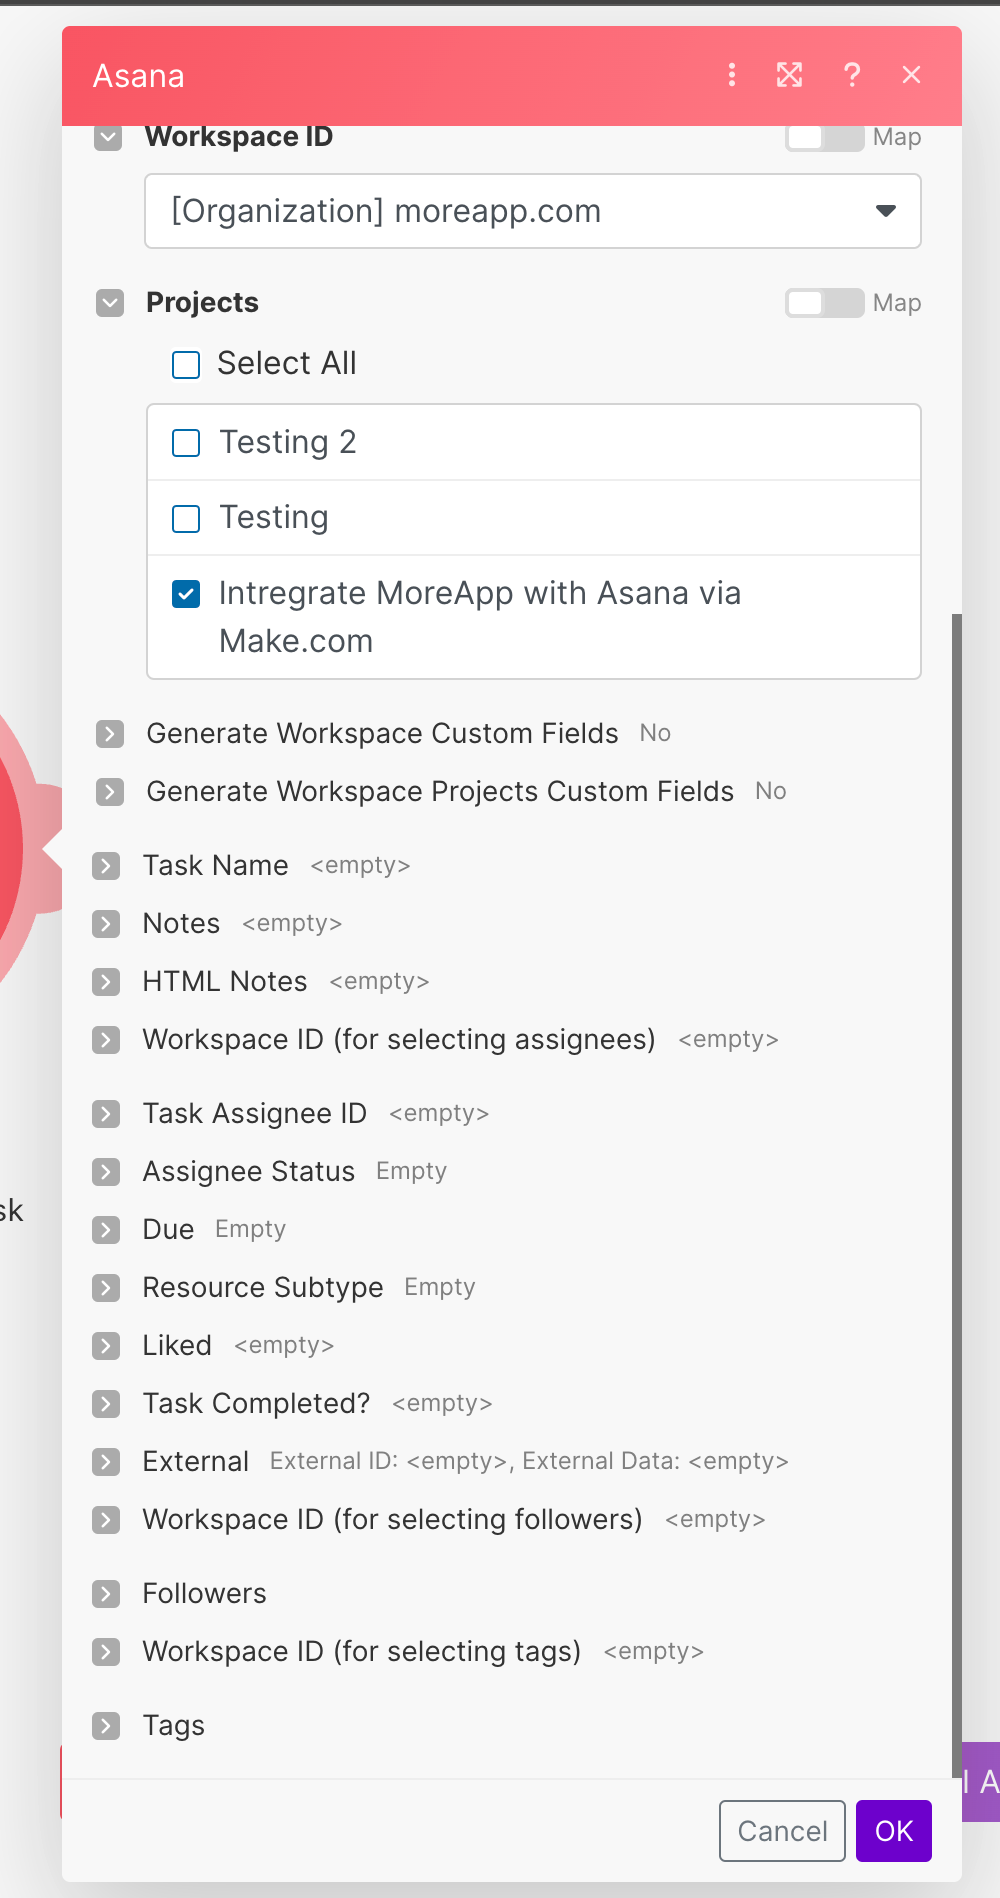
- Task destination: Select from which project or workspace you will create tasks in Asana.
- Workspace ID: You will have a dropdown to select the correct Workspace ID.
- Project: Select the project in Asana where you will be creating tasks. You can select one or multiple projects.
Note: You can adjust the remaining fields according to your preferences while configuring the Trigger.
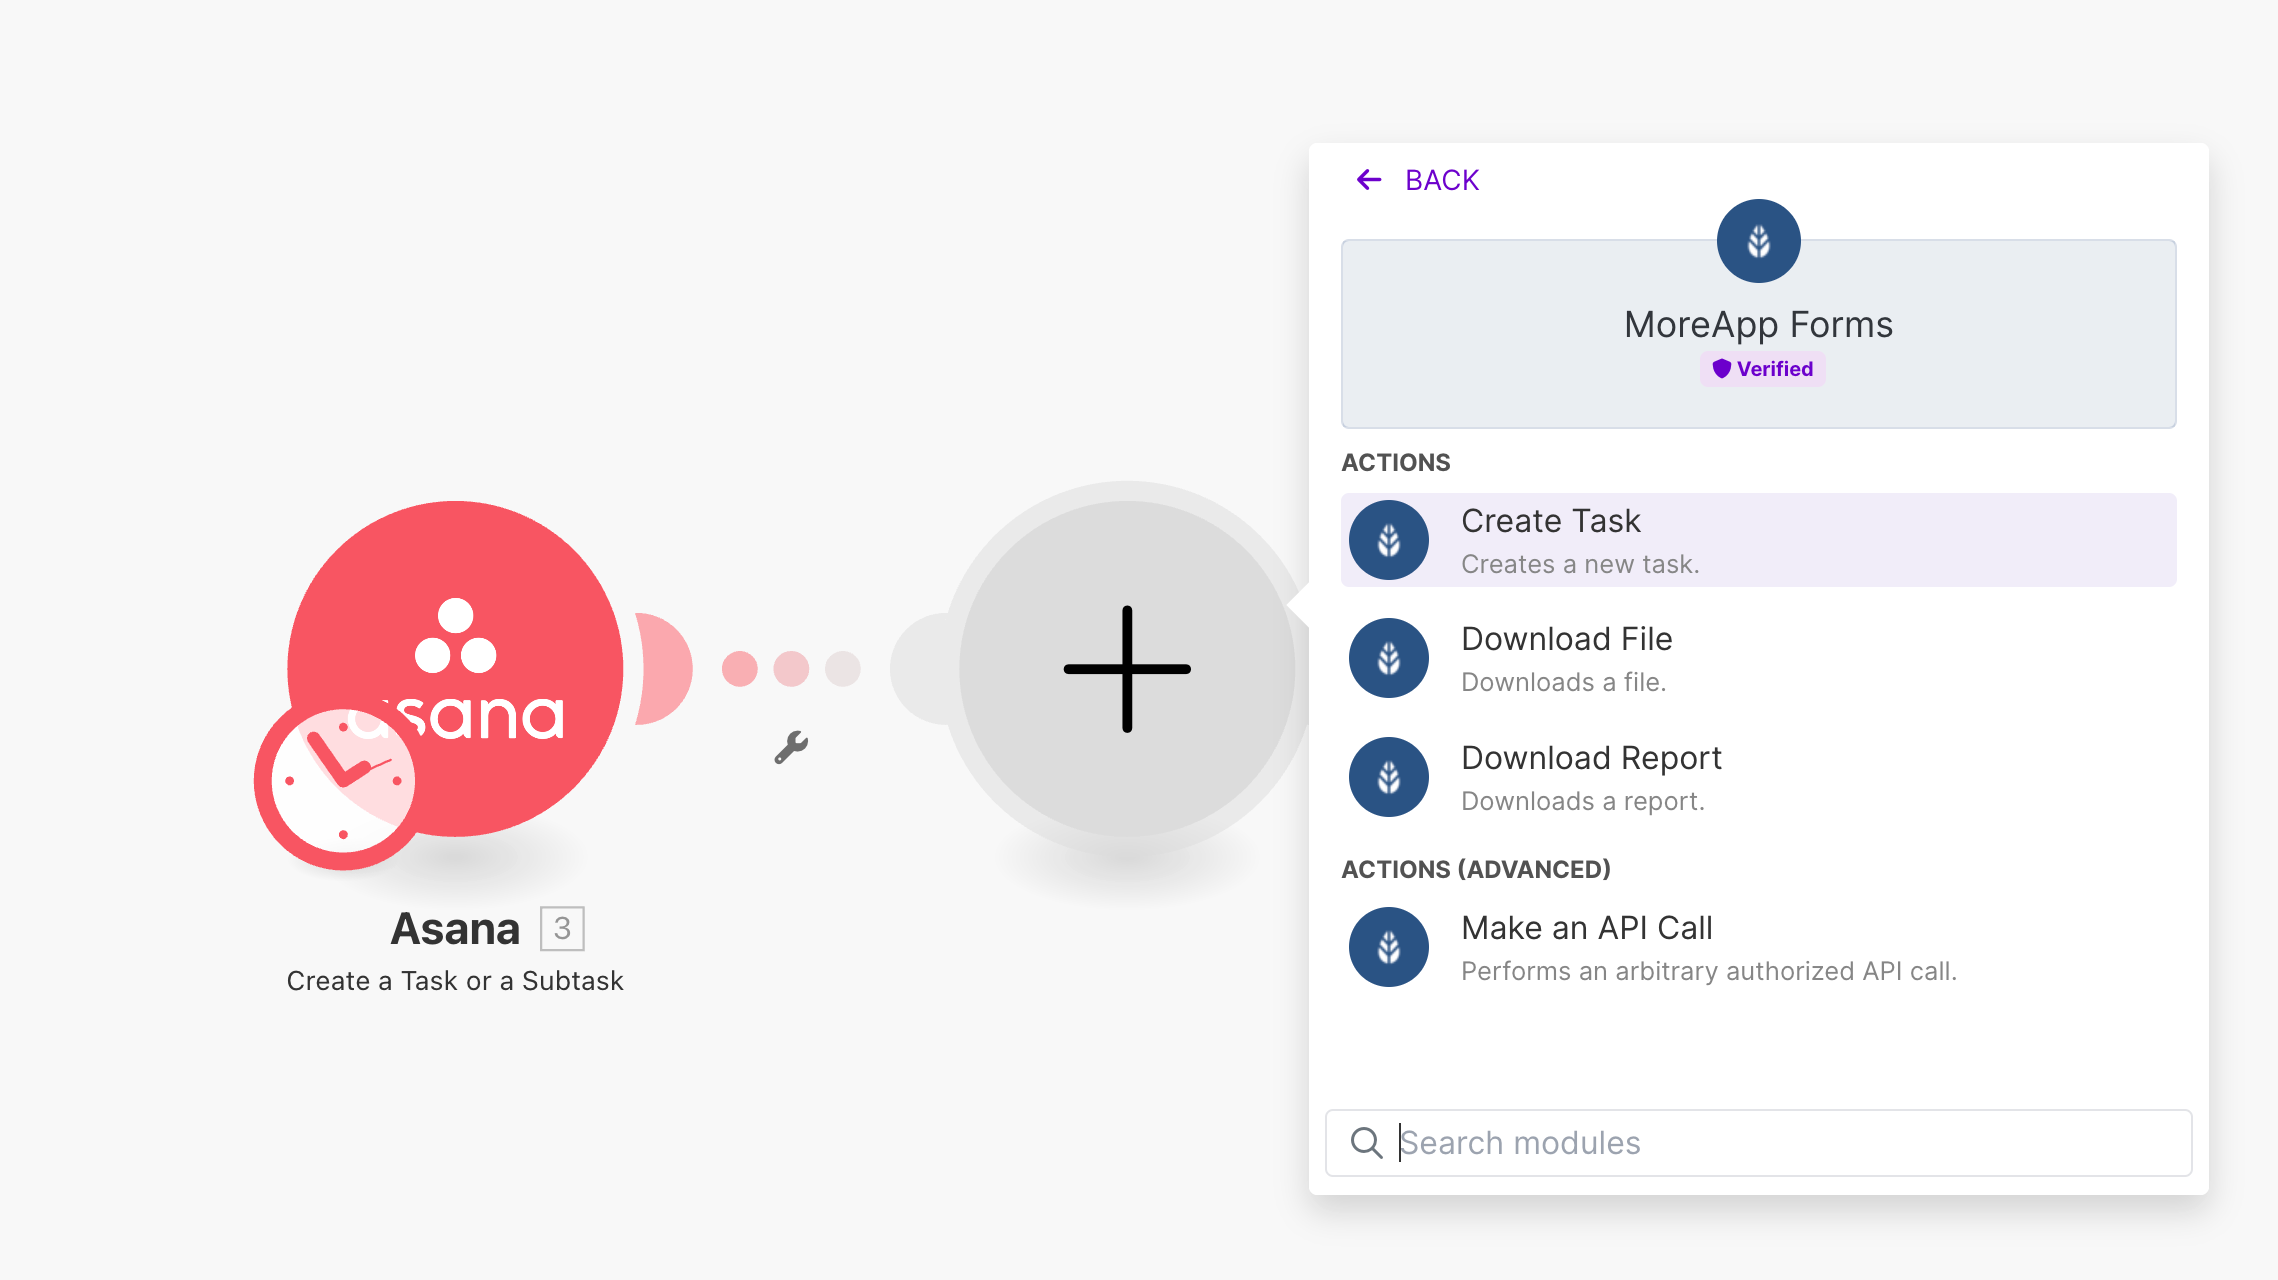
3. Create an Action
Click + to add another module. Search for MoreApp and select “Create Task”.
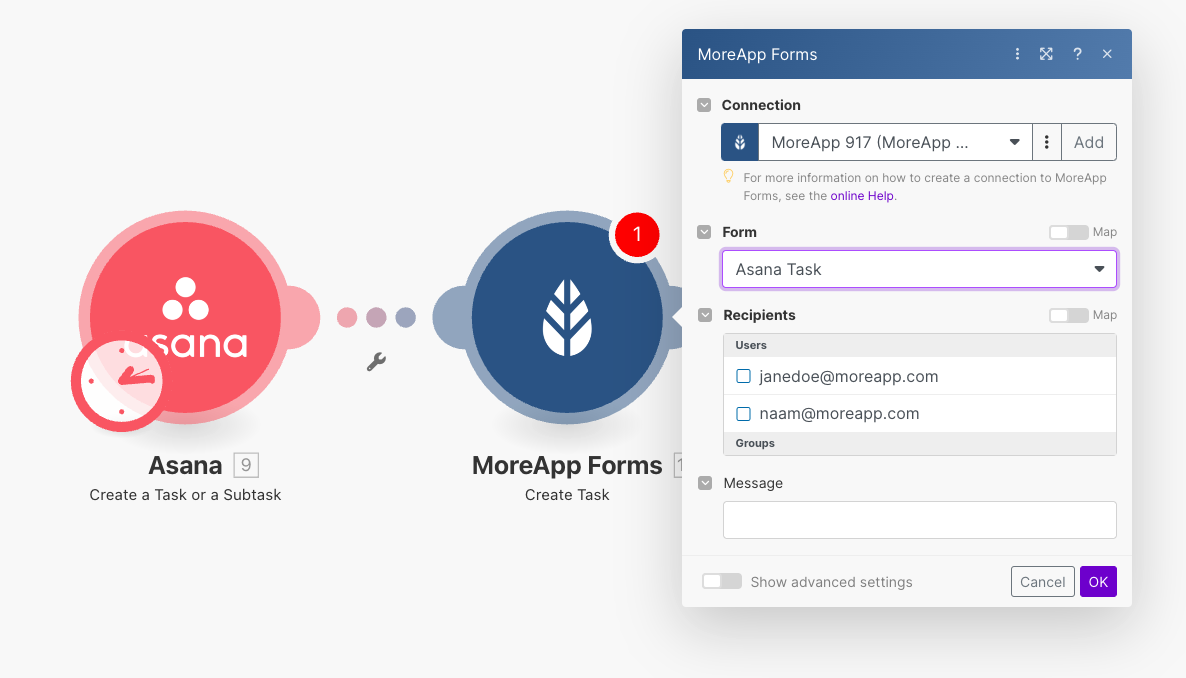
To configure this Action, set up the connection to your MoreApp account.
Note: If this is your first time setting up your MoreApp account in Make, you must add an API key.
Select the MoreApp form for which you want to create a task, and choose the recipient(s) who needs to receive the task. You can select multiple users or even an entire group.
Additionally, add a message that the recipient will see in the push notification once a task has been created. You can use placeholders from your Asana board for personalisation.
4. Test your Integration
Once you have set up your integration, click Run Once.
To test if the connection is correct, create a task in Asana.
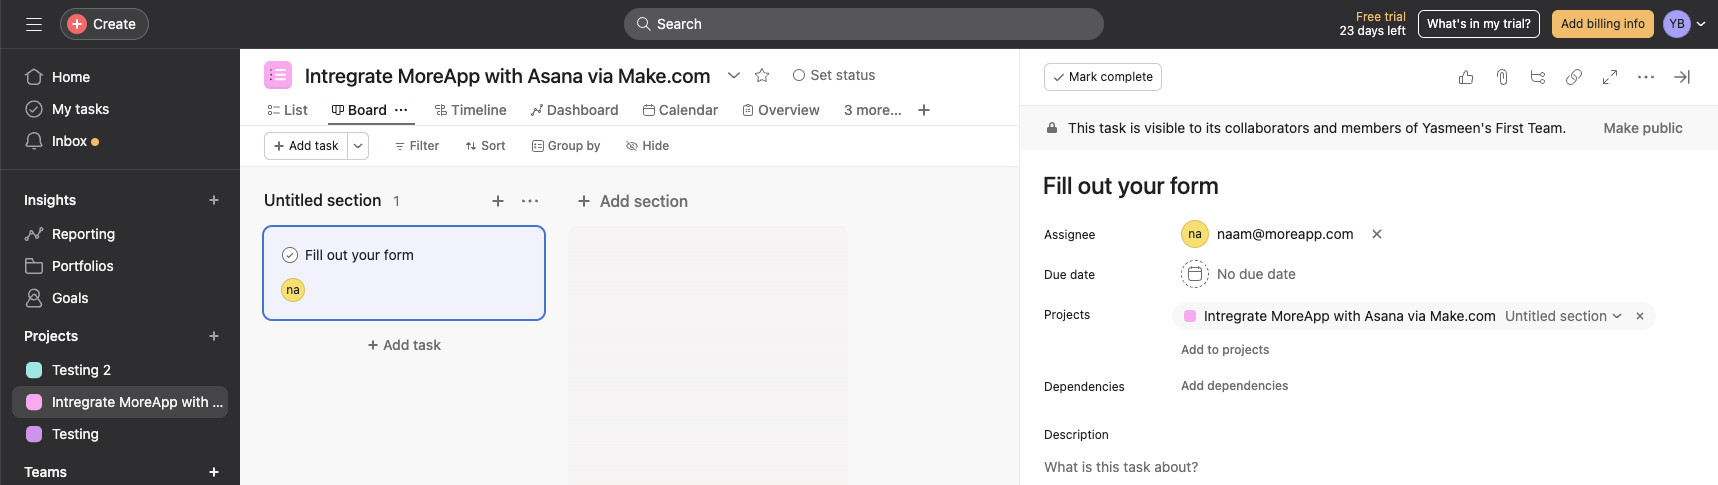
Navigate to the Board of your Project and click Add task. Create a task on your Asana board according to your preferences, and select an assignee and due date.
If everything is configured properly, a push notification will be sent to the selected recipient for the task.
Once all modules in Make are marked in green, you can activate the integration by turning it ON.
5. Extra: Send the data back to Asana
When you're ready to transfer information from the MoreApp task to Asana, you can set up an integration. In this example, we'll configure the integration to automatically remove the task from Asana once it has been completed in MoreApp.
5.1 Set up a new Scenario
Click + Create a New Scenario. Select MoreApp and the Trigger “Watch Task Fulfilled”.
Connect your MoreApp account again and complete a task to obtain the data.
Now, add another module and select Asana. Choose the Action “Remove a Task from a Project”.
To set up the Action, click on the dropdown “Enter a Task ID and Project ID” and choose “Select from the lists”.
Fill in the following:
- Find Task through: Select “Project”.
- Workspace: Select the available option for your organisation.
- Project: Select the same Project you used for the first integration.
- Task ID: Select the created task from your Asana board.
- Project ID: Select the visible option.
Click OK.
Now your new integration has been set up. This automation will be triggered once a task has been fulfilled. Test the workflow by clicking Run once, and activate the integration by turning it ON.
Congratulations!
The first integration triggers MoreApp and a task is created for the recipient. Once this user completes the task, the second trigger will delete the task from the Asana Board.
Want to stay up to date with our latest tutorials? Go to YouTube and hit the Subscribe button!