How to Export Data to Excel using Make | MoreApp
Automatically export your MoreApp data to Excel via Make. Configure this integration easily by following these steps.
No MoreApp account yet? Sign up here.
This feature is available in the Branch, Tree and Forest plan. Visit our Pricing page.
Note: To make the process even easier, you can use one of our templates. Access this page and click on Get this template. The modules will be automatically added for you, and you will be guided on how to configure each of them.
1. Create a Scenario
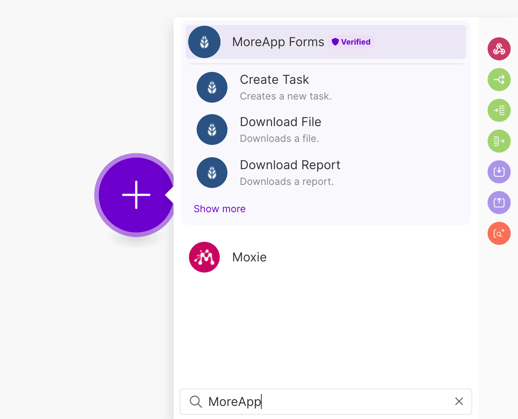
Access Make.com and click on Scenarios. Then, in the top right corner, click + Create a New Scenario. Use the search bar to find the software you want to configure for this connection. In this case, select MoreApp Forms.
2. Configure the Trigger
Pick the Trigger you want to use. In this example, we will use Watch Submission Created.
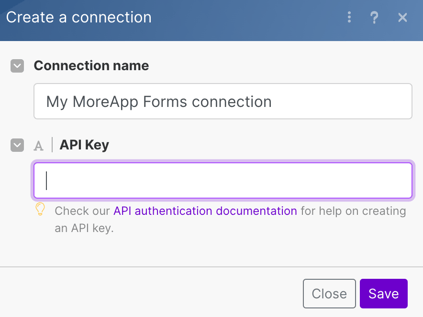
Make sure to select the right MoreApp account and verify the connection with your API key. If you've previously integrated with MoreApp, you can select the account directly from the dropdown menu.
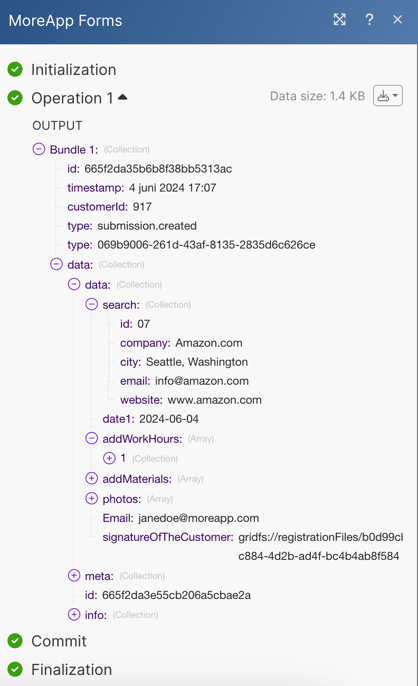
Next, submit a form from your corresponding MoreApp account to receive the submission data. You will see the data displayed as in the image below:
3. Configure the Action
Click on the + icon to add another module. Search for the software you want to connect and pick the Action you want to use. In this case, we will use Add a Worksheet Row in Microsoft 365 Excel.

First, you need to connect your Microsoft account.
Once the account is added, configure the Action to create a new Row based on a new submission.
Below Select a method you can choose between Enter an ID manually and Select from the list.
Next, you can choose your OneDrive location. Under Workbook select the file where you want to export the data. And, under Worksheet, add the corresponding Sheet name of your file.

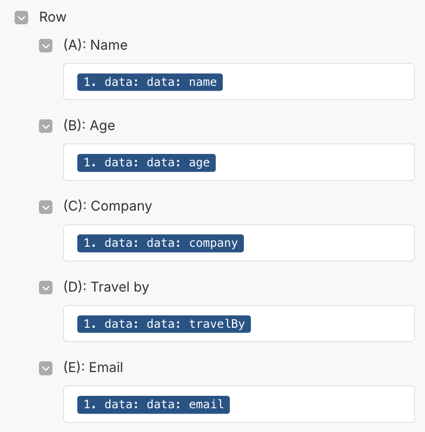
Note: Make sure to add the corresponding fields of the MoreApp form in the right column of your Excel sheet as in the example below. This way, the data of each widget will be displayed in the proper column.
4. Test your Scenario
Once you have set up your integration, it is time to test if the connection is set up correctly.
To do so, click on Run Once. Fill out the connected MoreApp form and send the submission.
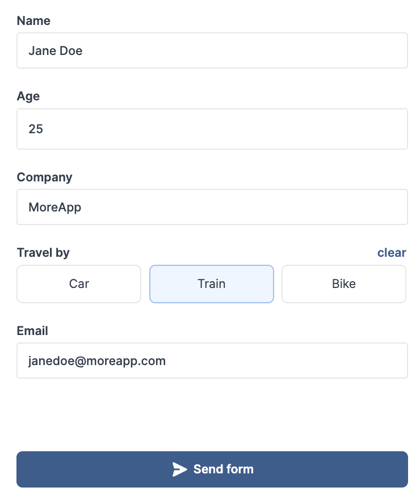
Now, you can go to your Excel file to see if all filled-out data is available in the right columns.

Want to stay up to date with our latest tutorials? Go to YouTube and hit the Subscribe button!