How to Integrate MoreApp using Zapier | MoreApp
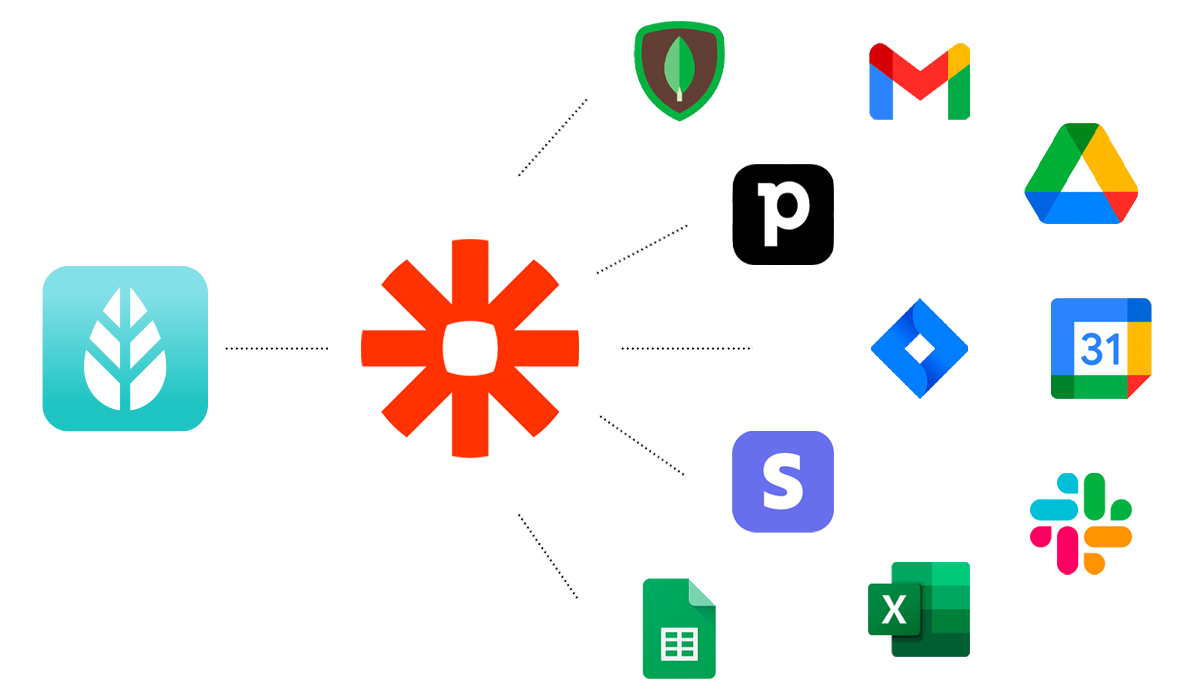
MoreApp gives you the option to connect with other tools using Zapier. Integrate your forms with many other apps, using a simple configuration.
No MoreApp account yet? Sign up here.
This feature is available in the Branch, Tree and Forest plan. Visit our Pricing page.
You can find MoreApp in Zapier's library!
In this Help Center post, we present a general overview of how to automate workflows with Zapier.
Thanks to our presence in the Zapier library, you are able to connect your forms with many other tools without needing any special tech knowledge or coding skills.
You can make the process easier by using our predefined Zap templates to get started with the integration. Log in to Zapier to use one of our templates.
Find here the list of all the predefined templates MoreApp offers.
1. Create a Zap
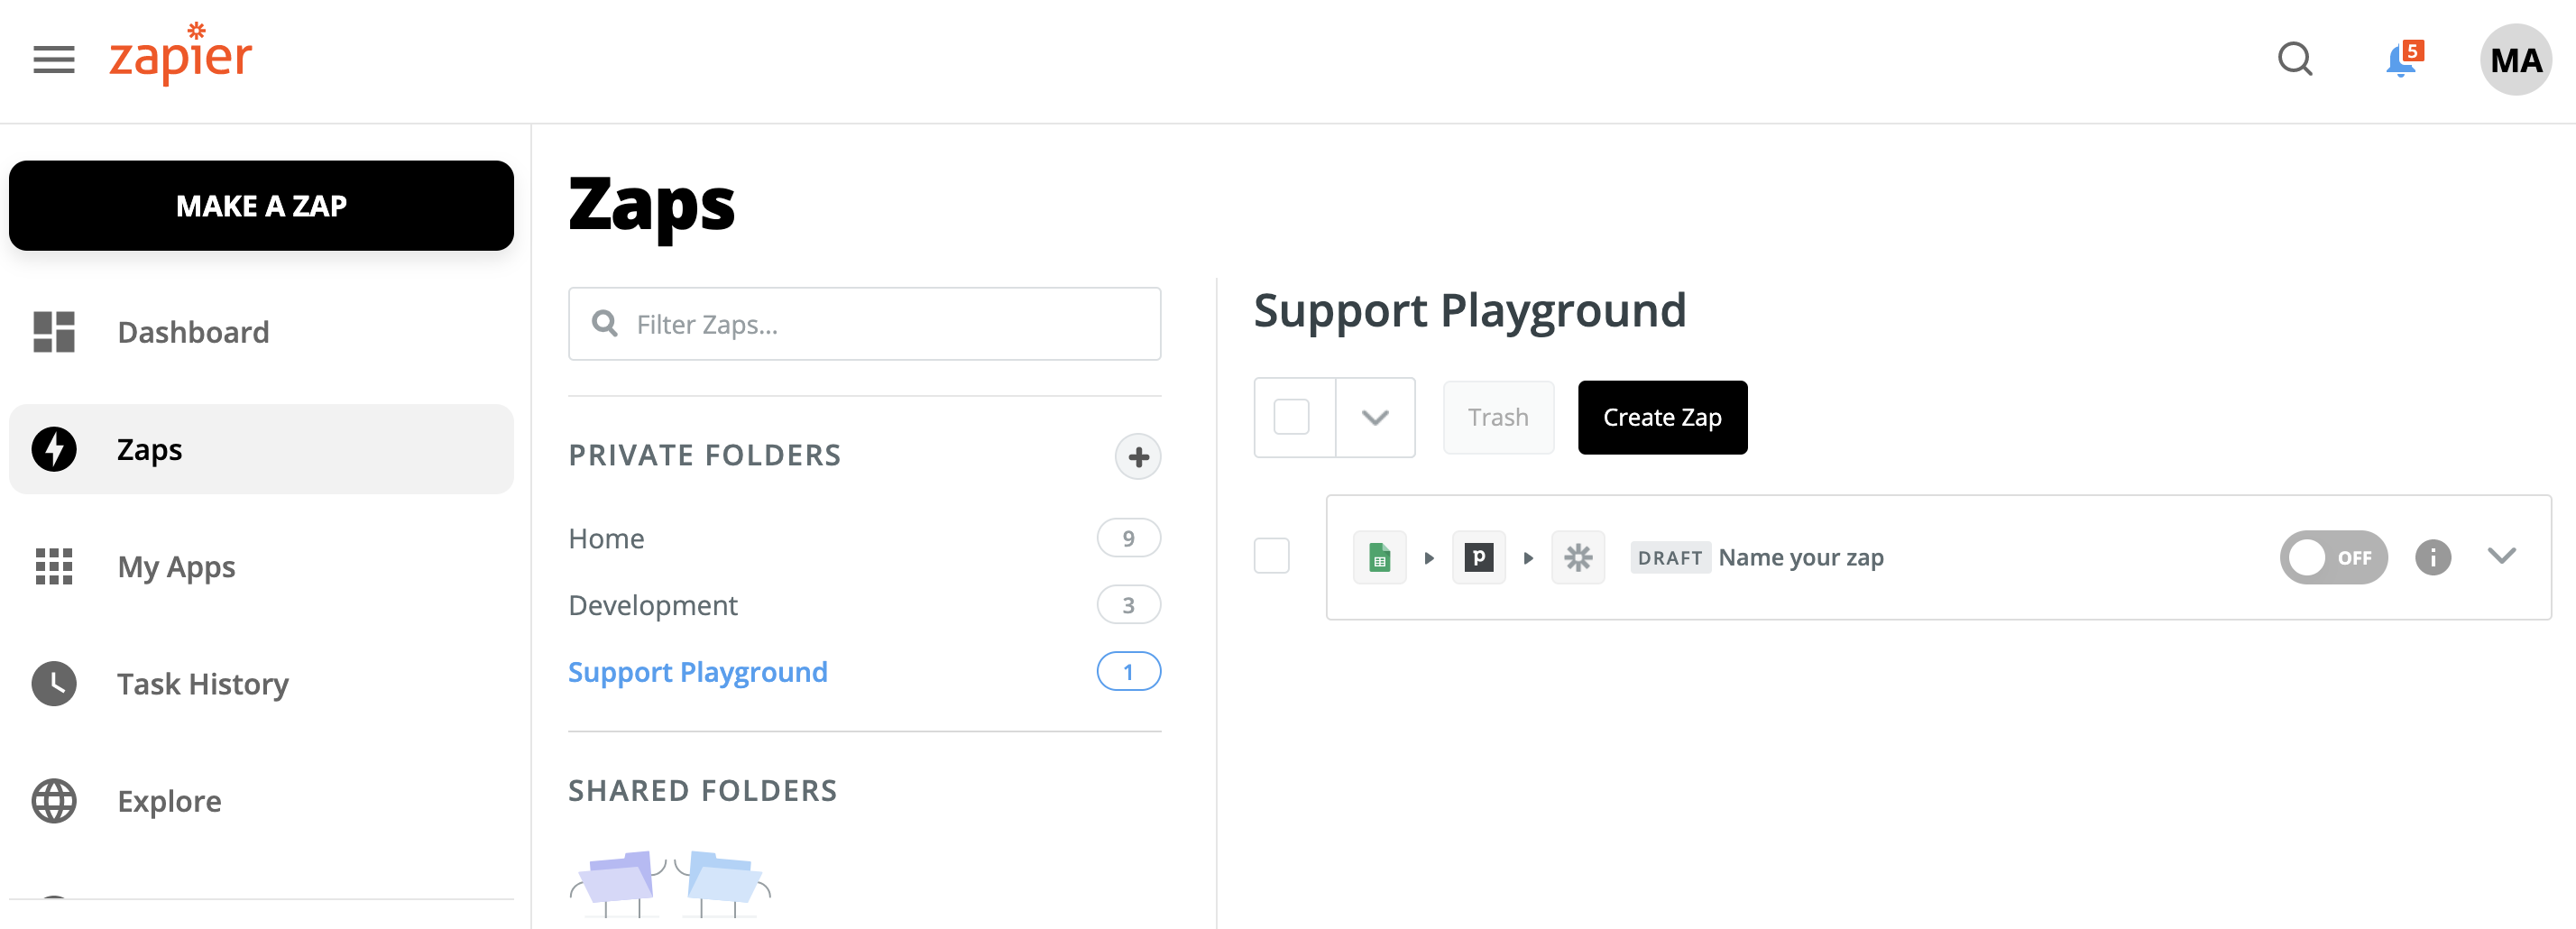
First of all, you need to access Zapier. To configure your workflow click on Create Zap.
A Zap contains two types of events:
-
Trigger: it is the event that will activate your Zap.
-
Action: it is the action the Zap executes whenever it's started.
Note: You can use Actions in all plans. Starting from the Branch plan, you can use both Triggers and Actions. This is because, for Triggers, you need to use Webhooks.
2. Configure the Trigger
You will see a list of apps you can choose, as a Trigger, for your workflow:
-
MoreApp
-
Google Drive
-
Google Sheets
-
Excel
-
Jira
-
Calendars
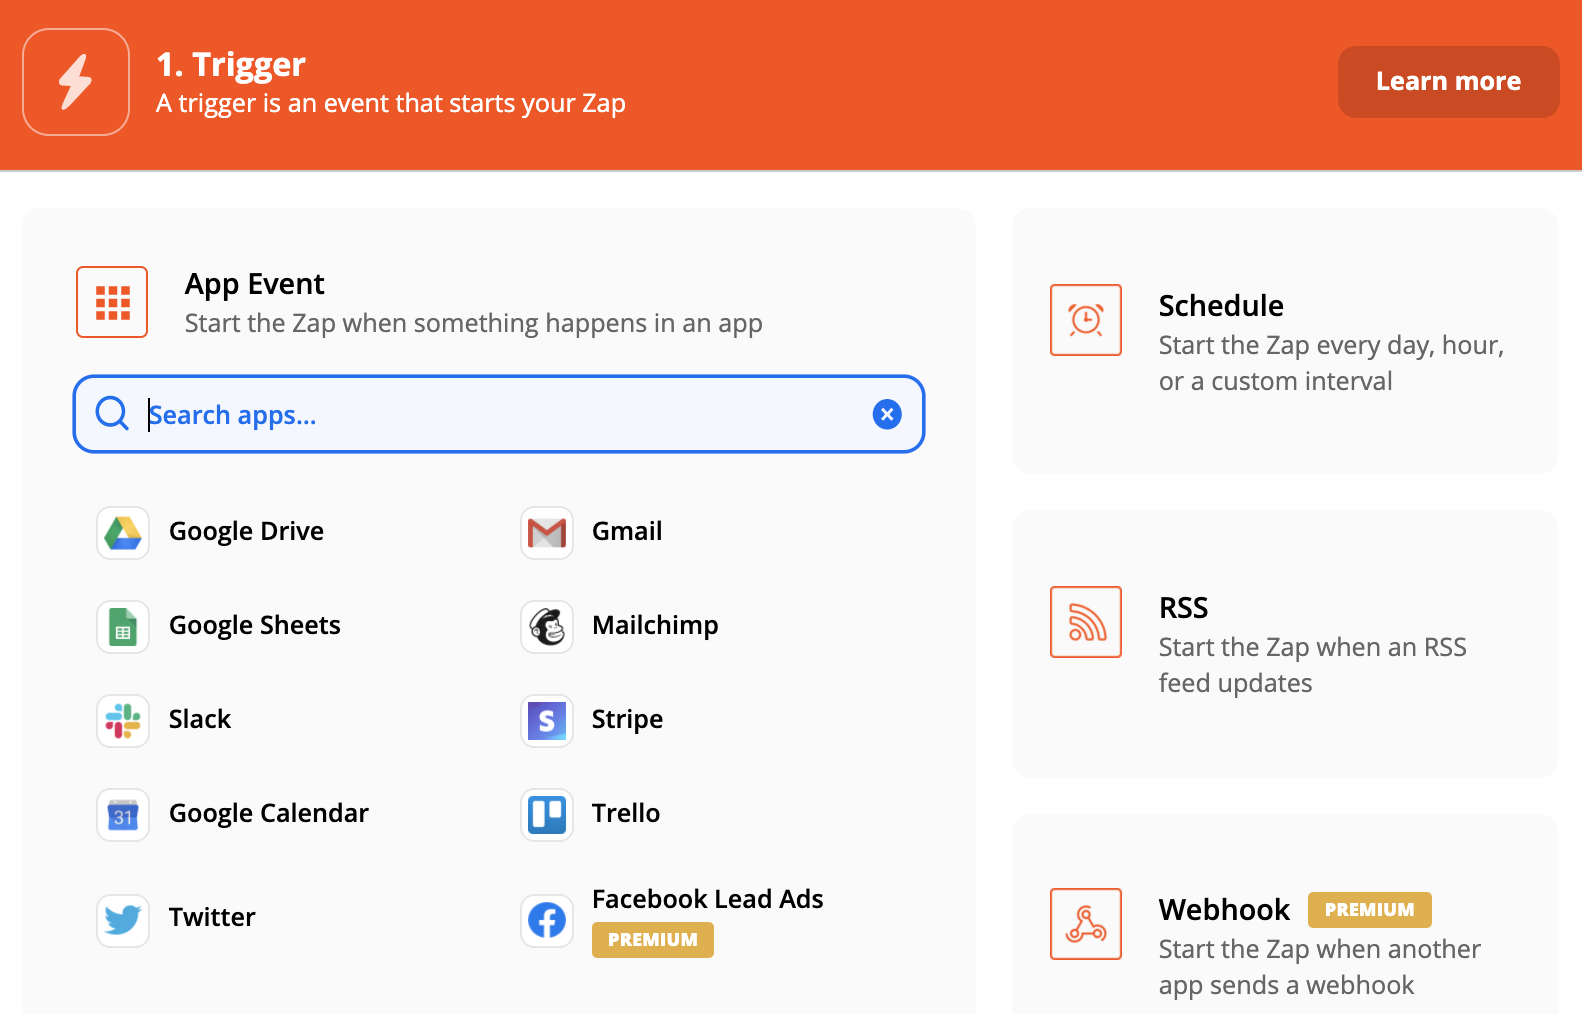
Then, depending on the selected app, you will have different options to choose as a Trigger Event.
If you have picked MoreApp to be your Trigger, you can choose, for example, New Submission as the event to start your Zap. Once done, click on Continue to proceed with the configuration.
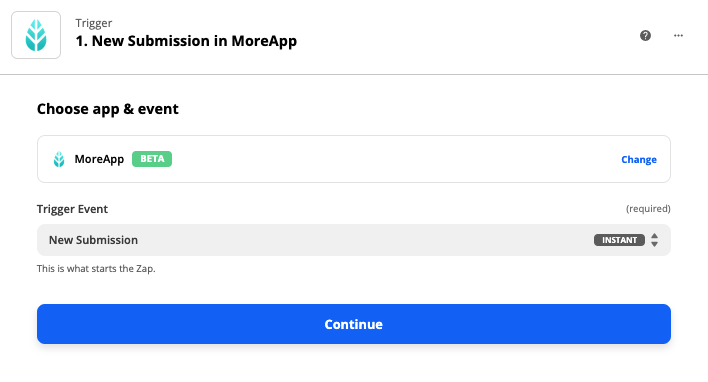
The current Trigger Events that MoreApp offers:
-
New Submission: triggers when a new form has been filled in.
-
Task Fulfilled: triggers when a task has been completed.
2.1 Authenticate via API key
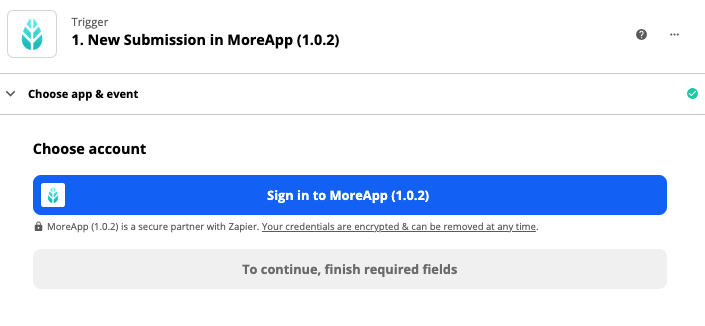
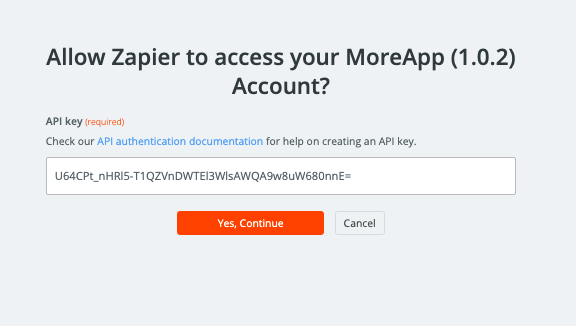
If you have selected MoreApp (1.0.1) or MoreApp (1.0.2), as a Trigger, you will need to authenticate your account using an API key. Click on Sign in to MoreApp and add your API key to continue.
In order to create an API key with MoreApp, follow this Help Center post.
3. Configure the Action
When selecting the Action that will be performed once the Zap starts, you also have plenty of apps to choose from. Search the app you want to integrate with MoreApp and click on it.
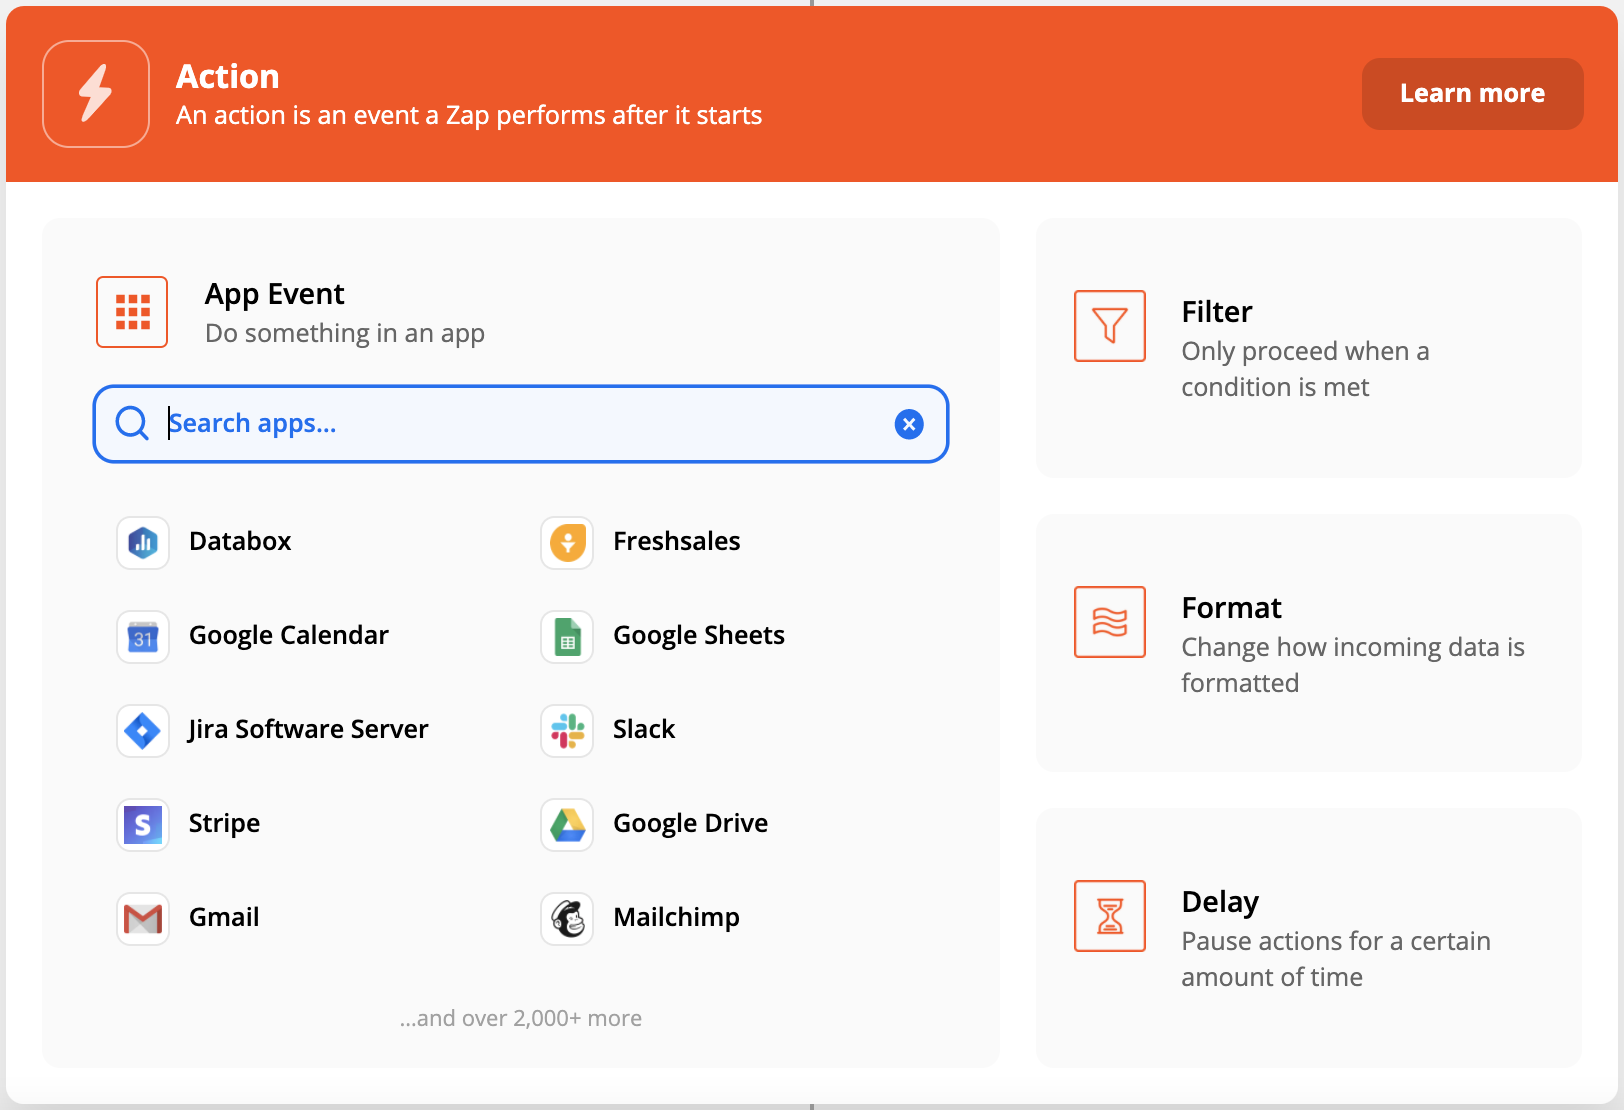
After that, you will need to select the Action Event. You will see different options of events depending on the app you have selected. Select the action you would like to perform with your Zap and click Continue to fulfil the rest of your configuration.
4. Turn your Zap on
If the setup has been done, you can test if the Zap works well by clicking on Test & Review. Is it working? Then, give your Zap a name by clicking on Name your zap. Activate your Zap by clicking on the button OFF placed in the upper right corner. Now your Zap will be ON!
Want to stay up to date with our latest tutorials? Go to YouTube and hit the Subscribe button!