No MoreApp account yet? Sign up here.
1. Add the Pin field
Once you have logged in to the MoreApp Platform, you can select the form in which you would like to add the field. Click on Edit form, double-click on the Pin field, and it will be added to your form.
2. Configure the field
Click on the field and give it a name under Label. You can add an image to the field so that you can pin additional information to it by clicking on Select image.
If you want the users to modify this image, enable the option Allow users to change image.
Users can upload a photo or PDF file from their mobile device to use in the Pin field. The PDF file can be uploaded from Dropbox, Google Drive, or other sources. MoreApp converts the first page of the PDF file to an SVG image.
You can also configure a filename for the image of the Pin.
The result of the Pin field is only visible in the attachment of the email.

3. Configure the pins
To continue with the configuration of the field, give each pin a name and select the icon. You can add a unique icon or choose one of the default ones.
You can also build a Subform for each pin with further information to explain in detail. This can be an existing subform or a new one you create.
Lastly, fill in the Pin markup. Write this manually or click on the thunder icon to see the placeholders available from specific fields. Placeholders from the subforms created inside these pins can also be used.
Note: You can configure a maximum of 10 different pins.
![]()
4. Add pins
Open your device and start adding pins! You can add the different pins to the image.
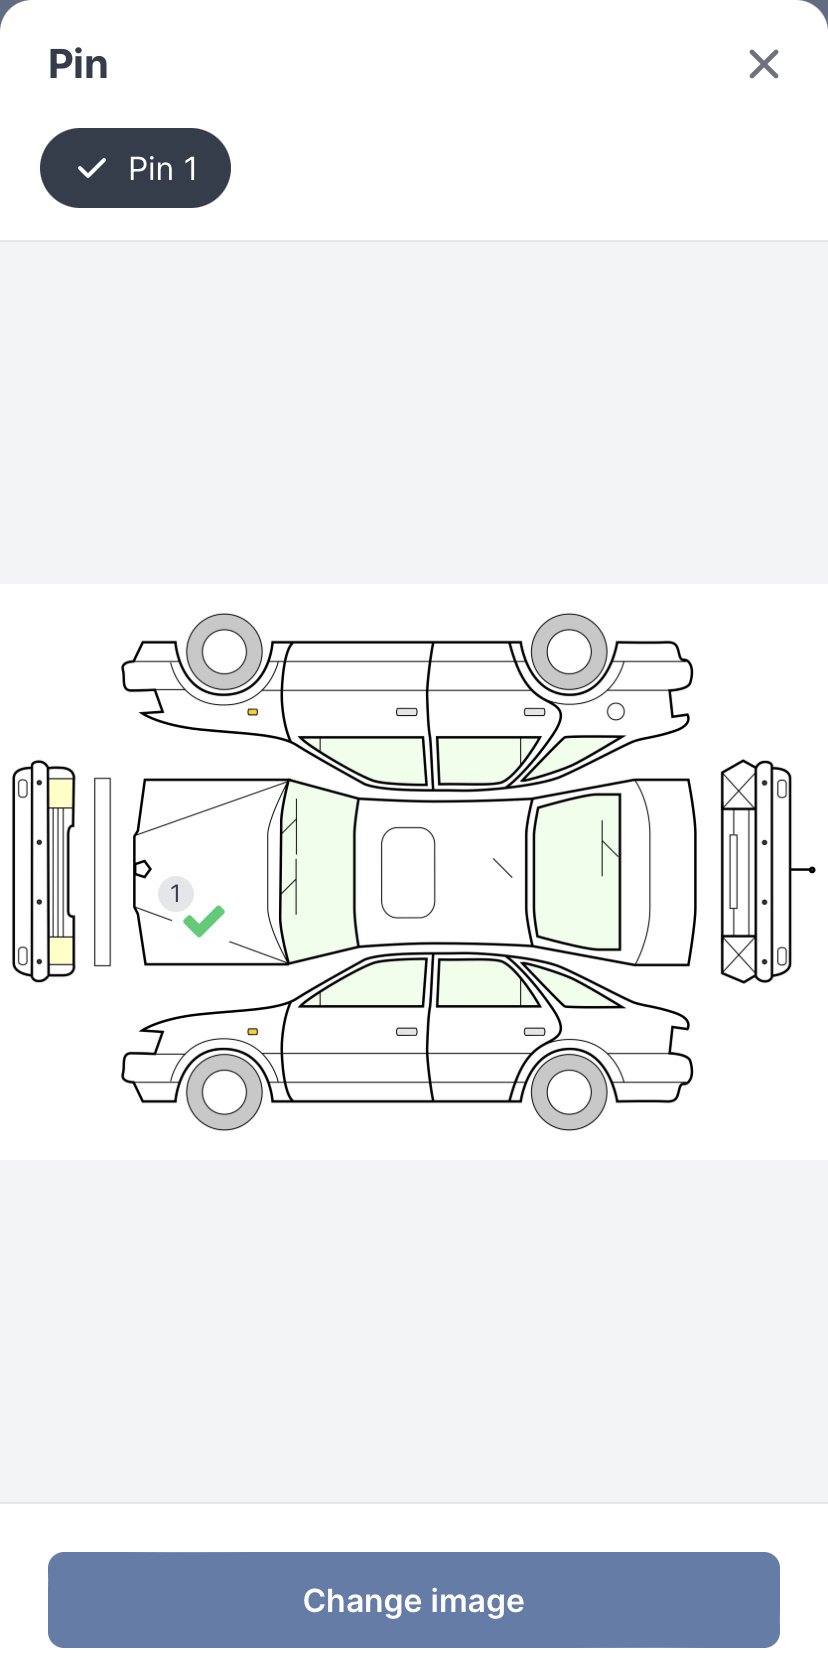
Click on the image to add the pins. If you have configured a subform for the pin, a new window will appear so you can add a photo and a remark if needed.
When all pins have been added to the image, close the image and go back to the form.
You can edit the position of the pin. Click on the three lines icon, on the right of the pin’s name, and click on Move. The image will open again and you will be able to adjust the position of the pin. Just click on the new place and the pin will move.
You can also see the details of the pin by clicking the three-line icon and then clicking on Open.
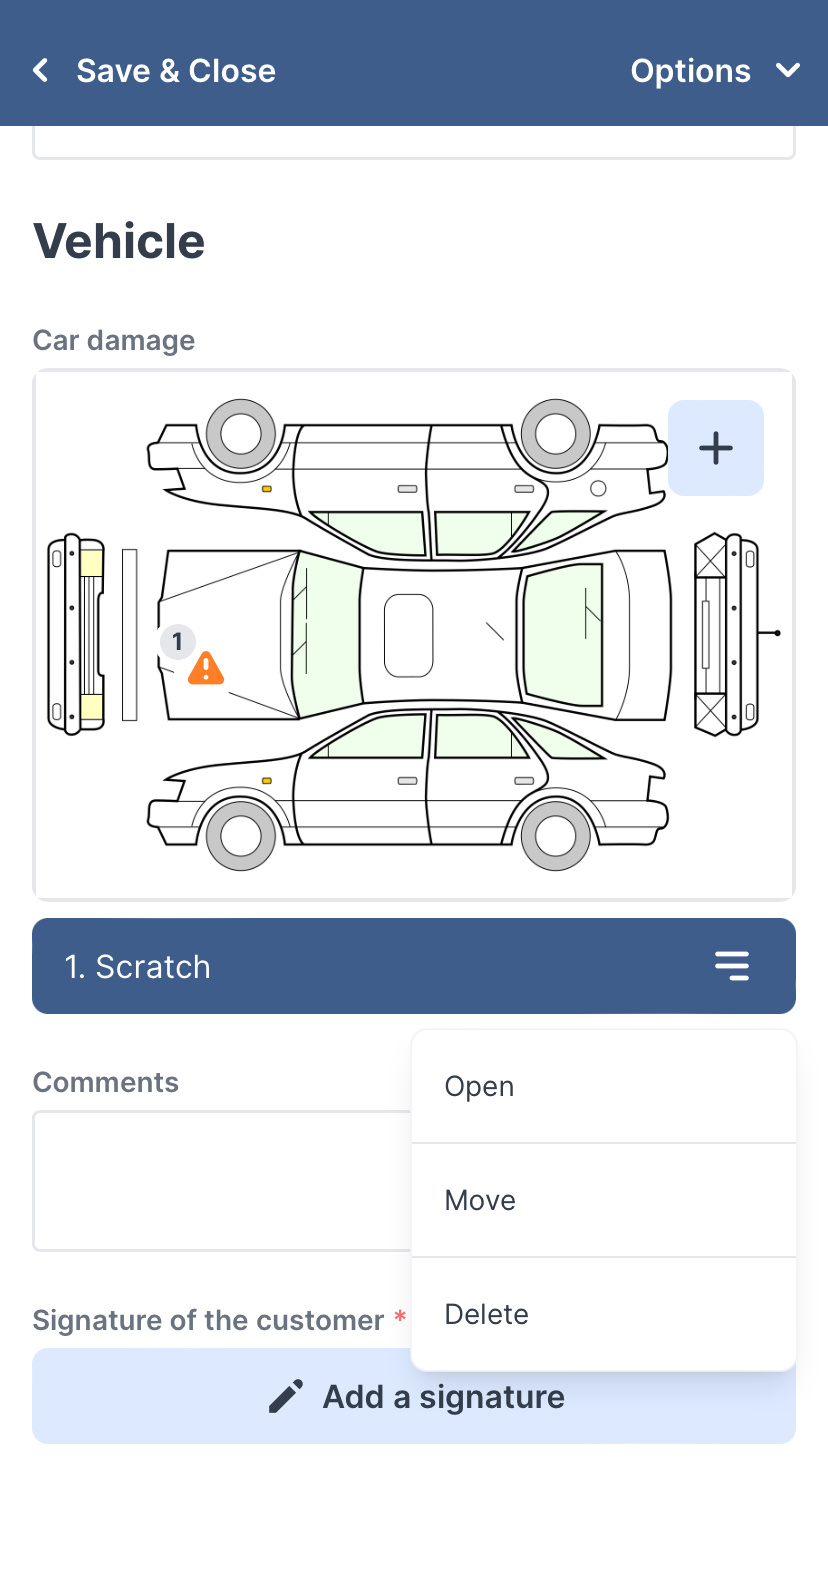
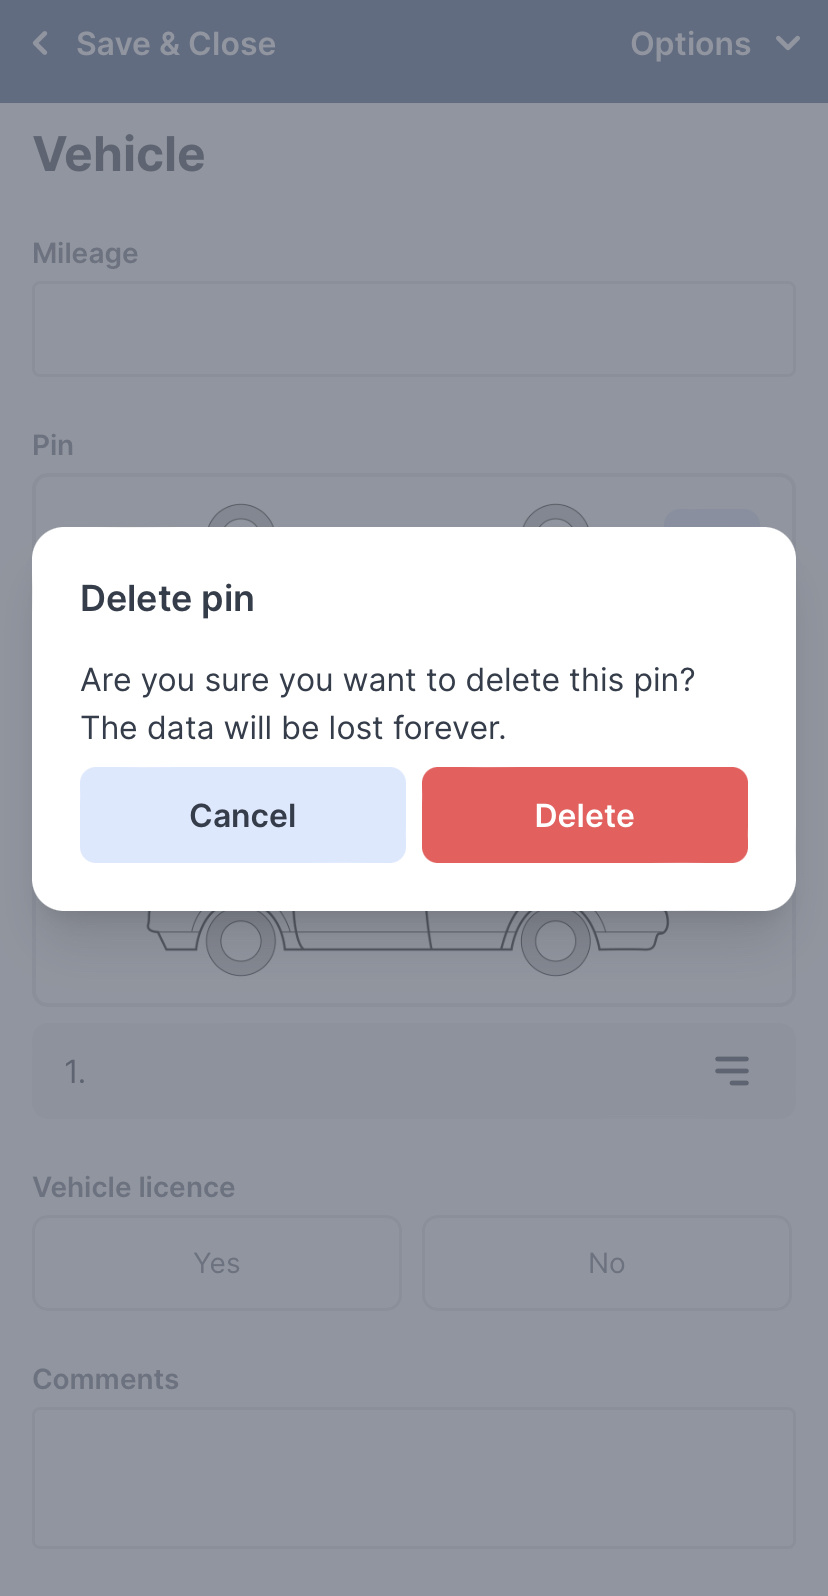
If you need to delete a pin, click on the three lines icon and then click on Delete. A popup will appear on the screen so you can confirm the deletion of the pin. Click on Delete again.
5. Congratulations!
You have successfully added the Pin field to your form! You can now use it to add additional information to your photos, floor plan or map.
Want to stay up to date with our latest tutorials? Go to YouTube and hit the Subscribe button!