How to use the Radio-widget | MoreApp
Let users choose between several predefined options with the Radio-widget. Users will be able to select one answer. Check out how to configure this widget.
No MoreApp account yet? Sign up here.
1. Add the widget
Log into the MoreApp Platform, select a form and click on Edit Form. The Form Builder will appear, showing the Basic Widgets. Add the Radio-widget to your form by double-clicking or dragging it.
2. Configure the widget
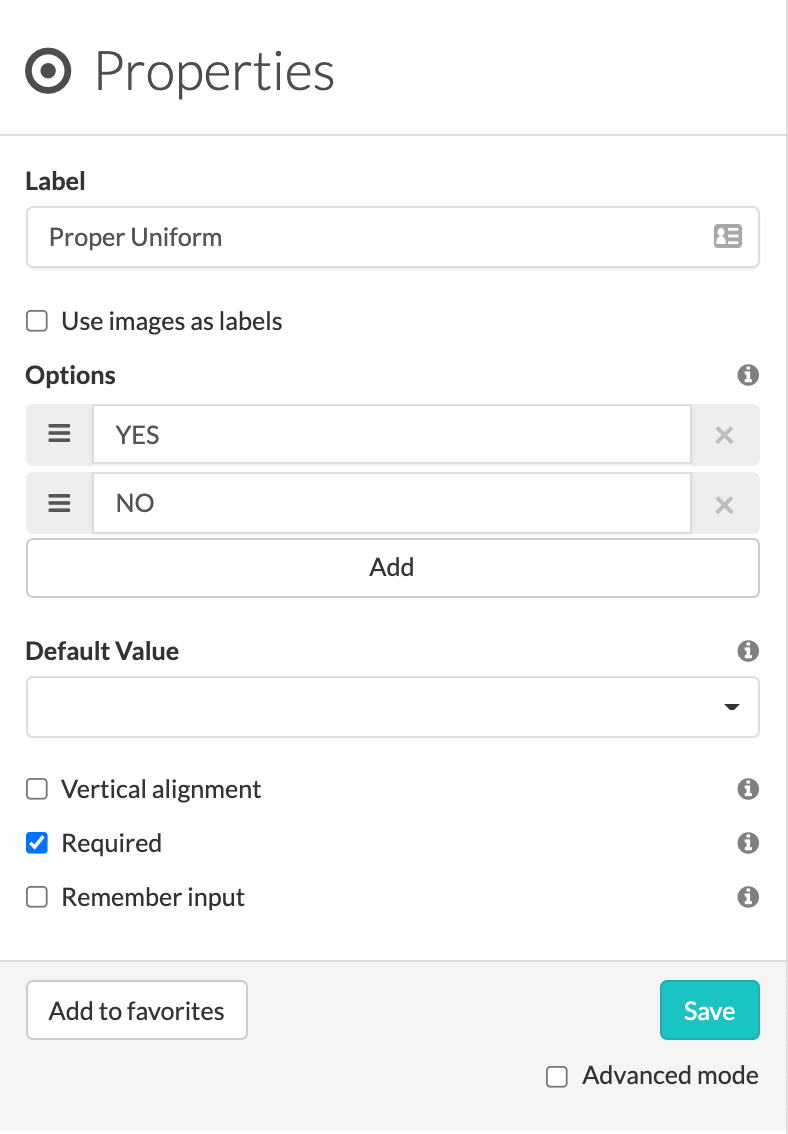
If you have added the widget to your form, click on the pencil to edit its Properties. You can change the name of the widget, under Label, and define the different Options. By default, only two options fields appear but you can include more by clicking on Add.
If you want to set a predefined value, select the desired option under Default Value. This option will be already selected when the user opens the form.
You can change the layout of the form and align the options vertically instead of horizontally. For that, select the Vertical alignment box.
By clicking on Required, you can decide if you want this question to be compulsory or not. You can then finish the configuration.
2.1 Answer with Images
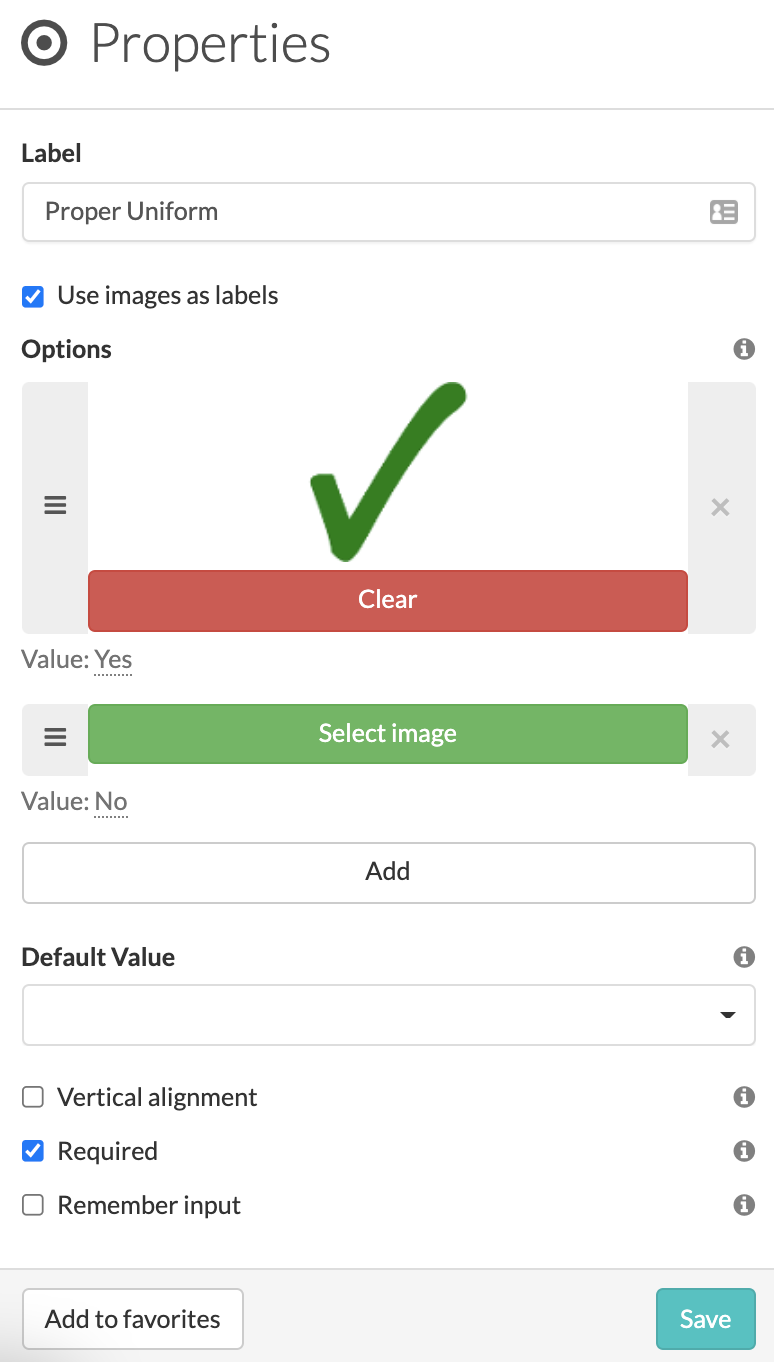
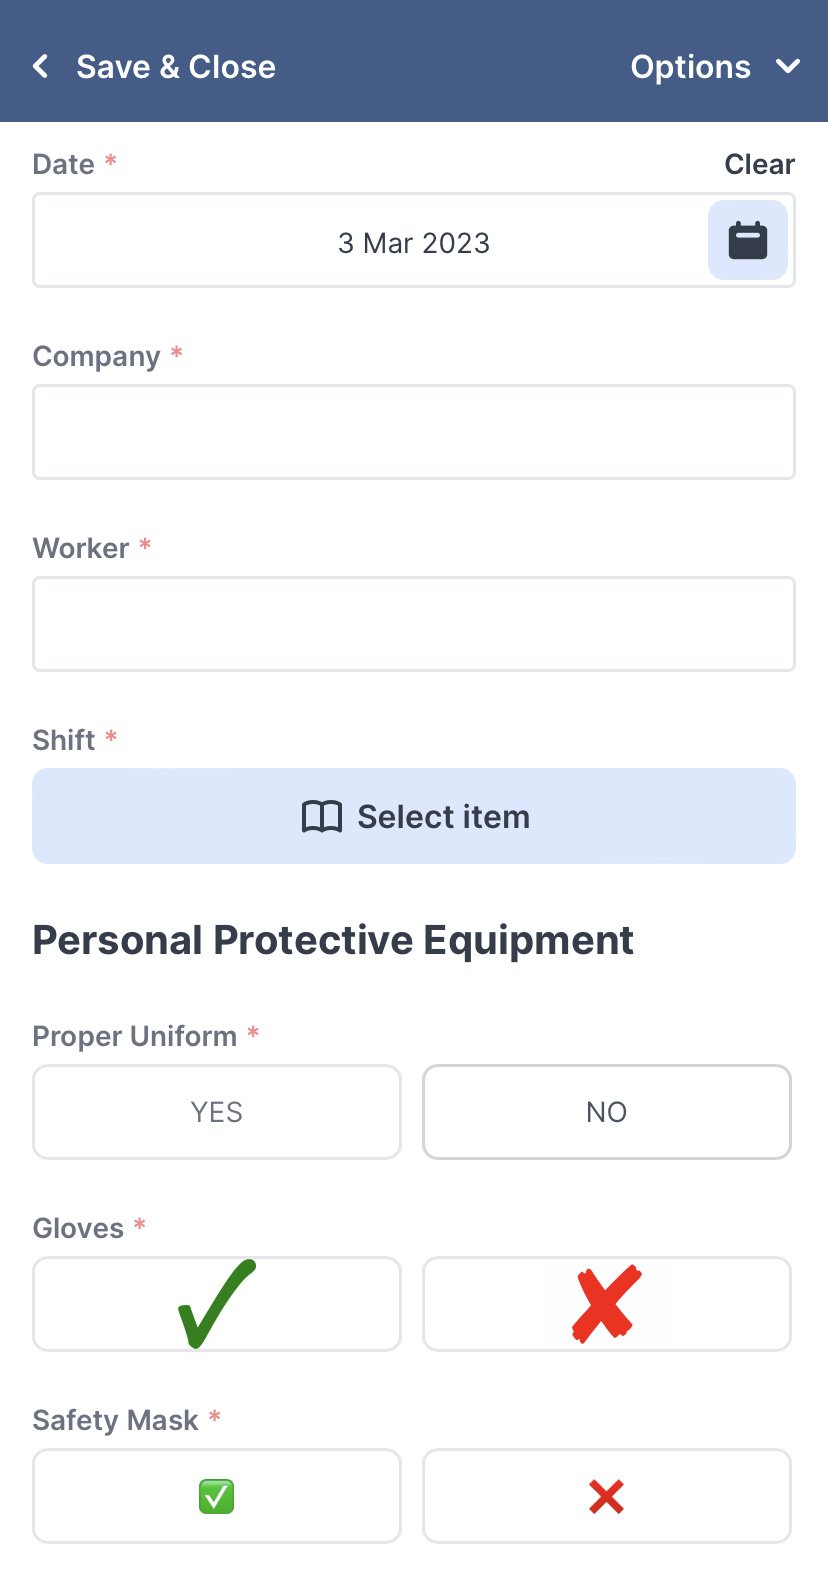
You have the possibility to use images as options of the Radio-widget. If you want the form to be more visual, enable the box Use images as labels. Then, click on Select image to upload a file.
When using images as labels, the result on the PDF will not be the image but the related text option. For example: Yes.
Note: When using images as answers, make sure you first fill in all the possible options. Then enable Use images as labels and add the images.
2.2 Answer with Emojis
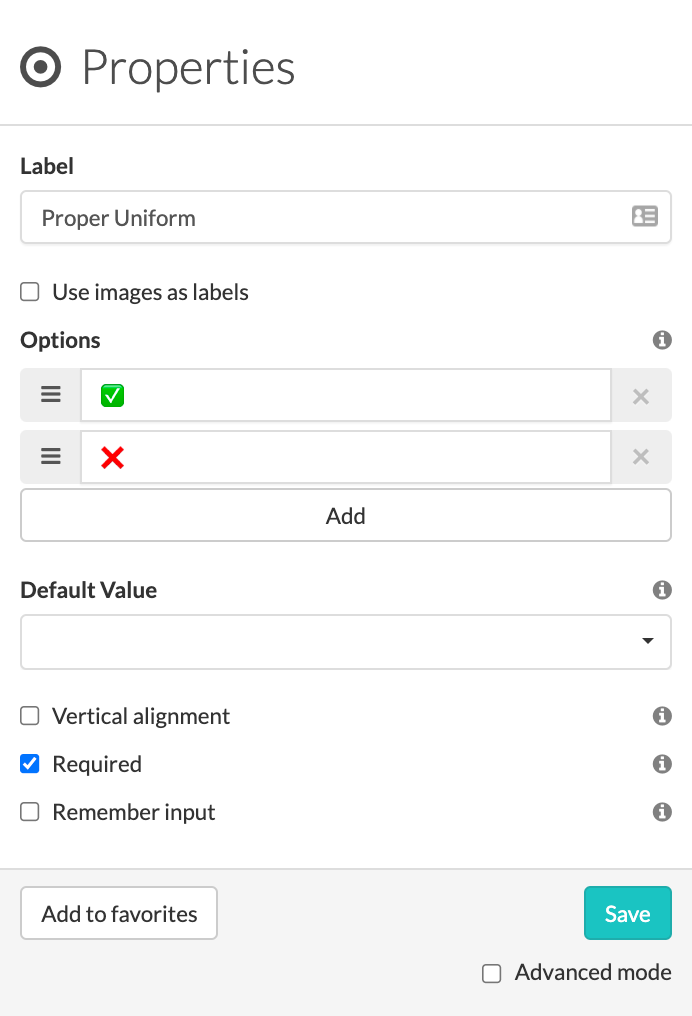
Another possibility is to use emojis as a response. Use your laptop icons to fill in the Options.
Note:
- With Windows, you can copy and paste emojis from the internet. When using a Mac, you can use the cmd + ctrl + space shortcut.
- Do not add icons or emojis in the 'Value' and 'Value in PDF'.
After configuring the widget, click on Save.
3. Advanced Mode
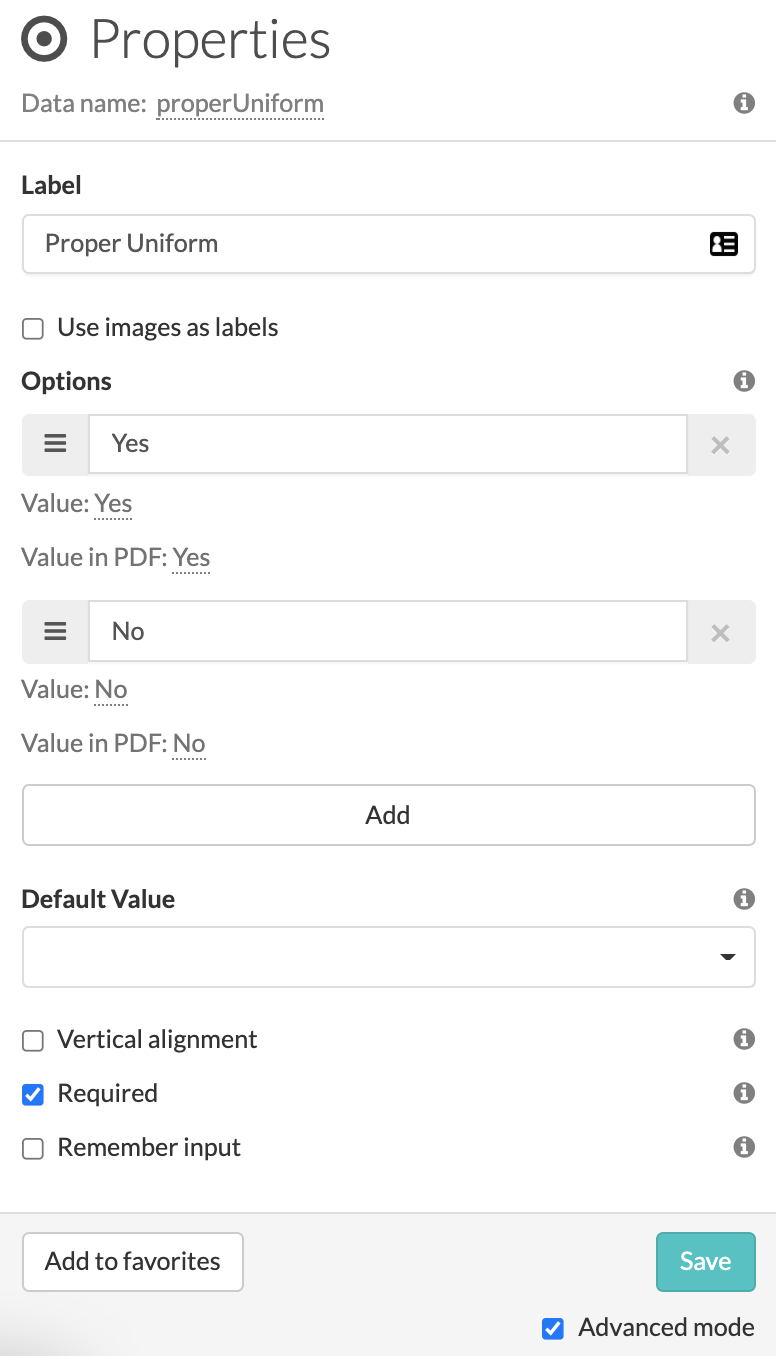
When you select the Advanced mode, more fields of the widget configuration will appear.
Under Data name, you can find the name of the widget. This will be used to create placeholders.
In the Value field, you should enter the value that will be used for calculations, data export or email sent. In Value in PDF, the response text that appears in your PDF report.
Note: Check this post if you want to know how to use the Radio-widget to make calculations on the forms.
4. What does it look like in the App?
When you have finished your form, click Save & Publish. This is an example of how the three different options will appear with the Radio-widget.
Want to stay up to date with our latest tutorials? Go to YouTube and hit the Subscribe button!