No MoreApp account yet? Sign up here.
This feature is available in the Branch, Tree and Forest plan. Visit our Pricing page.
In this article, we show you how to add data of a MoreApp submission to a new Excel row, via Power Automate. In that way, Power BI can connect to that data afterwards.
1. Log into Power Automate
Log in to Power Automate and click + Create on the left menu. This will show you the different options to start your flow.
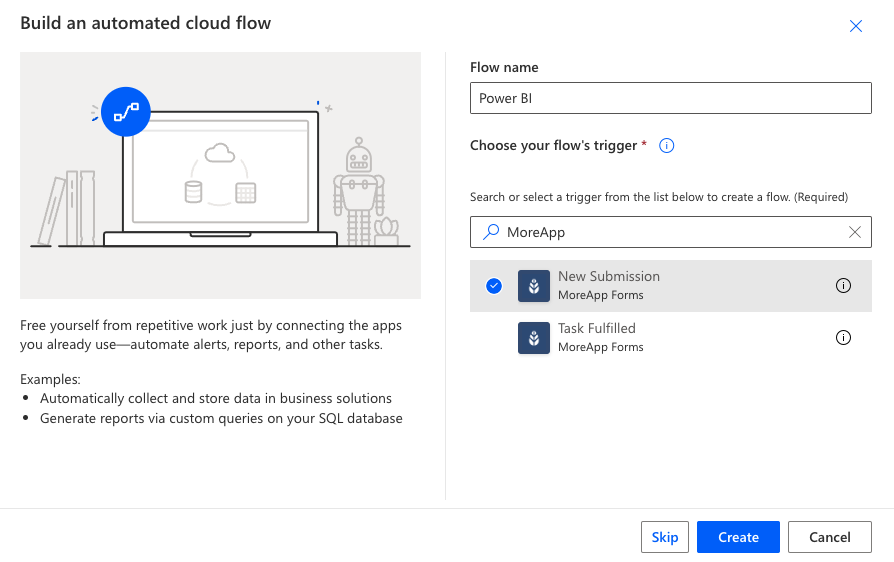
Select Automated cloud flow. Give the flow a name and choose the Trigger. In this case, search for MoreApp and select ‘New Submission’.
Then, click on Create.
2. Connect to MoreApp
Click on the MoreApp module to configure the ‘New Submission’ Trigger.
A tab will appear on the left side of the screen, where you can configure the integration.
Under the Parameters section, connect your MoreApp account.
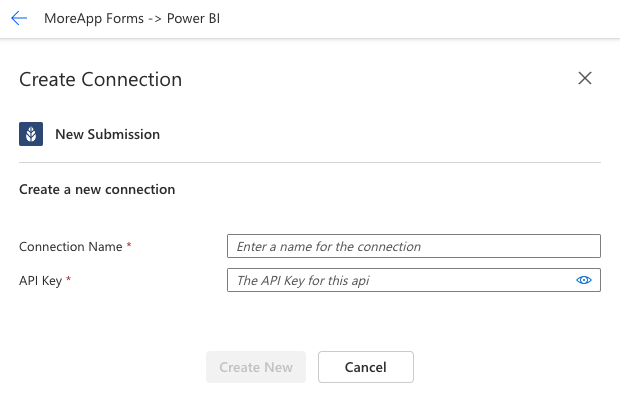
If this is the first time you connect your account to Power Automate, add an API key to establish the connection. Click on Add new.
Give a name to the connection and add the API key you have created in your MoreApp account. Click on Create New. The account will be added to Power Automate.
3. Filter by form
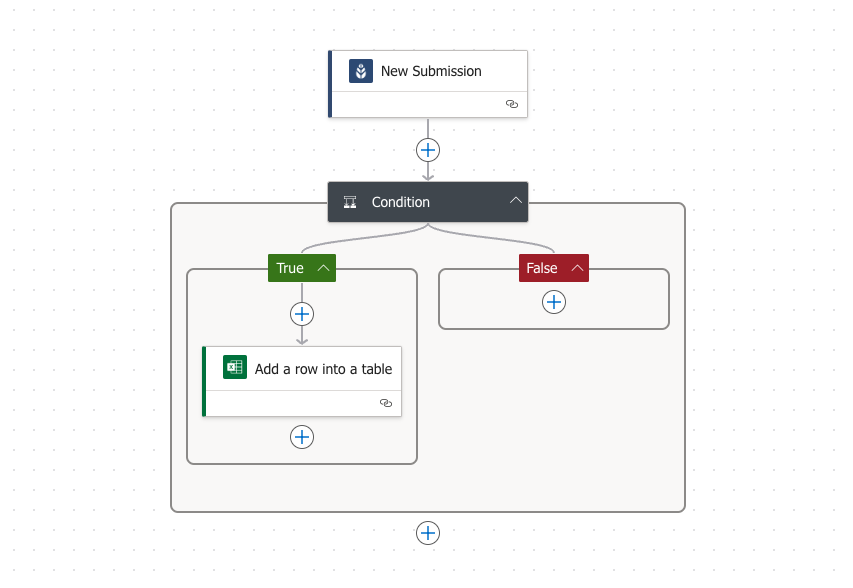
If you want the action to take place only for a specific form, add a condition to your flow. You can filter this by form ID. In that way, the form ID will be verified before continuing.
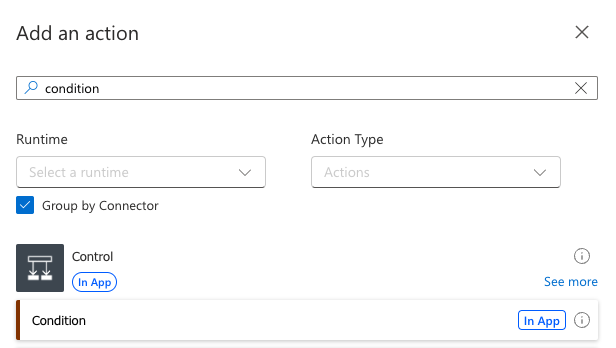
Click on the + icon and select Add an action. In the search bar that appears, search for ‘Condition’. Select Condition, under Control (in App).
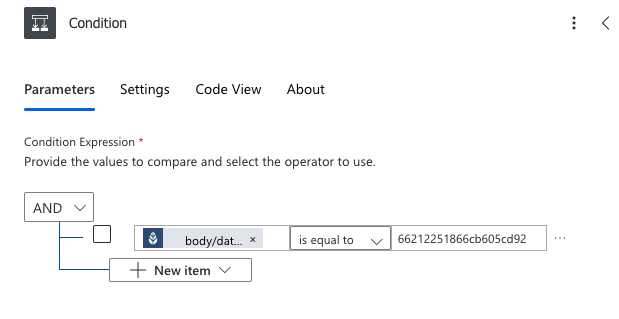
In the Parameters section, you can search for dynamic fields by adding a / in ‘Choose a value’. Once you click on Insert Dynamic content a dropdown will appear. Select the option: body/data/info/formId, and add the form ID of the form you want to use.
4. Configure the Action
You need to configure the path that the flow will follow when the condition is met. Click on the + icon under True. Click on Add an action.
In this example, we will search for Excel Online. Select the action “Add a row into a table“.
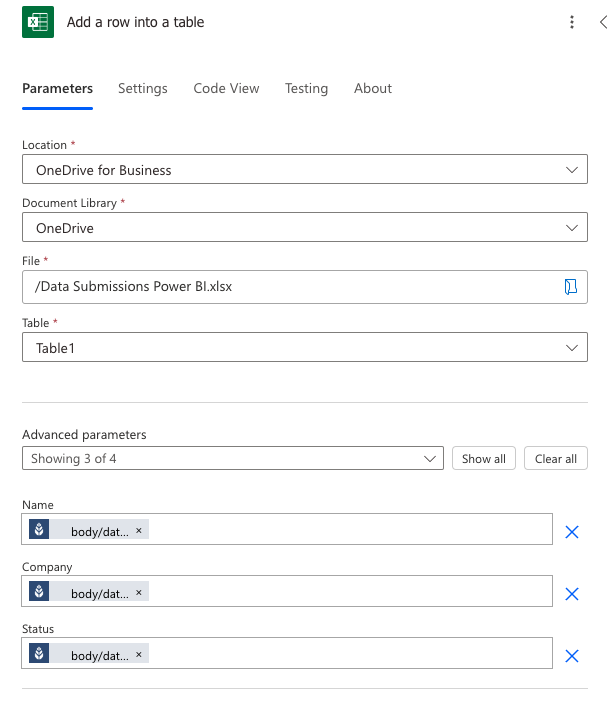
Connect to your account and configure the Parameters for the action. Add the Location, Document Library, File and Table.
Note: It is important to create a table in your Excel online sheet first.
Then, open the 'Advanced parameters' section by clicking Show all. The columns of your table will appear so you can map them with the fields of your MoreApp form.
Check this article to learn how to select a specific value using the data names.
The configuration will look similar to this image:
5. Activate the connection
Once the configuration has been completed, you can activate the connection. Click on Save and test your workflow! Submit a form and make sure the data has been properly exported to Excel.
6. Create a report in Power BI
Log into your Power BI account. Click on Create in the left side menu. Choose the way you prefer to start building your report. In this case, we select Excel.
Connect your Excel workbook by browsing or copy-pasting the URL of the file.
Once the connection is done, you can add graphs to the report. These graphs will use the data from the Excel file.
Now you can easily analyse the information obtained from your MoreApp submissions.
Want to stay up to date with our latest tutorials? Go to YouTube and hit the Subscribe button!