No MoreApp account yet? Sign up here.
This feature is available in the Branch, Tree and Forest plans. Check our plans.
Option 1: Subform field
1.1 Add a Subform
Open your form in the MoreApp Platform and click on Edit form.
Add the Subform field to your form. Click on the field and configure the properties. Give the field a name under Label and customise the text for Add button text. For example, Photos and Add photos.
You can use an existing form or create one from scratch. Click on Edit.

1.2 Add two Photo fields
You will be redirected to the subform. Drag two Photo fields into the subform. Click on the field and configure the Photo properties.
1.3 Email tab
Go to the Email tab of the subform. While you are inside the subform, go to the Integrations tab so the email configuration is shown. Check the box: Use horizontal orientation for subform.

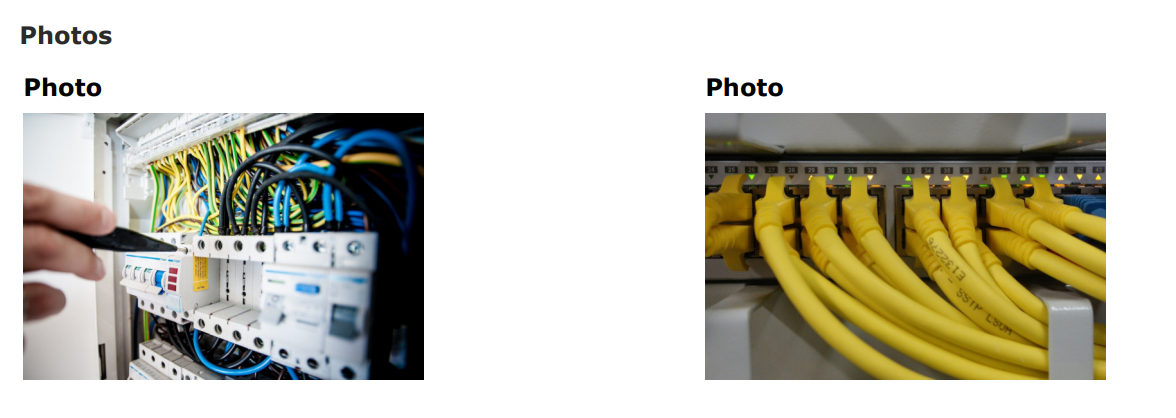
1.4 Result in PDF
Option 2: HTML
This feature is available in Branch, Tree and Forest plan. Check our plans!
2.1 Code view
Go to the Email section, and scroll down until the PDF configuration. Check the option 'Customise PDF with HTML' and the Code view will be opened.
Search for the data names of the two photo fields that you want to place next to each other.
2.2 Remove the code
Remove the following code for both photo fields.
<tr class="${_hideWhenEmpty(FOTO1)}"> <td colspan="2"> <span class="more-field-label">Foto 1</span><br/> <img src="${FOTO1}" alt="" style="max-width: 200px; max-height: 200px;">
2.3 New code
Steps:
- Copy the code below and paste it into the desired place in the code view
- Place the Label of Photo 1 instead of: LABEL1
- Place the data name of Photo 1 instead of: dataname1
- Place the Label of Photo 2 instead of: Label2
- Place the data name of Photo 2 instead of: dataname2
- Click on Save
<td class="more-field-label" style="text-align: center;"> <span class="more-field-label">LABEL1</span> <br> <img style="max-width: 300px; max-height: 300px;" src="${dataname1}" alt=""></td><td style="text-align: center;"> <span class="more-field-label">LABEL2</span> <br> <img style="max-width: 300px; max-height: 300px;" src="${dataname2}" alt=""></td>
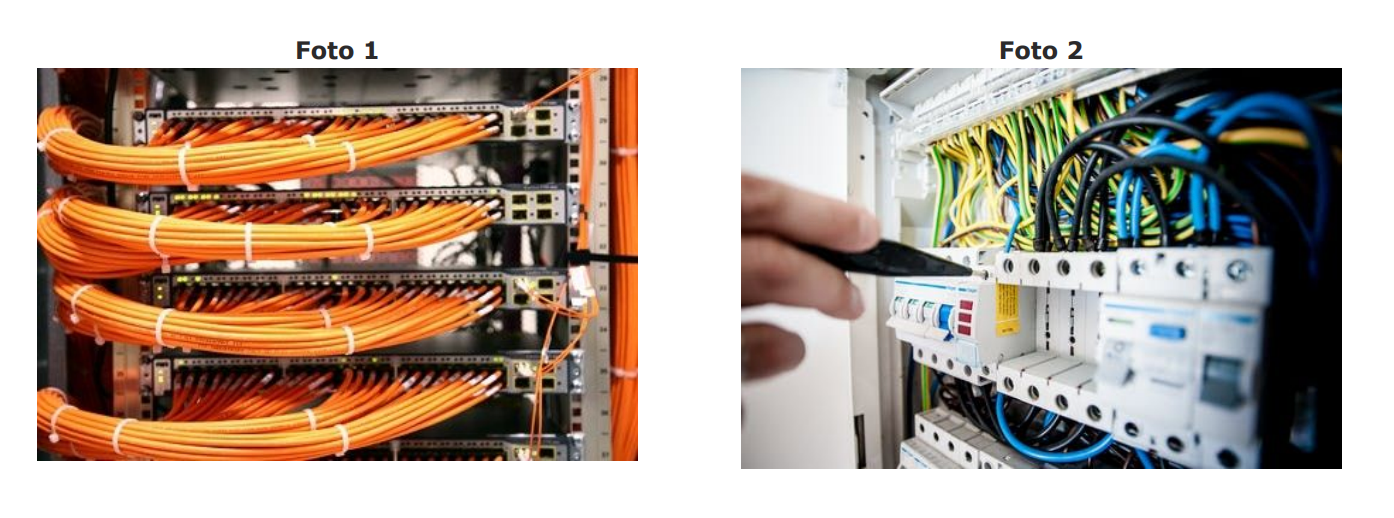
2.4 Result in PDF
After you fill in a form, the result in the PDF will look like this:
Want to stay up to date with our latest tutorials? Go to YouTube and hit the Subscribe button!