No MoreApp account yet? Sign up here.
This feature is available in the Branch, Tree and Forest plan. Visit our Pricing page.
In this post, we show you how to pre-fill fields in a MoreApp form when sending a task. In this example, we use data from Excel to fill in the form.
Note: To make the process even easier, you can use one of our templates. Access this page and click on Get this template. The modules will be automatically added for you, and you will be guided on how to configure each of them.
1. Log in to Make
Access Make.com and go to the Scenarios tab. Click + Create a new scenario, in the top right corner.
First, you need to select the app you want to use to start the connection. Click the + button in the middle of the screen. A list of available apps will appear.
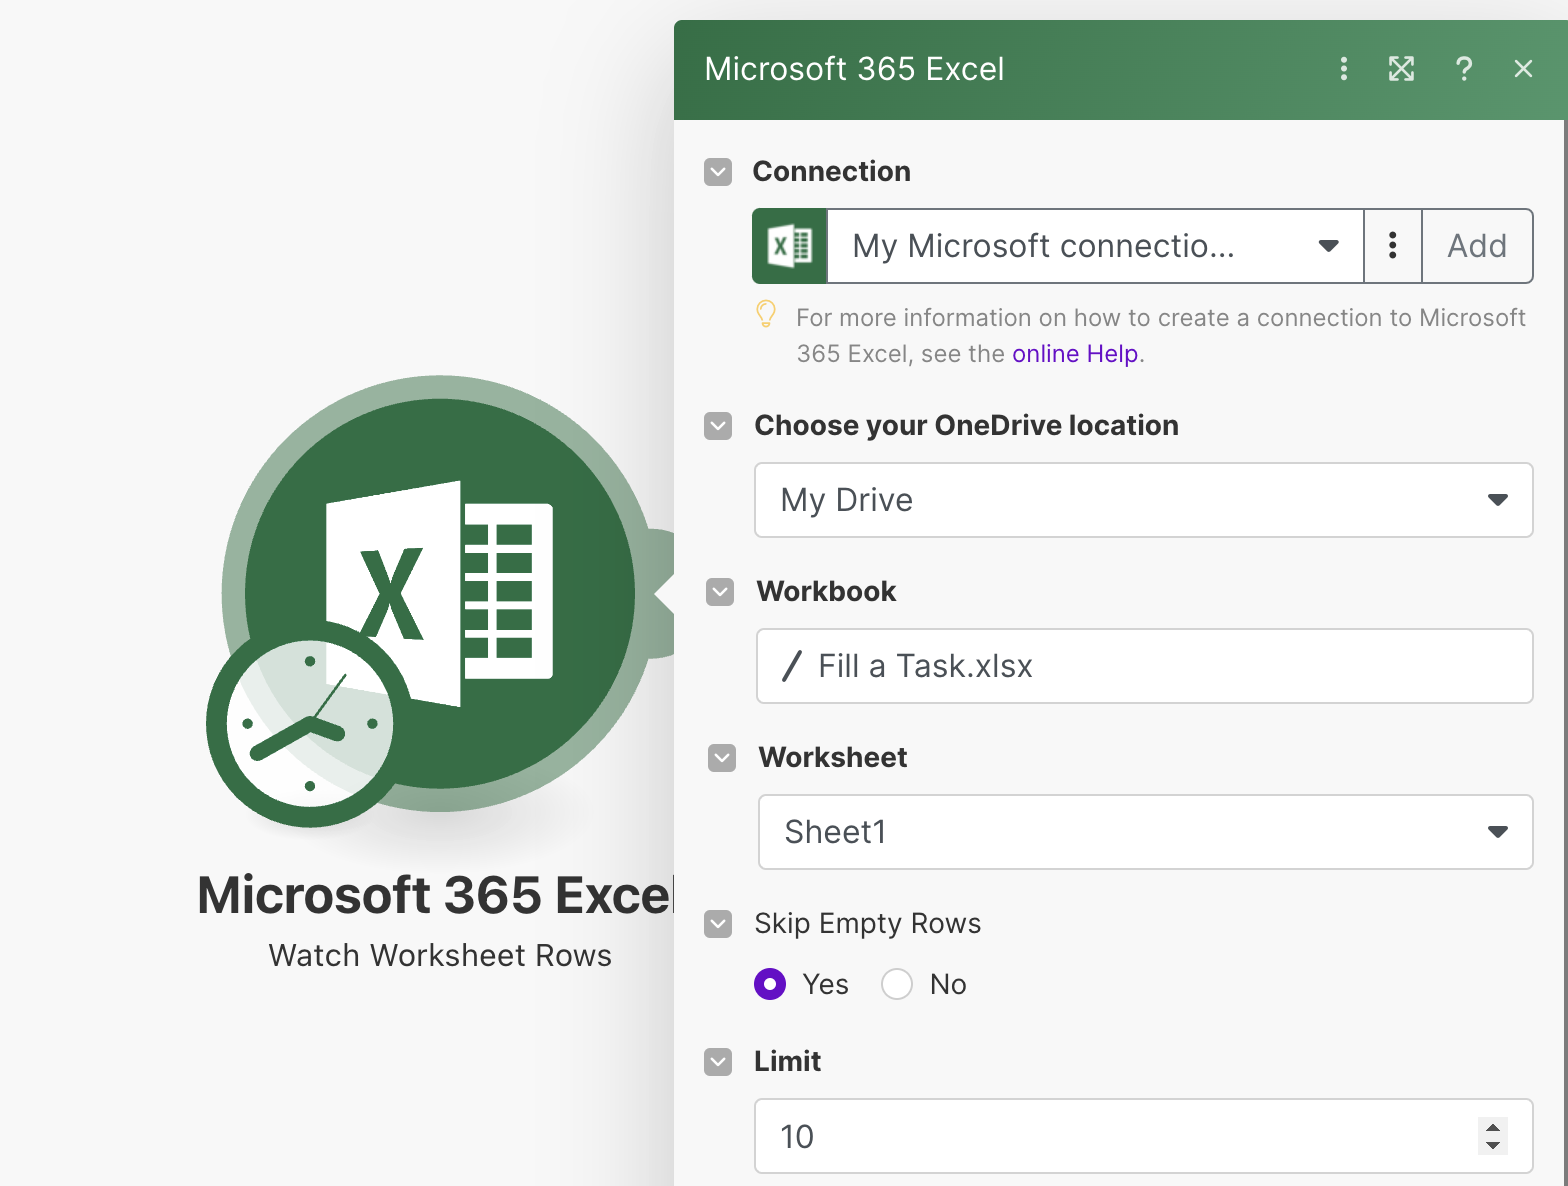
For this example, you need to select Microsoft 365 Excel. Choose the Trigger “Watch Worksheet Rows“. This will ensure the action occurs every time a row is added to the sheet.
2. Connect your Excel account
Select the Excel account by clicking on Add and choose the account you are working with.
Select the location where the Excel file is stored under Choose your location. Then, specify the Workbook and Worksheet that contain the data.
You can also set a limit, for the maximum number of rows executed per cycle. In this example, we have a limit of 10.
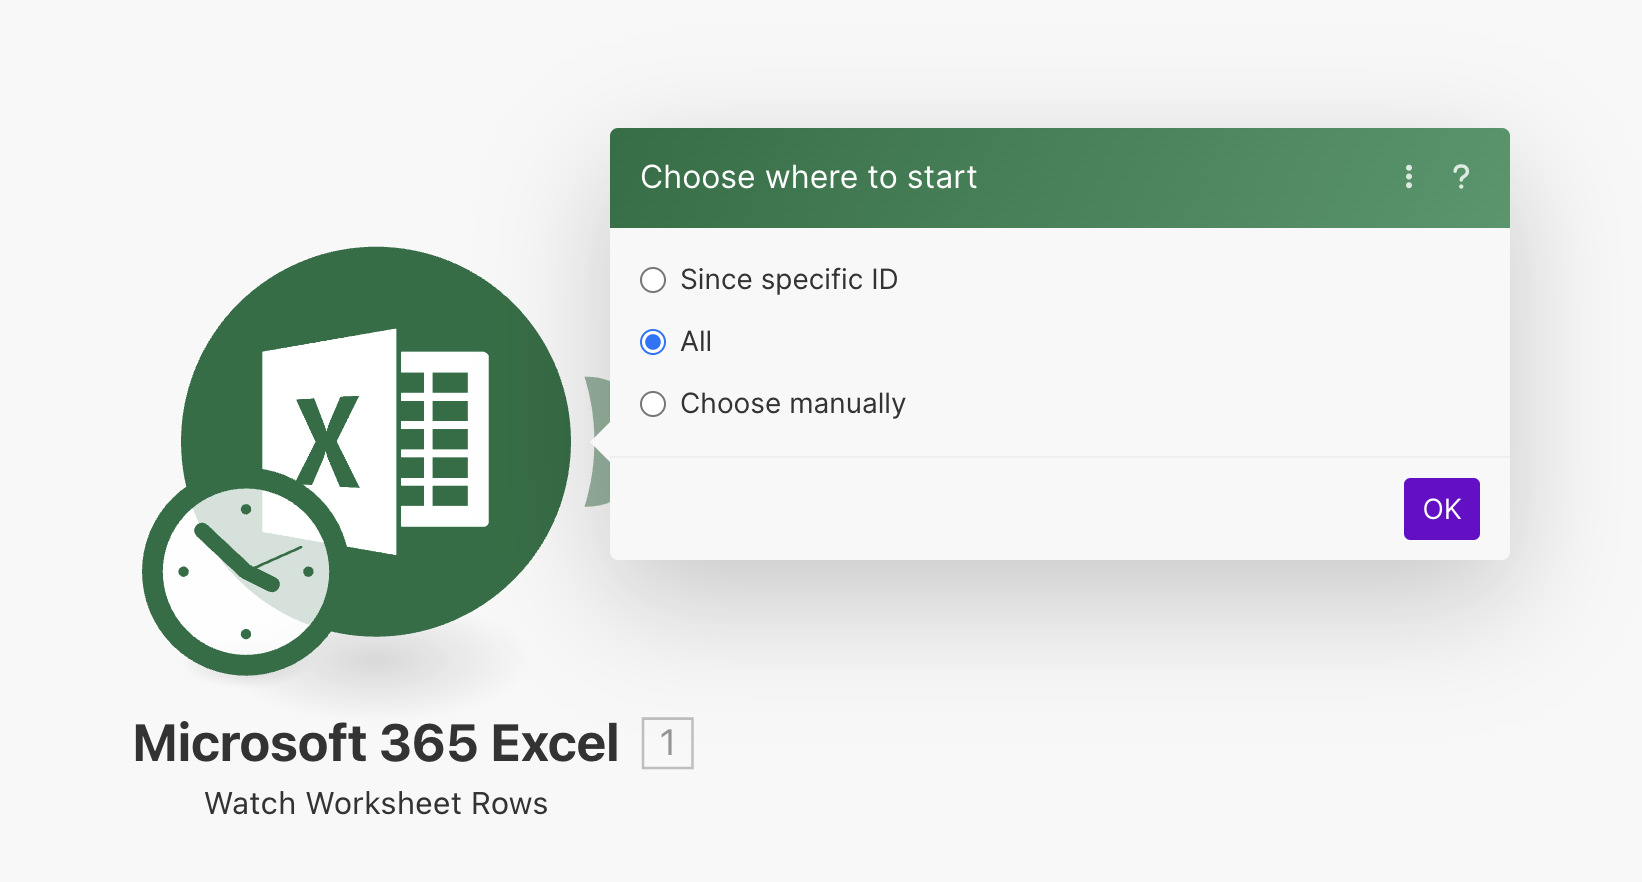
After clicking OK, a new tab appears so you can choose where to start. You have three different options to select.
To make sure the Trigger is properly configured, click on Run once. Make will then use the values from Excel to configure the Action.
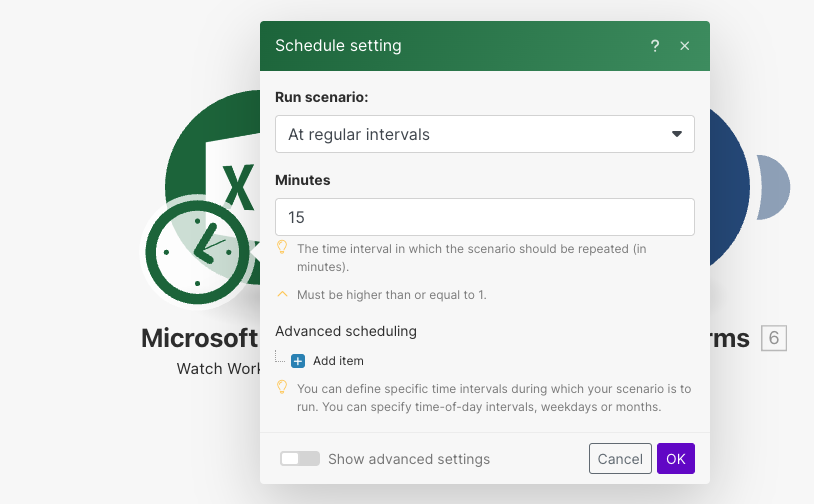
3. Configure the interval
By clicking the clock icon in the Excel module, you can configure the time interval that will trigger the action. This way, the scenario will be repeated based on the minutes established.
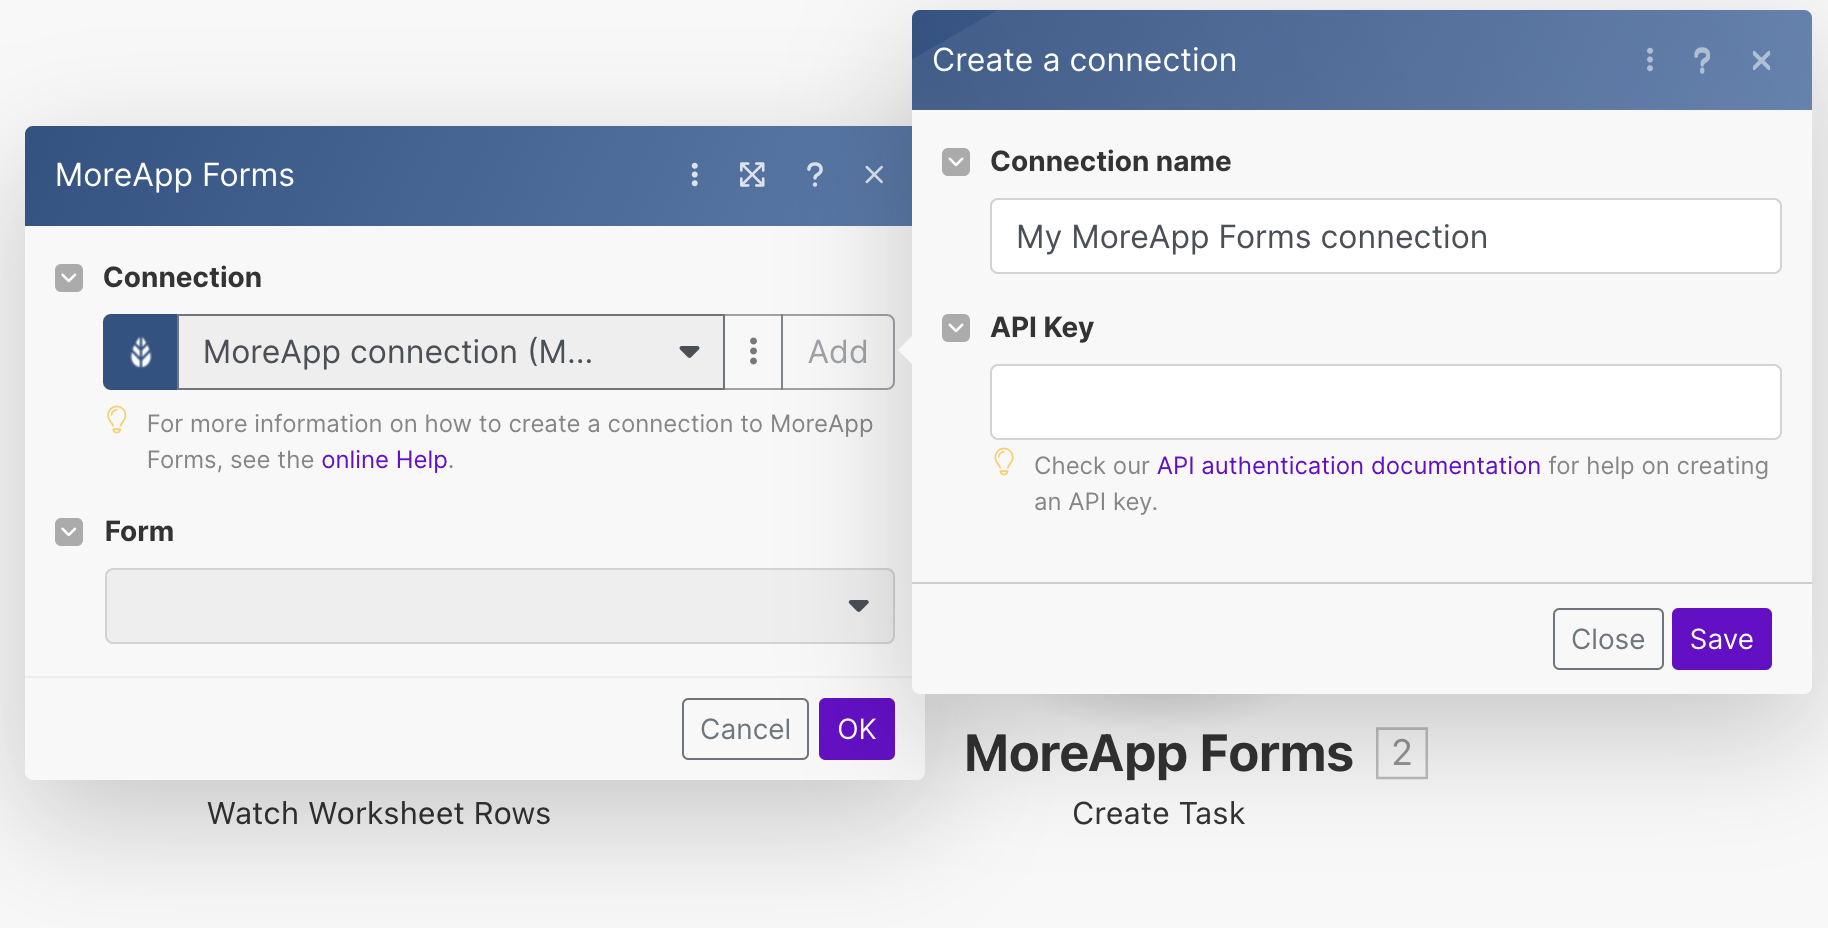
4. Connect to MoreApp
Click the + button to add another module. Search for MoreApp Forms and select “Create Task” as the Action.
If you already connected your account to Make, you can select it in the dropdown.
If not, you will need to connect the account by adding an API key. You can find detailed instructions on how to create an API key here. Copy the API key into Make and the account will be connected.
Click Save to make sure the connection is established.
5. Configure the Action
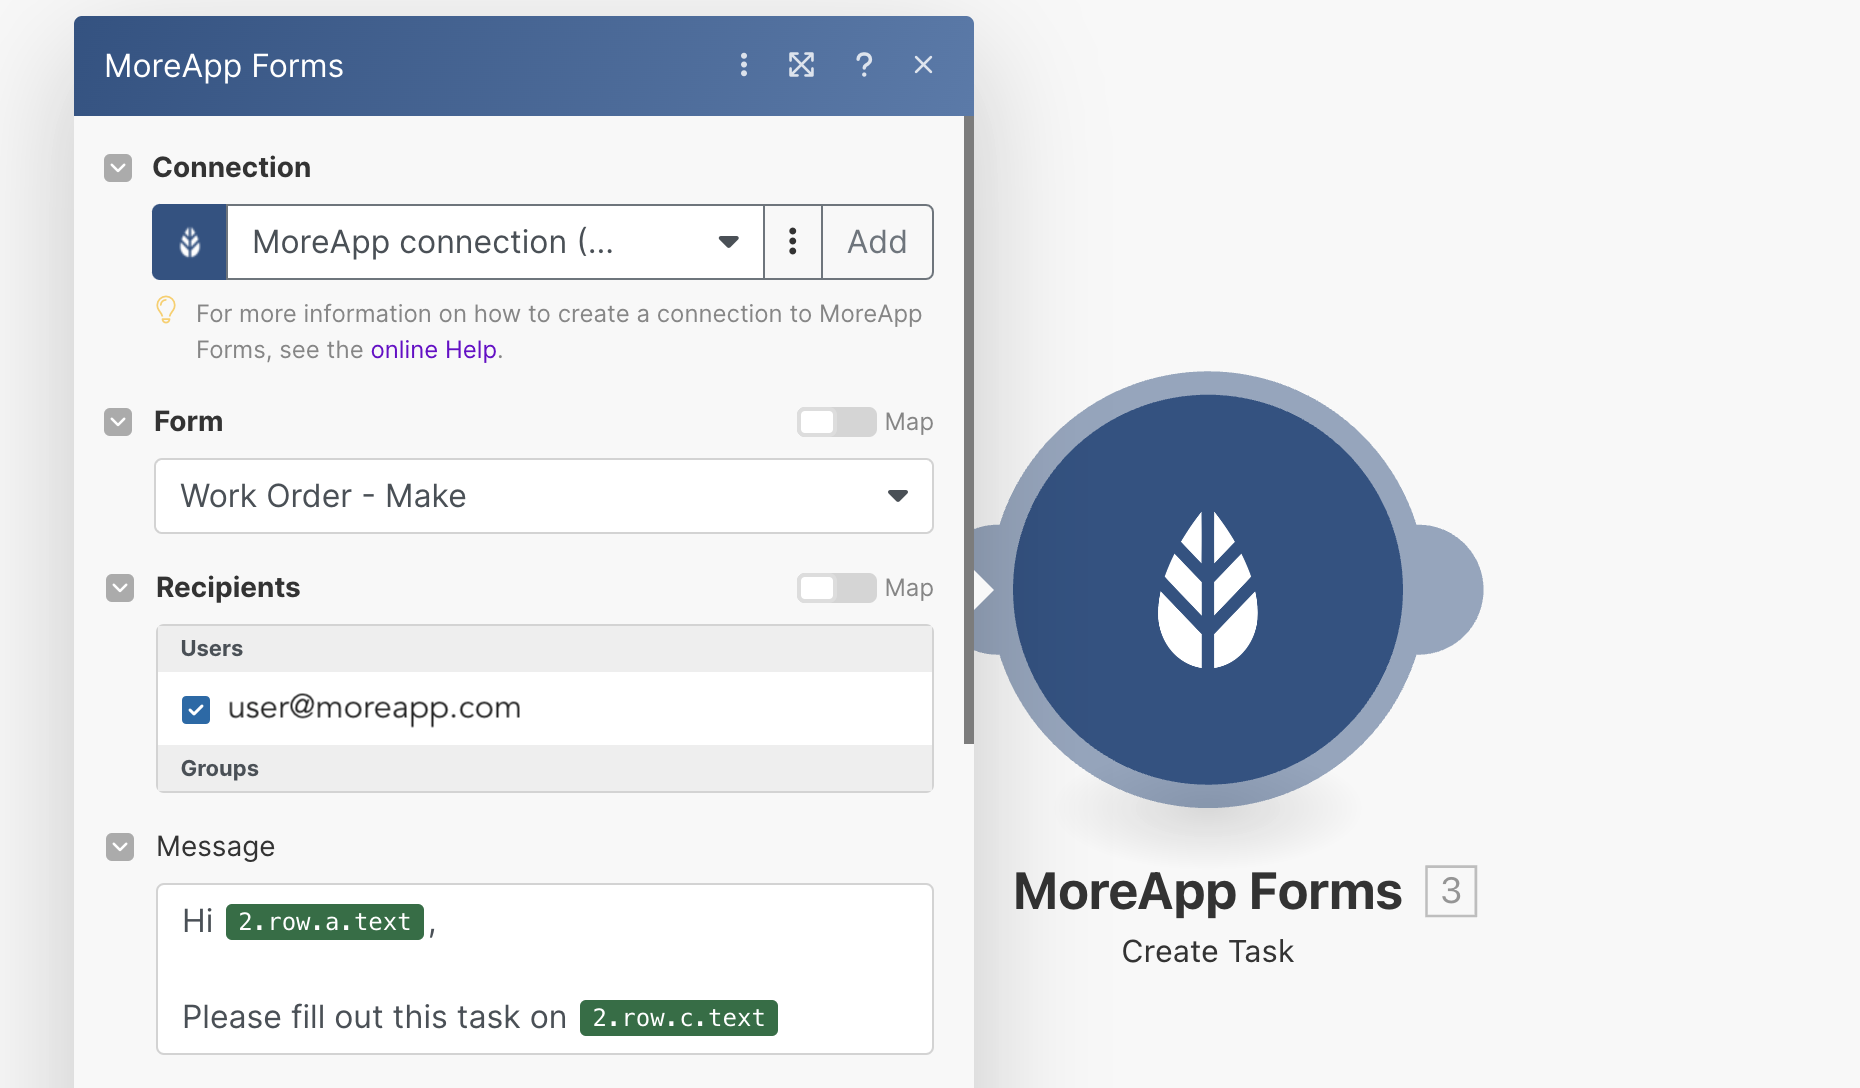
Once the account is connected, you will need to select the form where you want to create the task. To do so, click on the dropdown under Form.
In the Recipients section, select the users who will receive this task. You can select one or multiple users.
Note: Ensure the selected users have access to the form.
Write the message that will appear once the task is sent. You can use placeholders to customise this text.
Now you need to map the data from Excel to the fields in the form. Click on Show advanced settings. Under Enter data as, you will need to select Key-value.
Add as many items as you want to pre-fill. The Key is the data name of the MoreApp field, and the Value is the corresponding value from the Excel column.
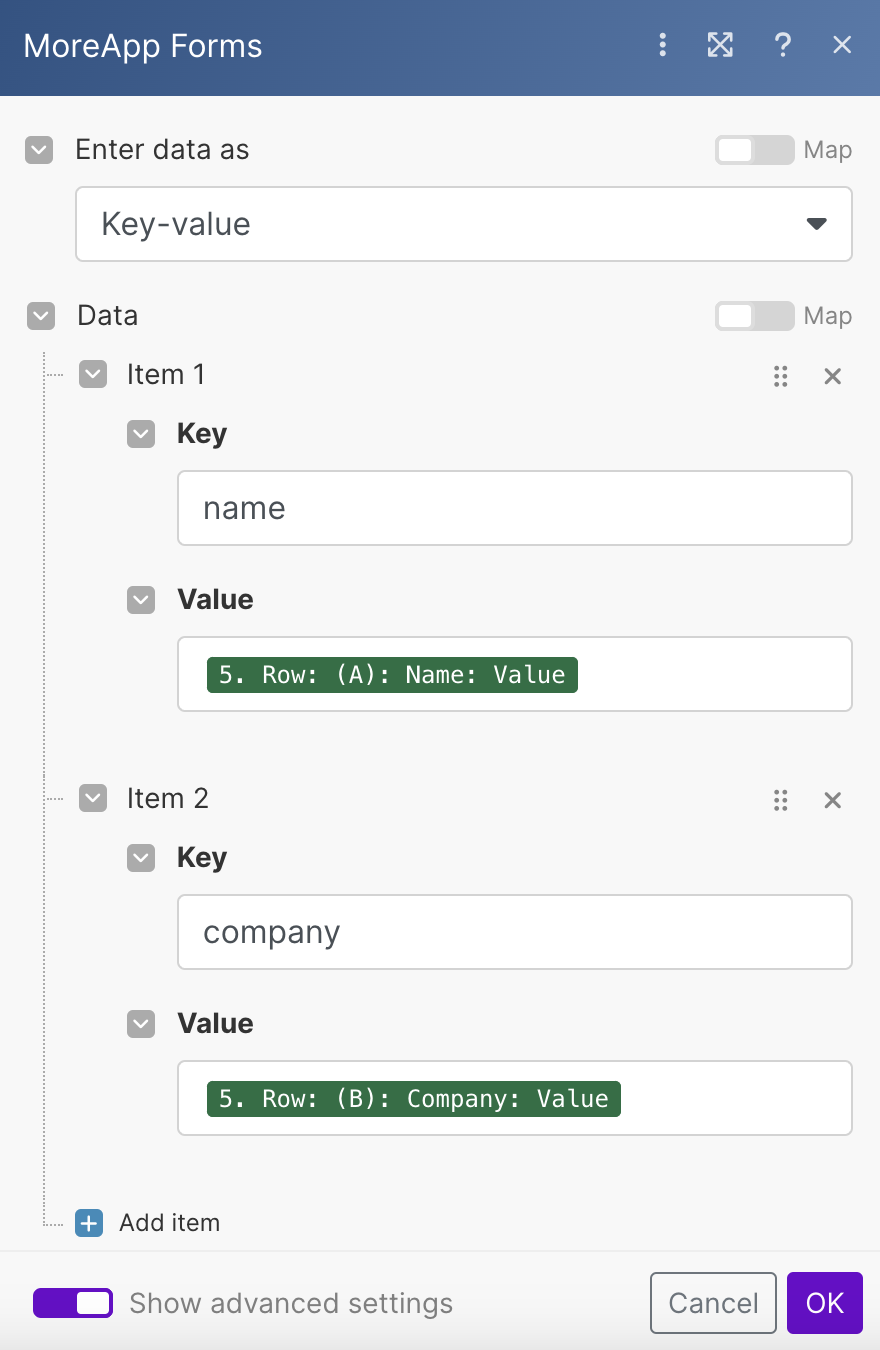
After adding all the items, click OK.
6. Test and activate the integration
Once the configuration of all modules is completed, click Run once.
Add a row in Excel and check if a task is created at MoreApp.
If something is wrong, an error message will appear, allowing you to check and fix the configuration.
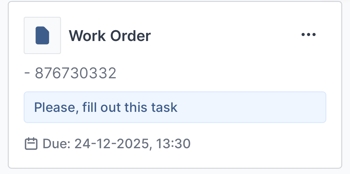
If everything is set up properly, you will receive a MoreApp notification with a task.
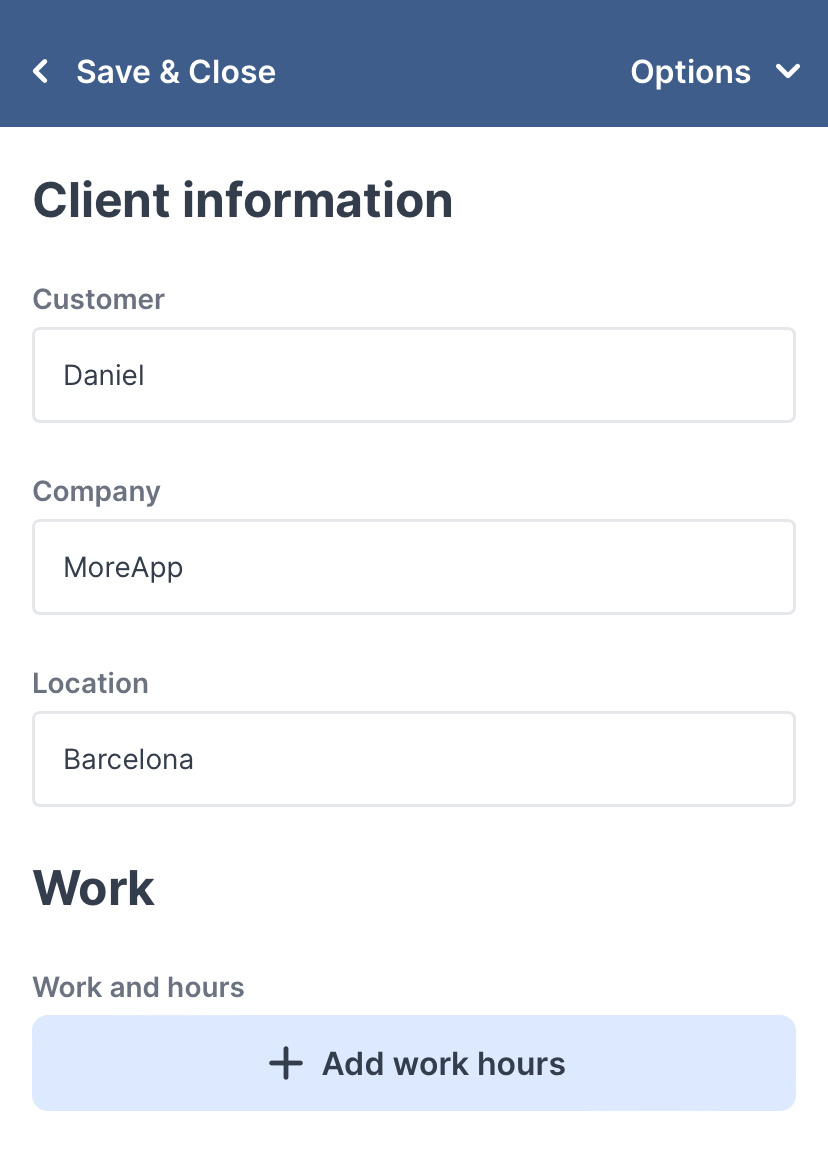
When opening this task, fields in the form should be filled in.
Congratulations! You are ready to go! Click the OFF button in the bottom left corner to turn it ON.
Want to stay up to date with our latest tutorials? Go to YouTube and hit the Subscribe button!