How to save Data on an FTPS server | MoreApp
Automatically save data to your FTPS server with FTPS integration. JSON files, images, and PDFs are organised and stored securely.
No MoreApp account yet? Sign up here.
This feature is available in the Branch, Tree and Forest plan. Visit our Pricing page.
1. Add the Integration
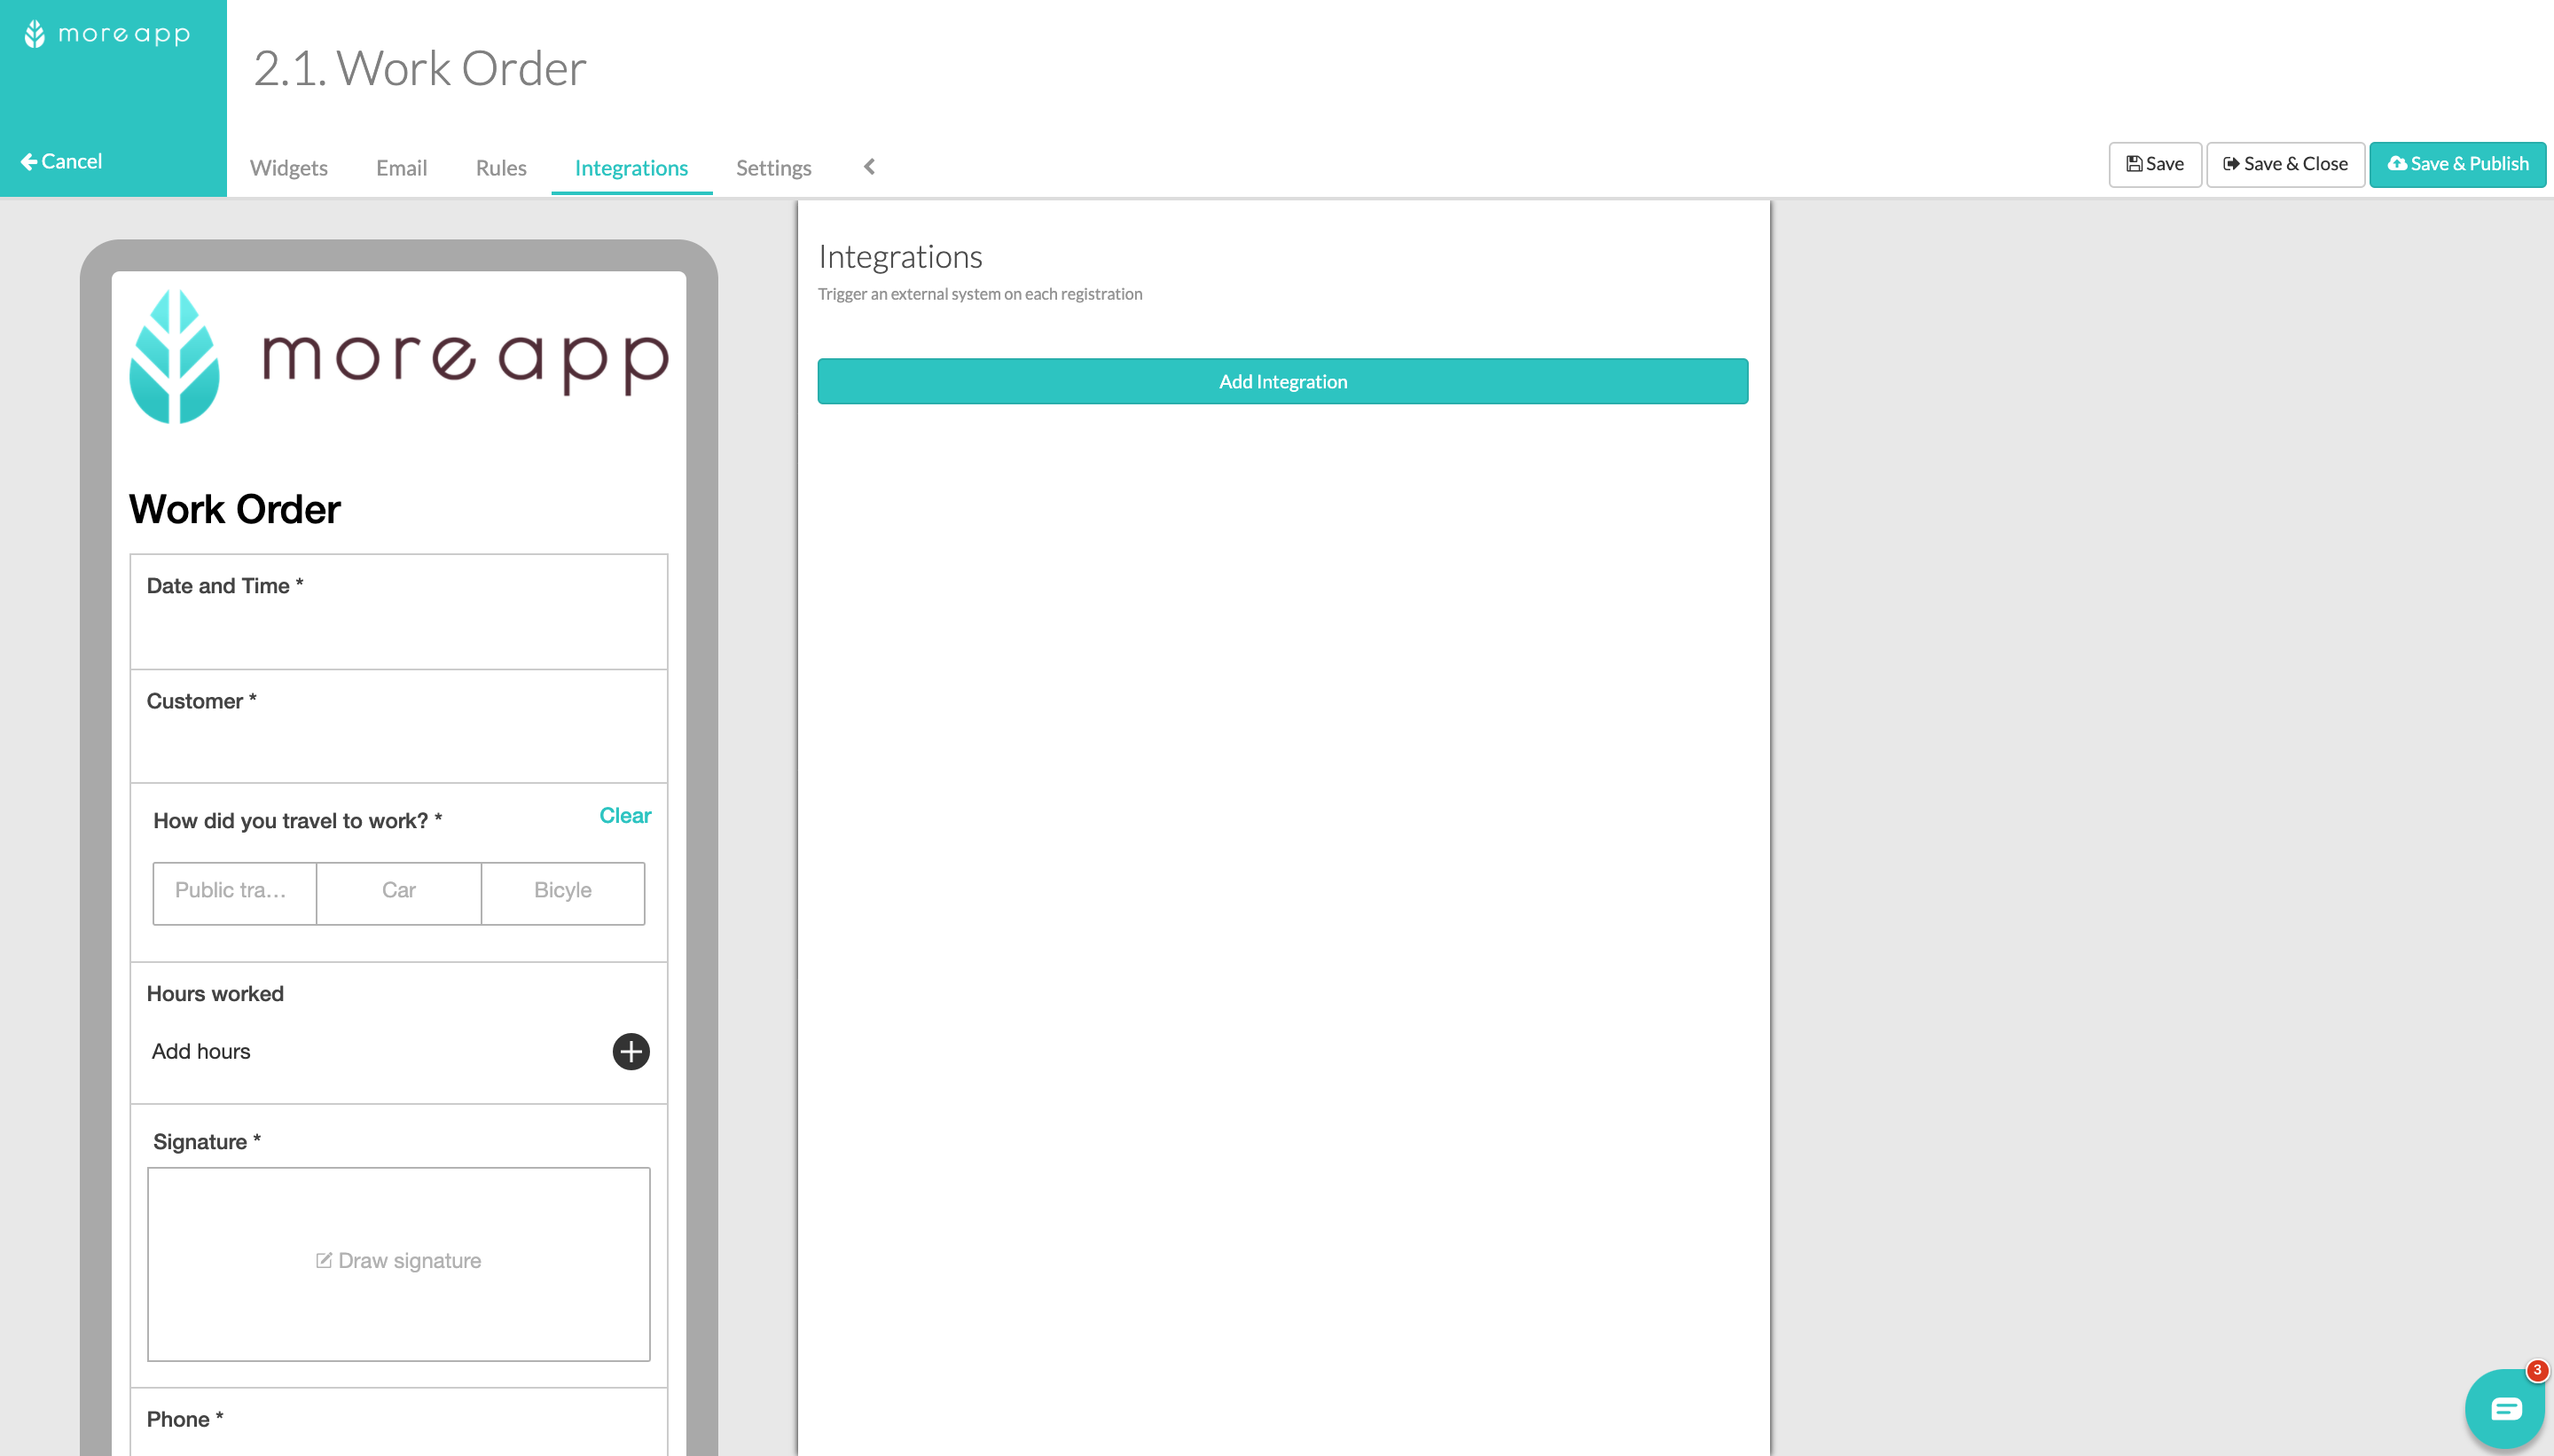
Go to the MoreApp Platform and select your work order. Click on Edit Form and go to the Integrations tab. Then click on Add Integration.

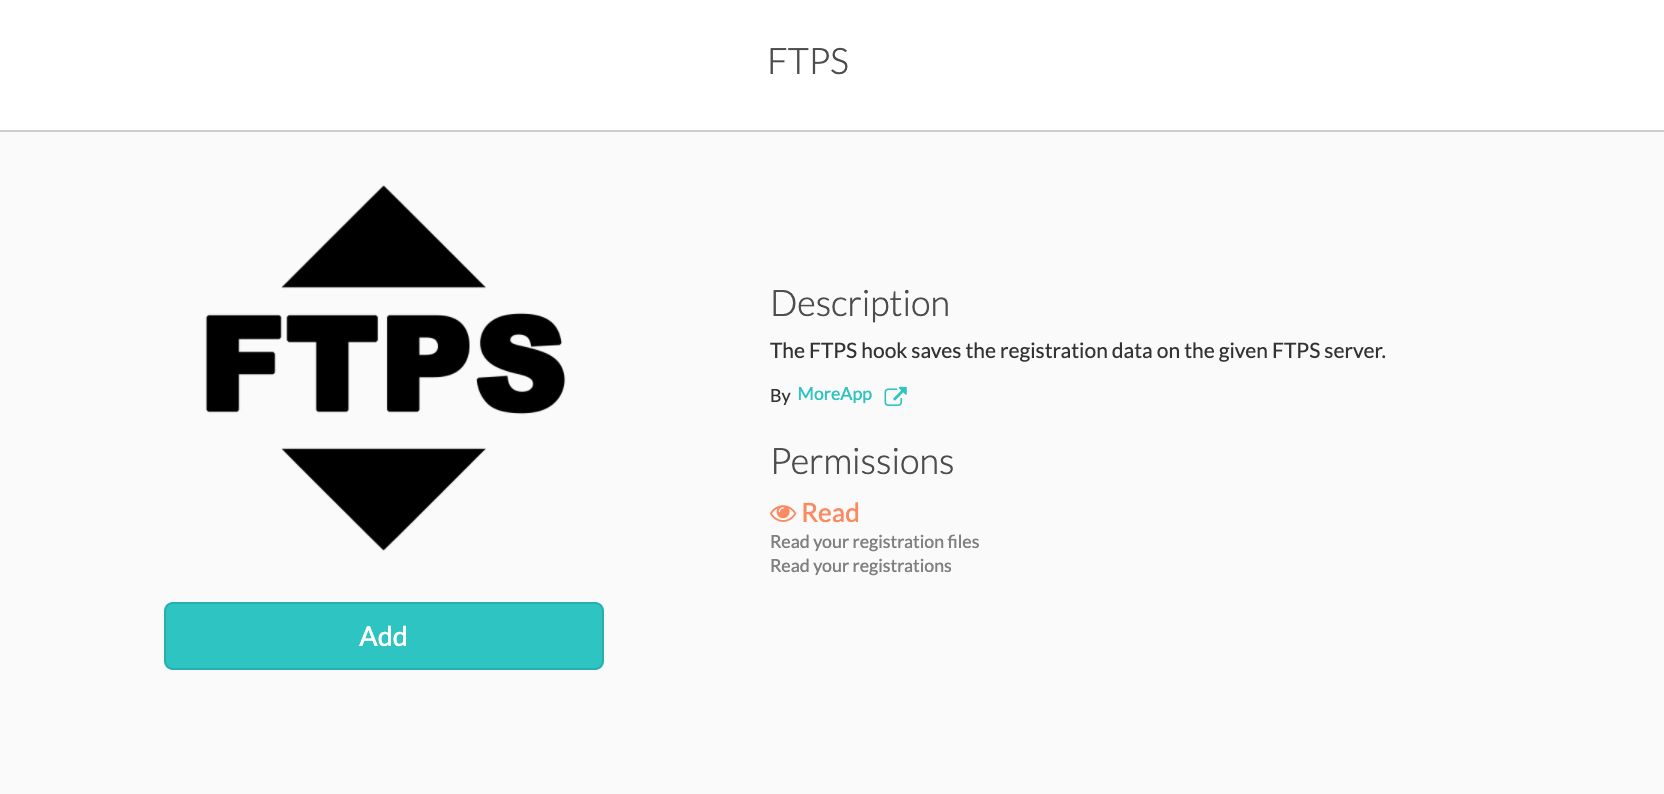
Select the FTPS integration and click on Add.

2. Configure the integration
First of all, select the Protocol you want to use to connect to the server: FTPS, SFTP or FTP.
Then, fill in the URL to the Server without the protocol. Then fill in the Port number to your FTPS integration. See the notes, at the bottom of this post, to find the correct port.
Next, fill in the Path where the data should be stored. The path can include placeholders. If you want the data to be stored in the main folder, then only add a /. If you check the box to Put each registration in its own folder, MoreApp automatically appends ‘/customerId/form-name/serial-number’ to the remote path to make a unique path per registration. Enter your FTP username and FTP password.
Whenever you select the option ‘Disable SSL verification’, we will skip the SSL check. This can be useful when using a self-signed certificate.
Standardly MoreApp saves a JSON file with the registration data on the server. Next to that, you can choose to also include the PDF report and Images. Also, indicate whether or not to store PDFs that are generated for emails without a recipient.
Note: Only the PDF report can be sent to the FTPS server. You can not send your Excel or Word reports.
Once you finish with the configuration, click on Validate.

Note: By default, the JSON file of the submission gets the name “registration.json”. This name can not be configured. All the other files attached (images, PDF report, etc.) will use their configured filename.
3. Configure the email and PDF
Configure the email and PDF so that a PDF report will be generated.
Note:
- Add at least one recipient to your email configuration.
- If multiple PDF reports are configured in the Email tab, all PDF files will be exported to the FTPS server.
Click Save & Publish.
4. Fill in a form
Fill in a form to be able to see that a new folder will be generated with the data on your FTPS server.
Please note:
-
FTP, FTPS and SFTP are supported. FTPS and SFTP are recommended since these are the most secure options.
-
By default, the port is set to 0. This means it will use the default port 21 for FTP, 990 for FTPS and 22 for SFTP
-
When using FTPS, we recommend using a valid SSL certificate signed by a known CA (Certificate Authority). If you insist on using a self-signed certificate, make sure to check “Disable SSL verification”.
-
Both implicit and explicit FTPS modes are supported.
-
If you use an IP-filter to restrict access to your FTP server, make sure to whitelist our IP: 35.204.176.215.
Want to stay up to date with our latest tutorials? Go to YouTube and hit the Subscribe button!