In this post you will learn how to create a digital checklist using the MoreApp Platform by following a few simple steps.
No MoreApp account yet? Sign up here.
1. Go to the forms tab
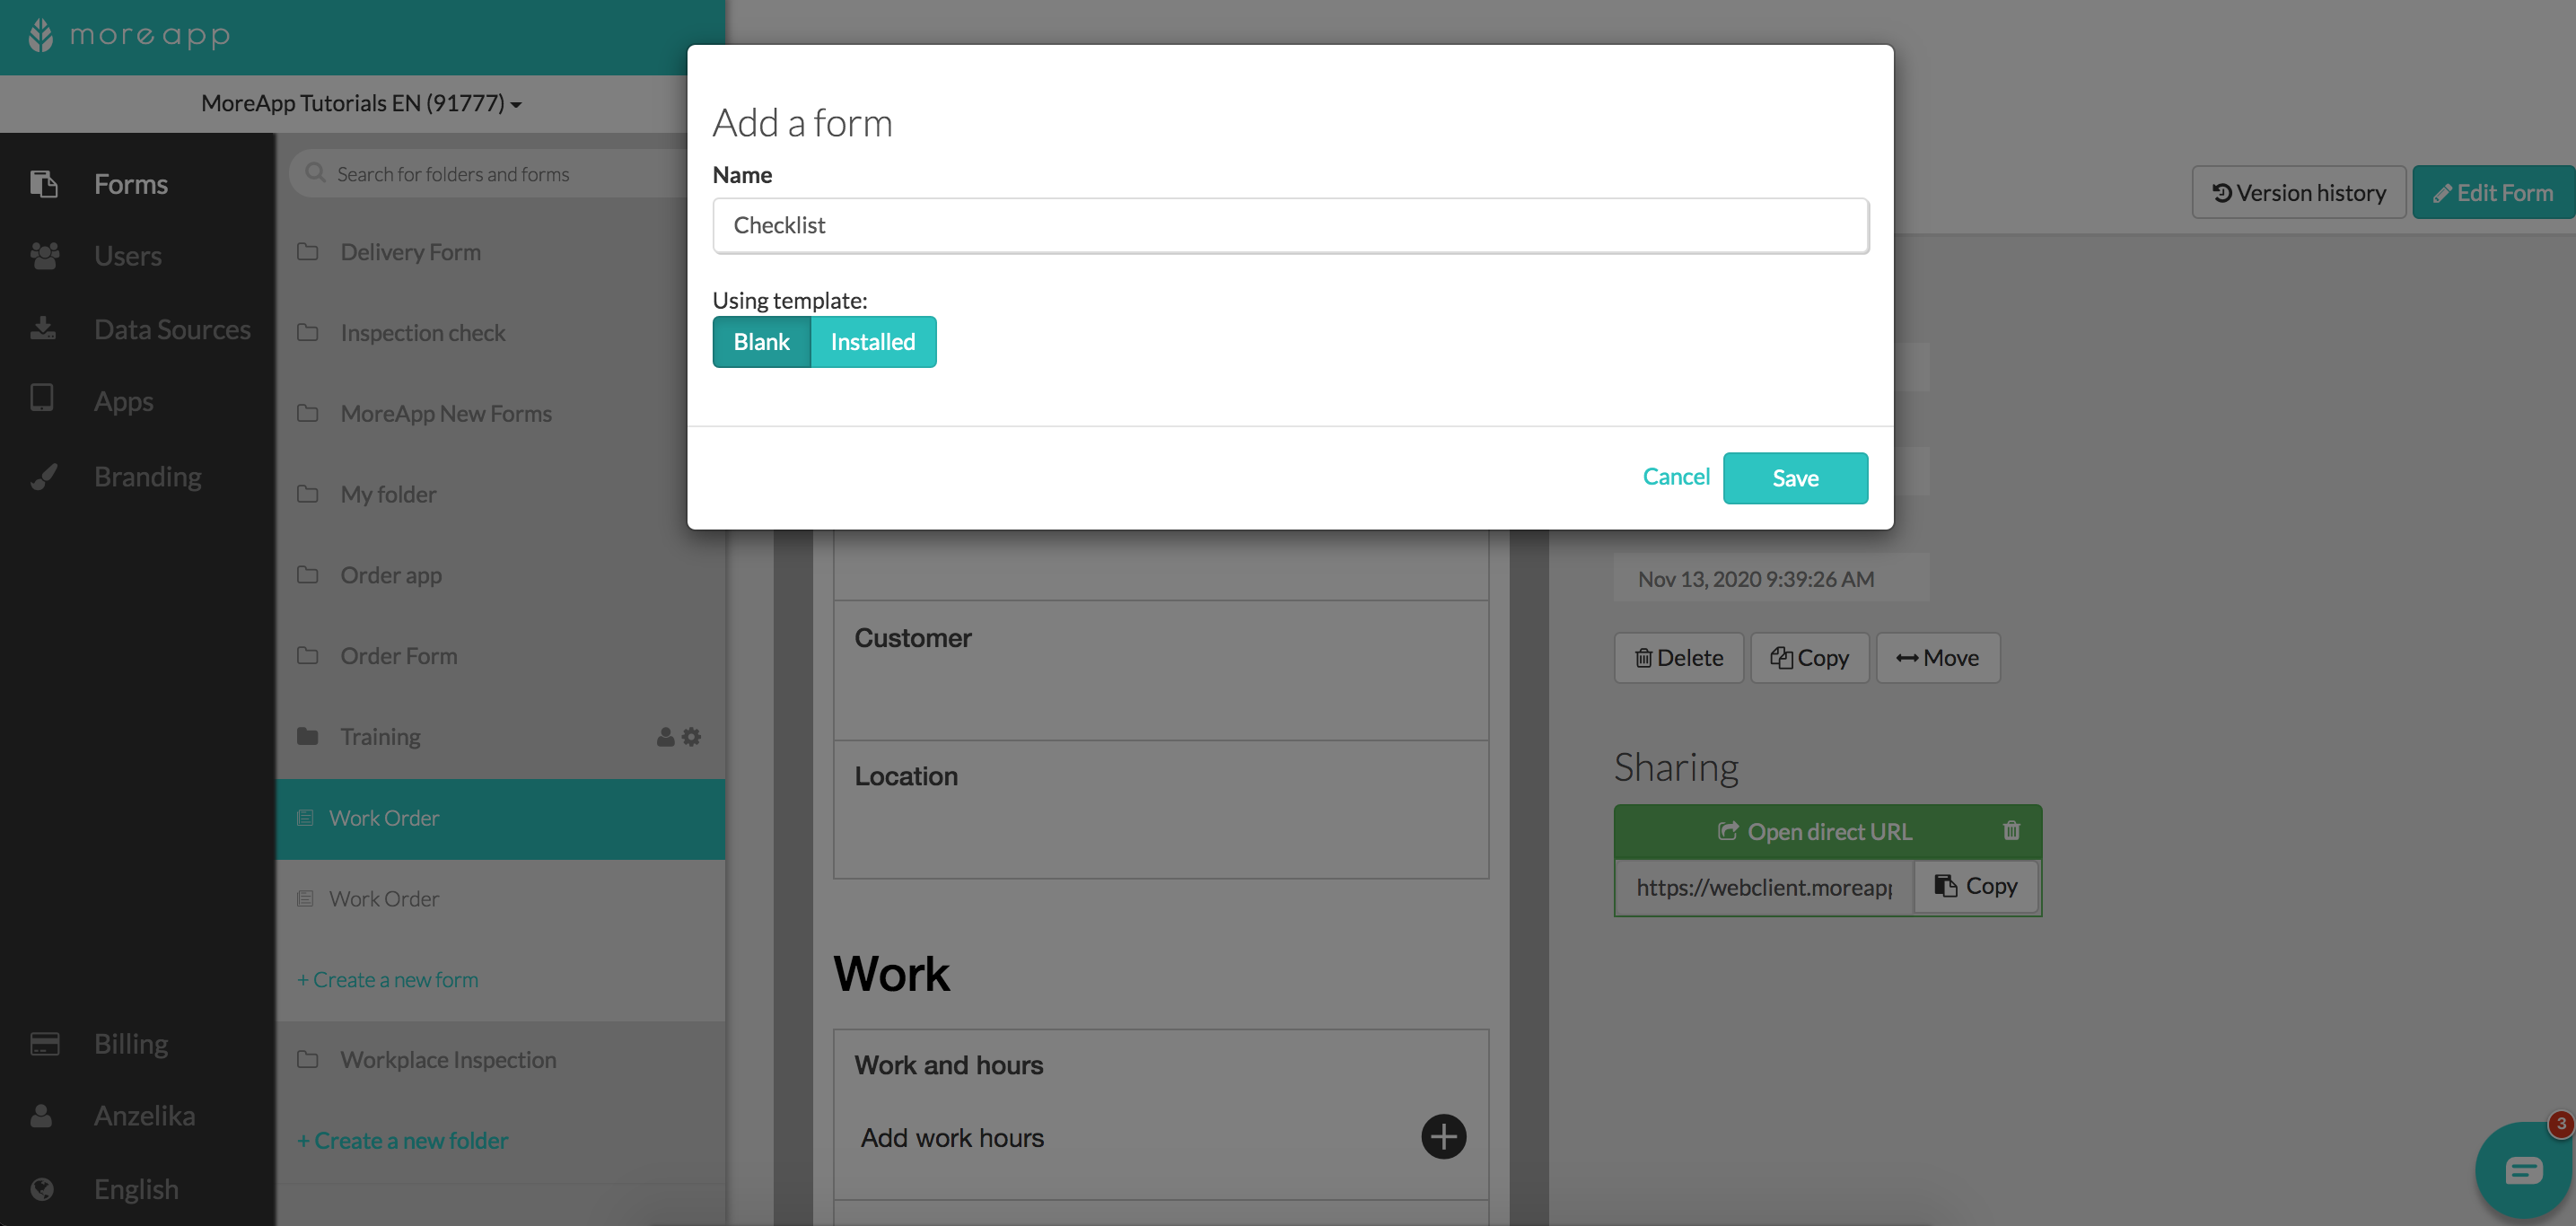
As an example, we will build a checklist to inspect a vehicle. First, login to the MoreApp Platform and go to the Forms tab. + Create a new folder and + Create a new form. Select one of our checklist forms, such as Vehicle, Corona, EHS, Cleaning, COVID-19 cleaning, and Safety checklists, or start with a blank form. Name your form in the new window and click Save.
2. Select widgets
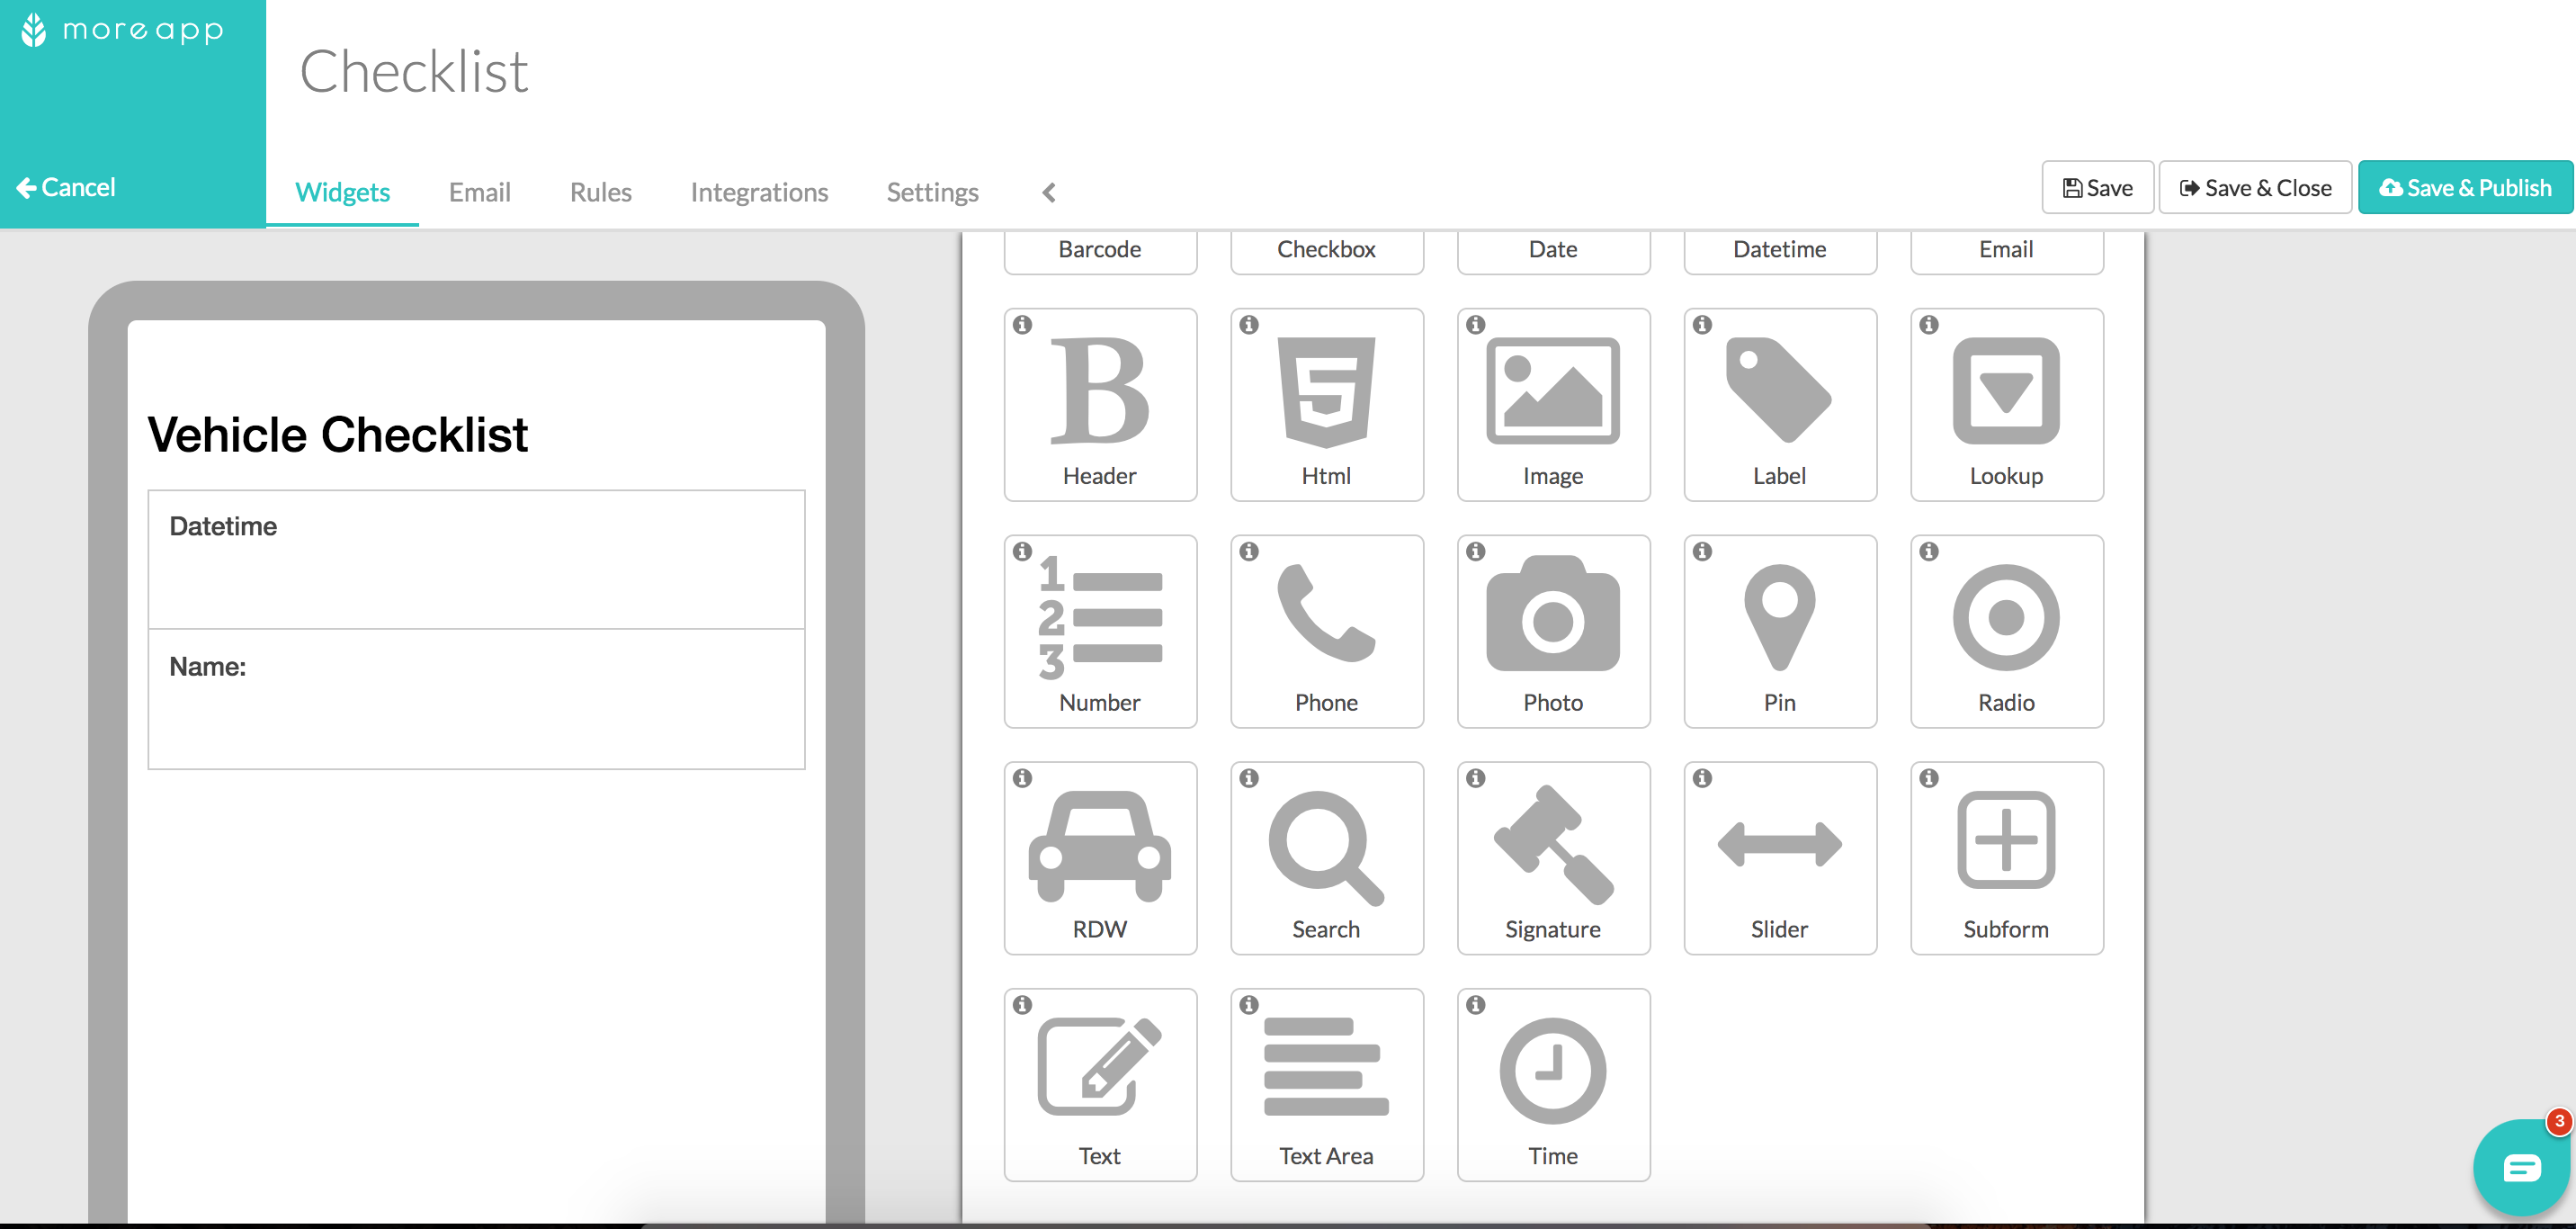
Now, to create your checklist form, you will need to add the relevant widgets. To do this, simply drag and drop them into the form or double click on the desired widget.
Depending on the type of checklist you wish to make, you will need to use different widgets to customise it to your liking.
You can start by using the Header-widget, Text-widget, and Date-widget so that the person who performs the check can enter any relevant general information.
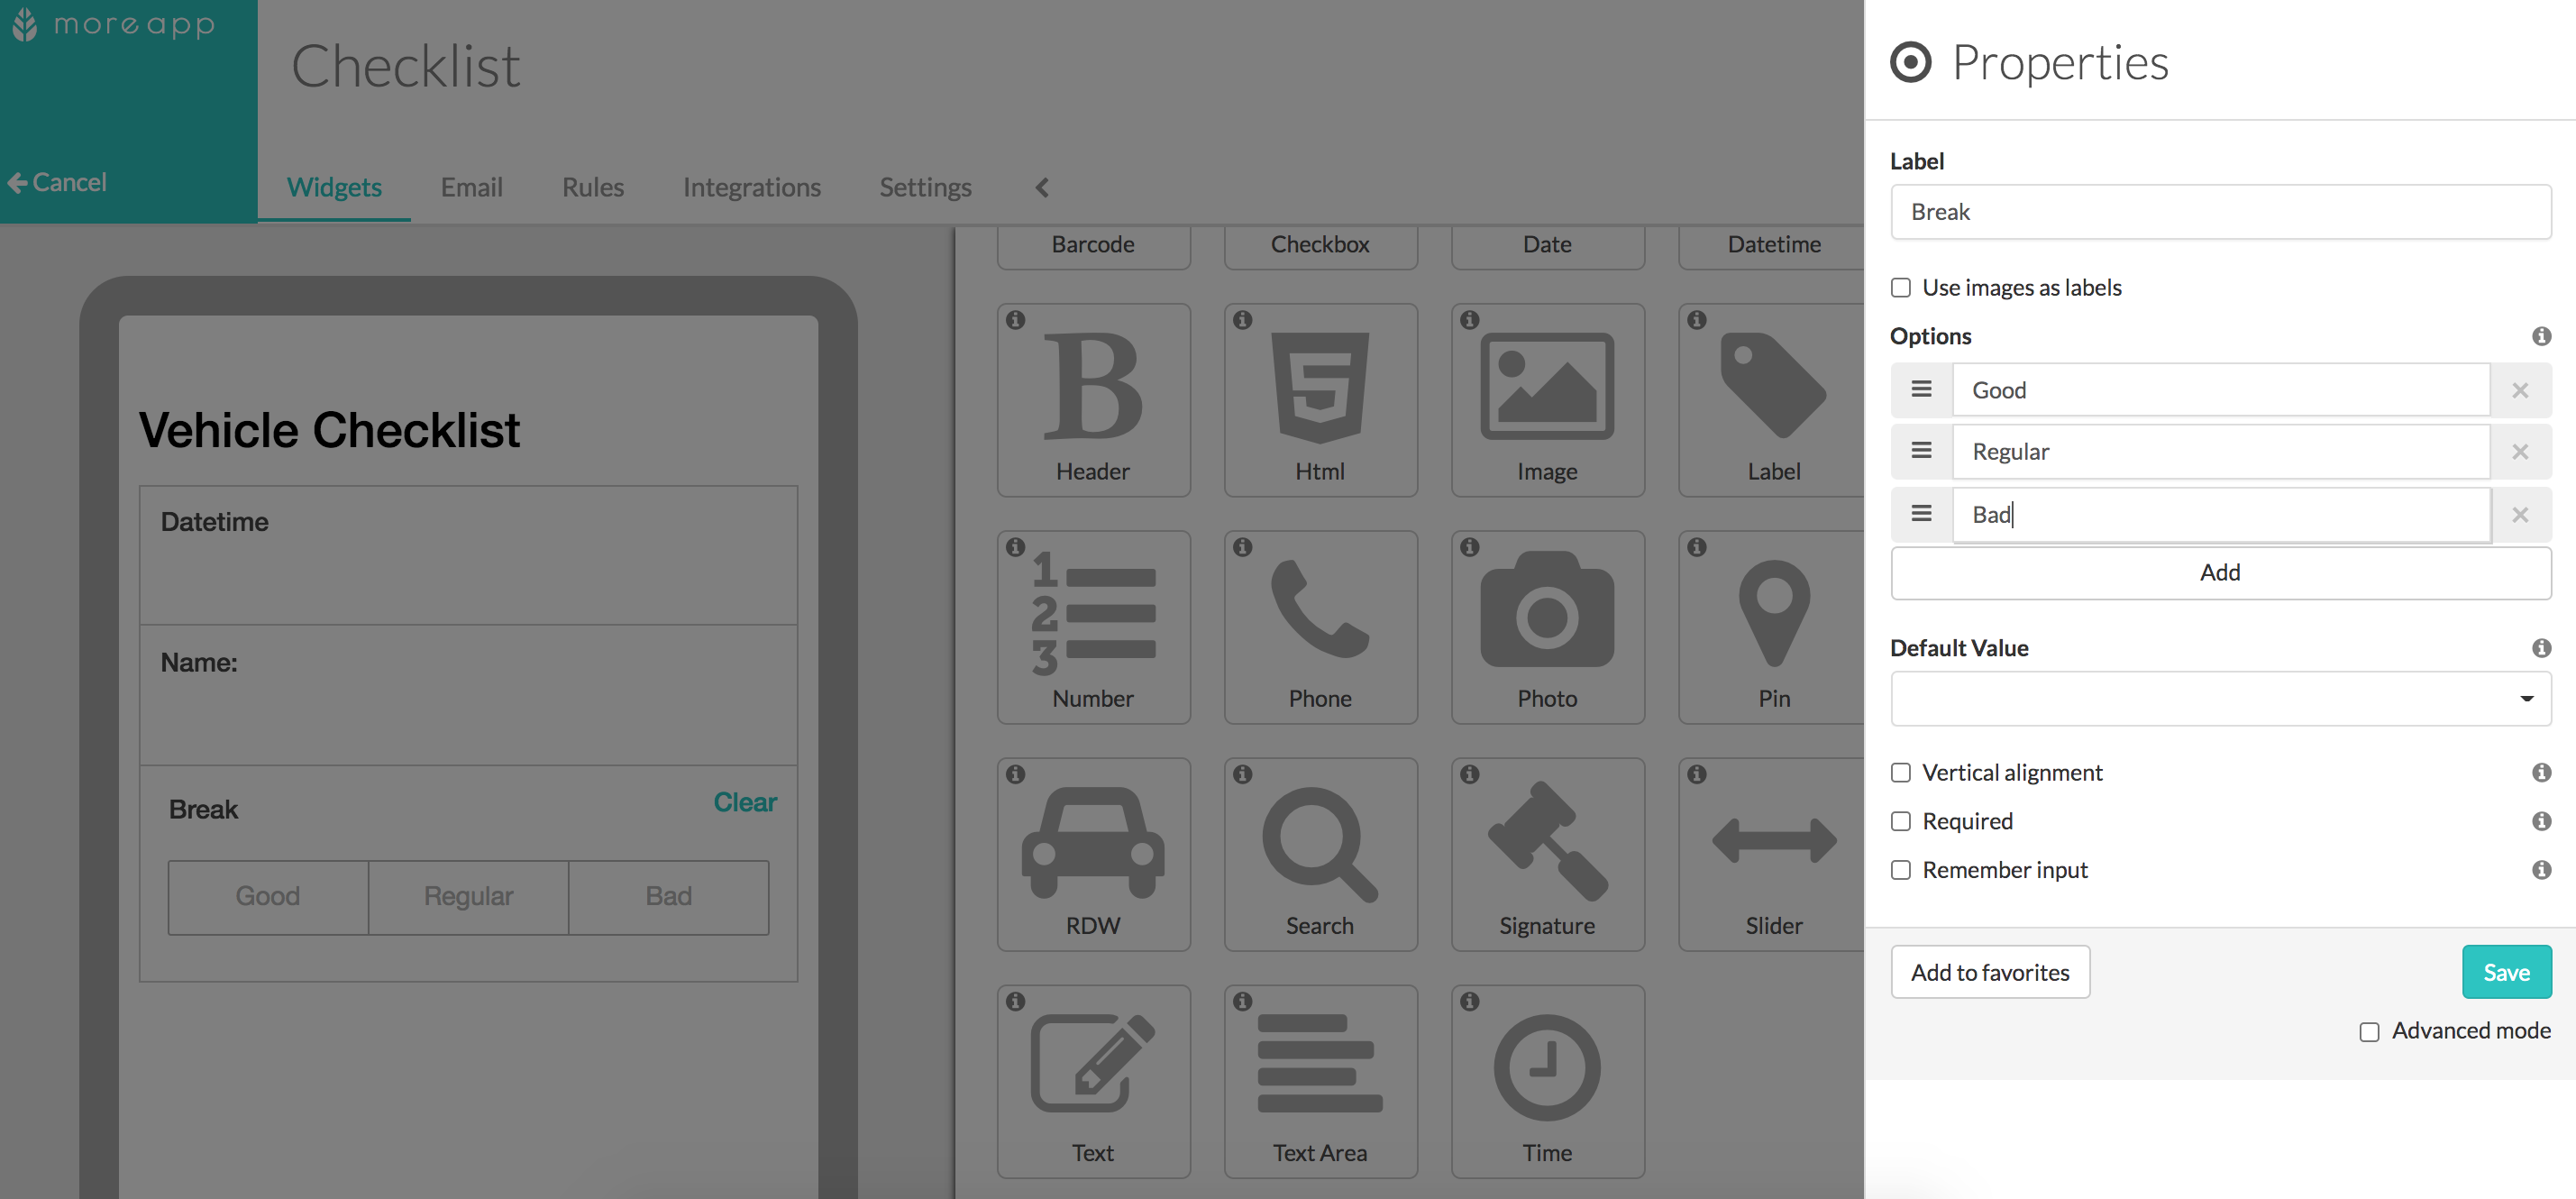
Using the Radio-widget you can add different points that need to be checked. You can configure the answers using text or images. You can choose the style of the widget with a vertical or horizontal alignment.
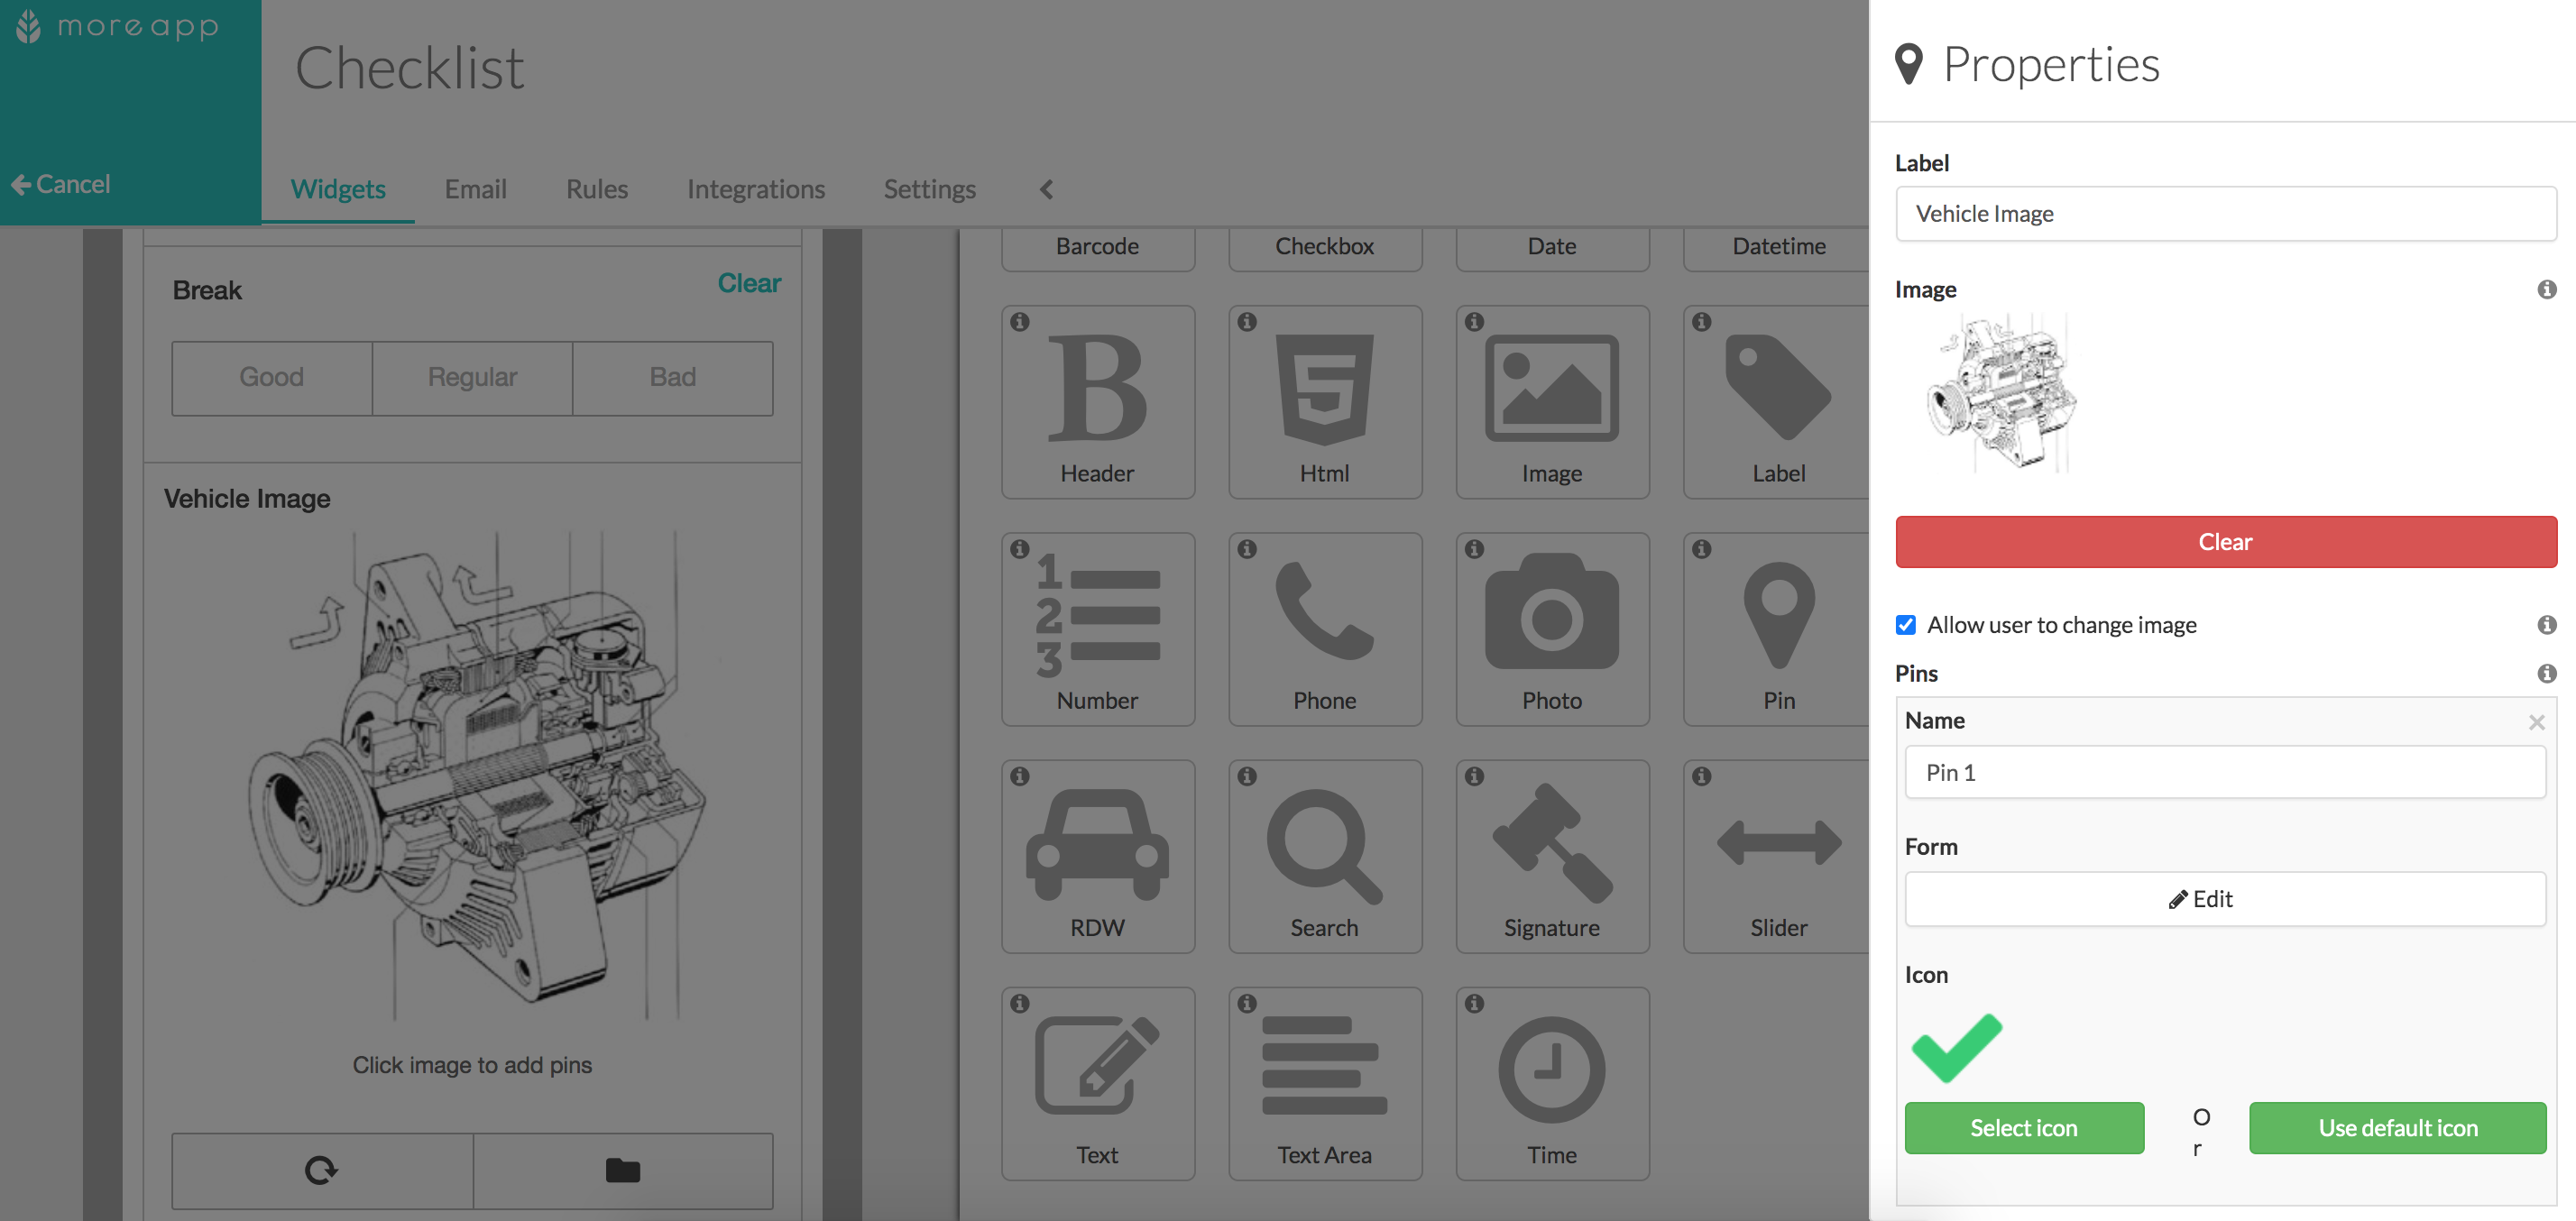
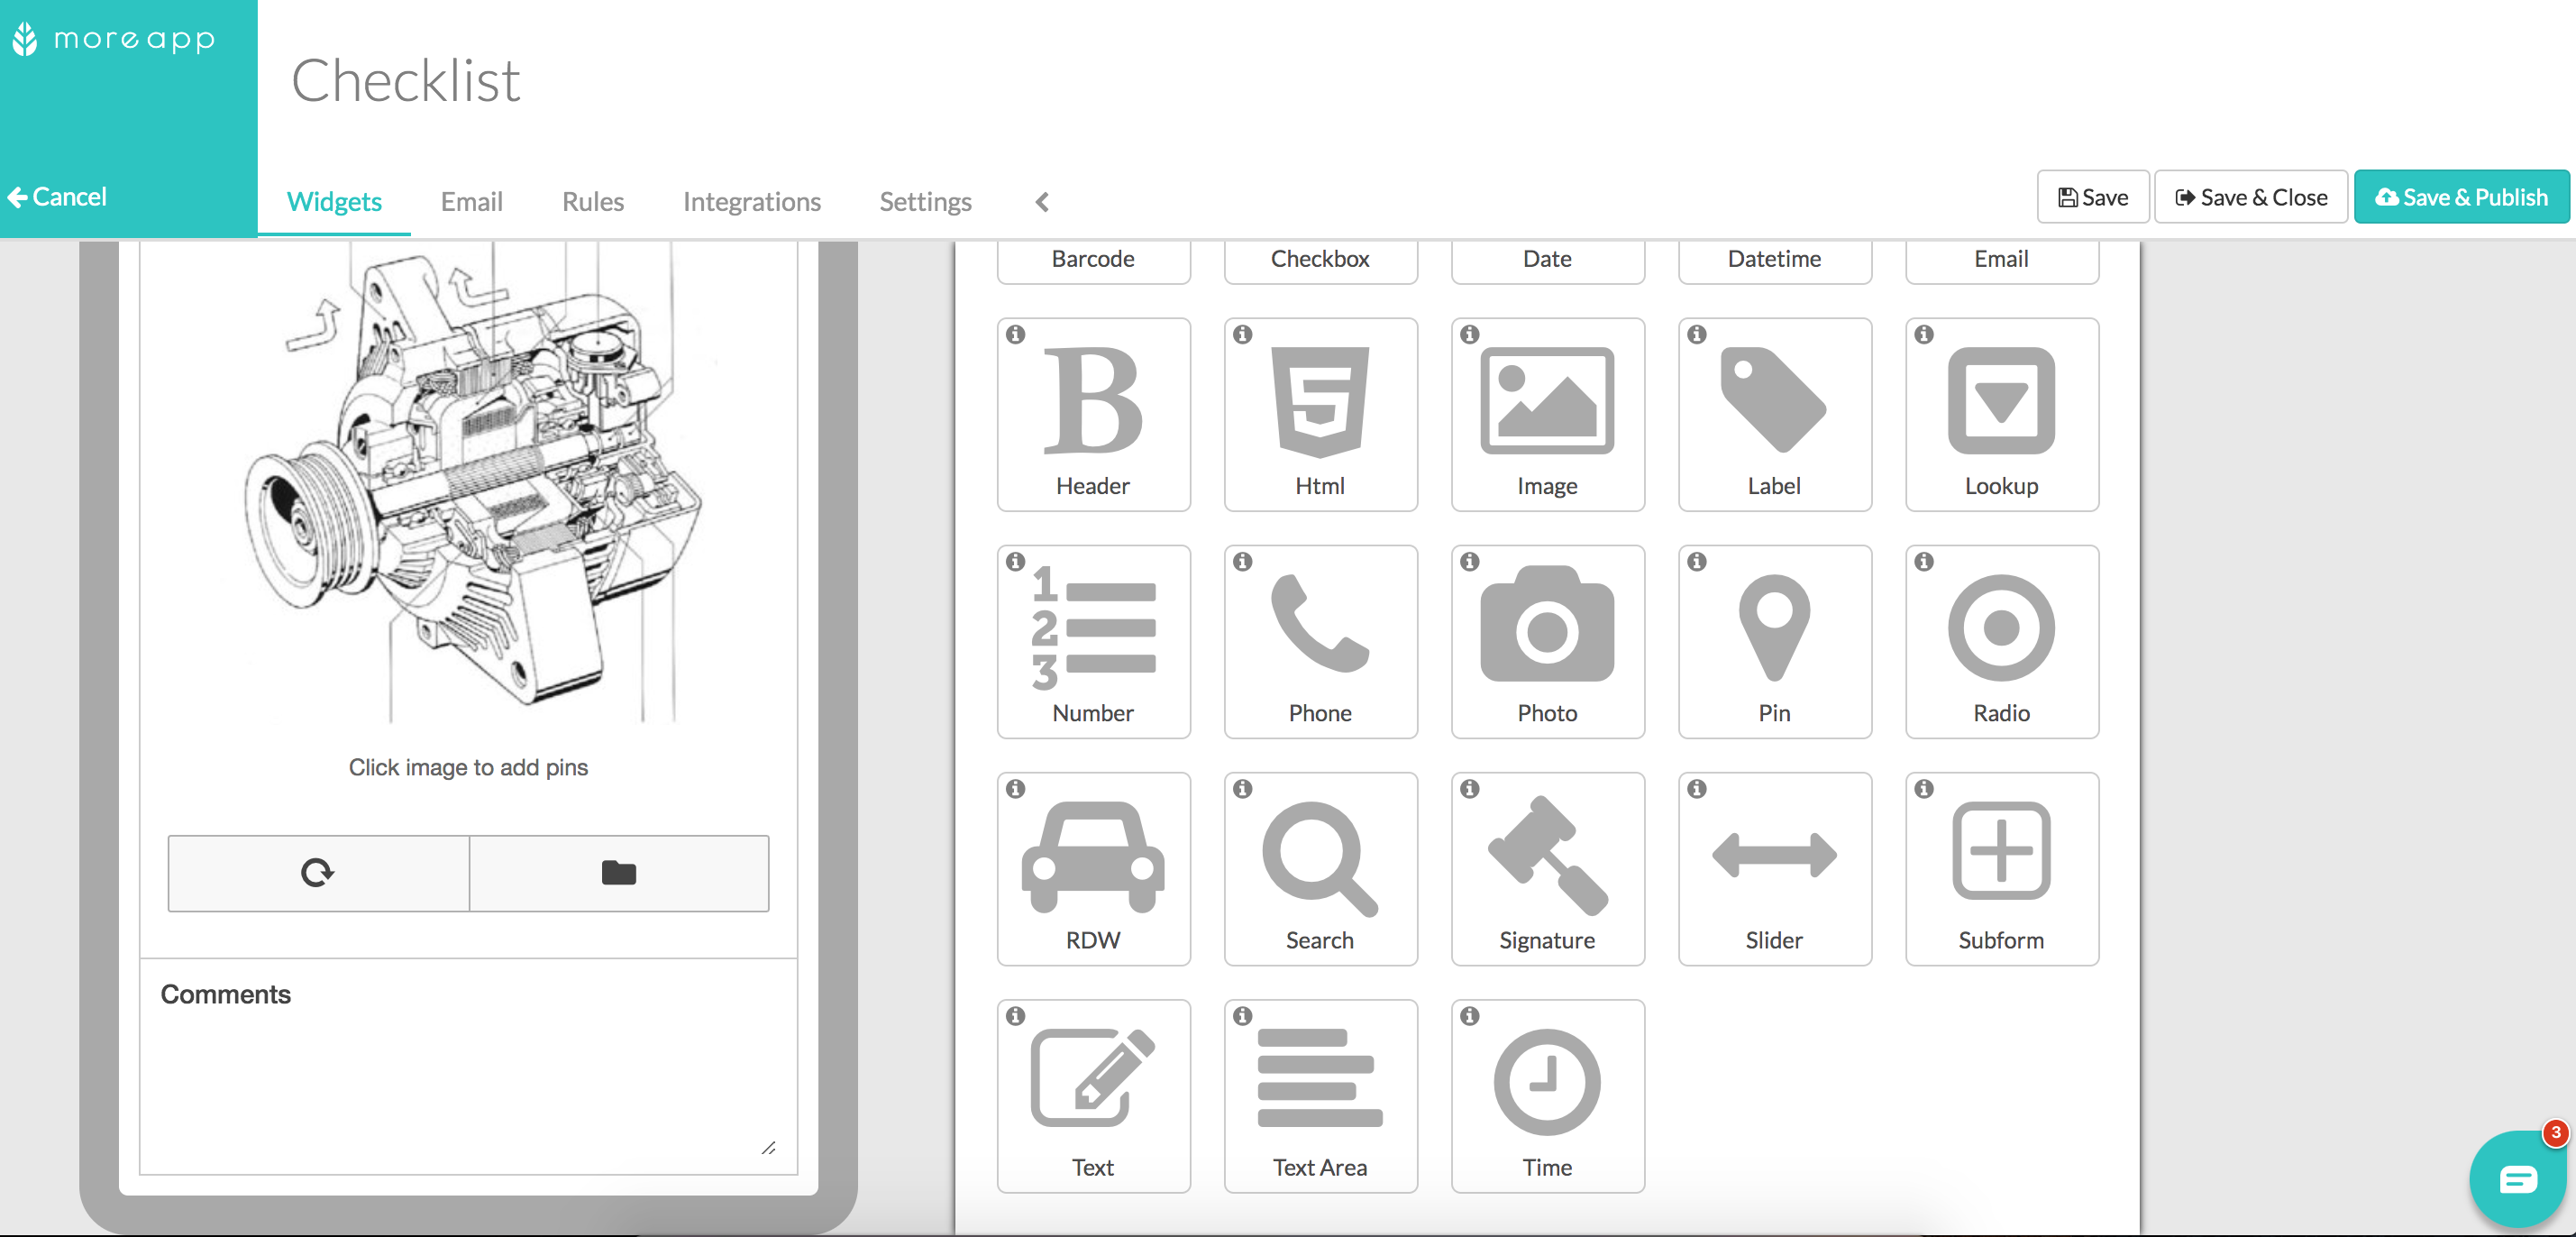
You can use the Pin-widget to specify positions on a map, floor plan or photos and add any additional information to your form.
With this widget, you can add up to 10 different pins to your digital form and create a subform for each pin to add additional information and explain it in more detail. You can add icons yourself or use the default ones that we offer in the Platform.
Once this is done, you can use the Text Area-widget to note down any observations or final comments on your checklist. Use this widget for a greater capacity of characters and to provide more detailed information.
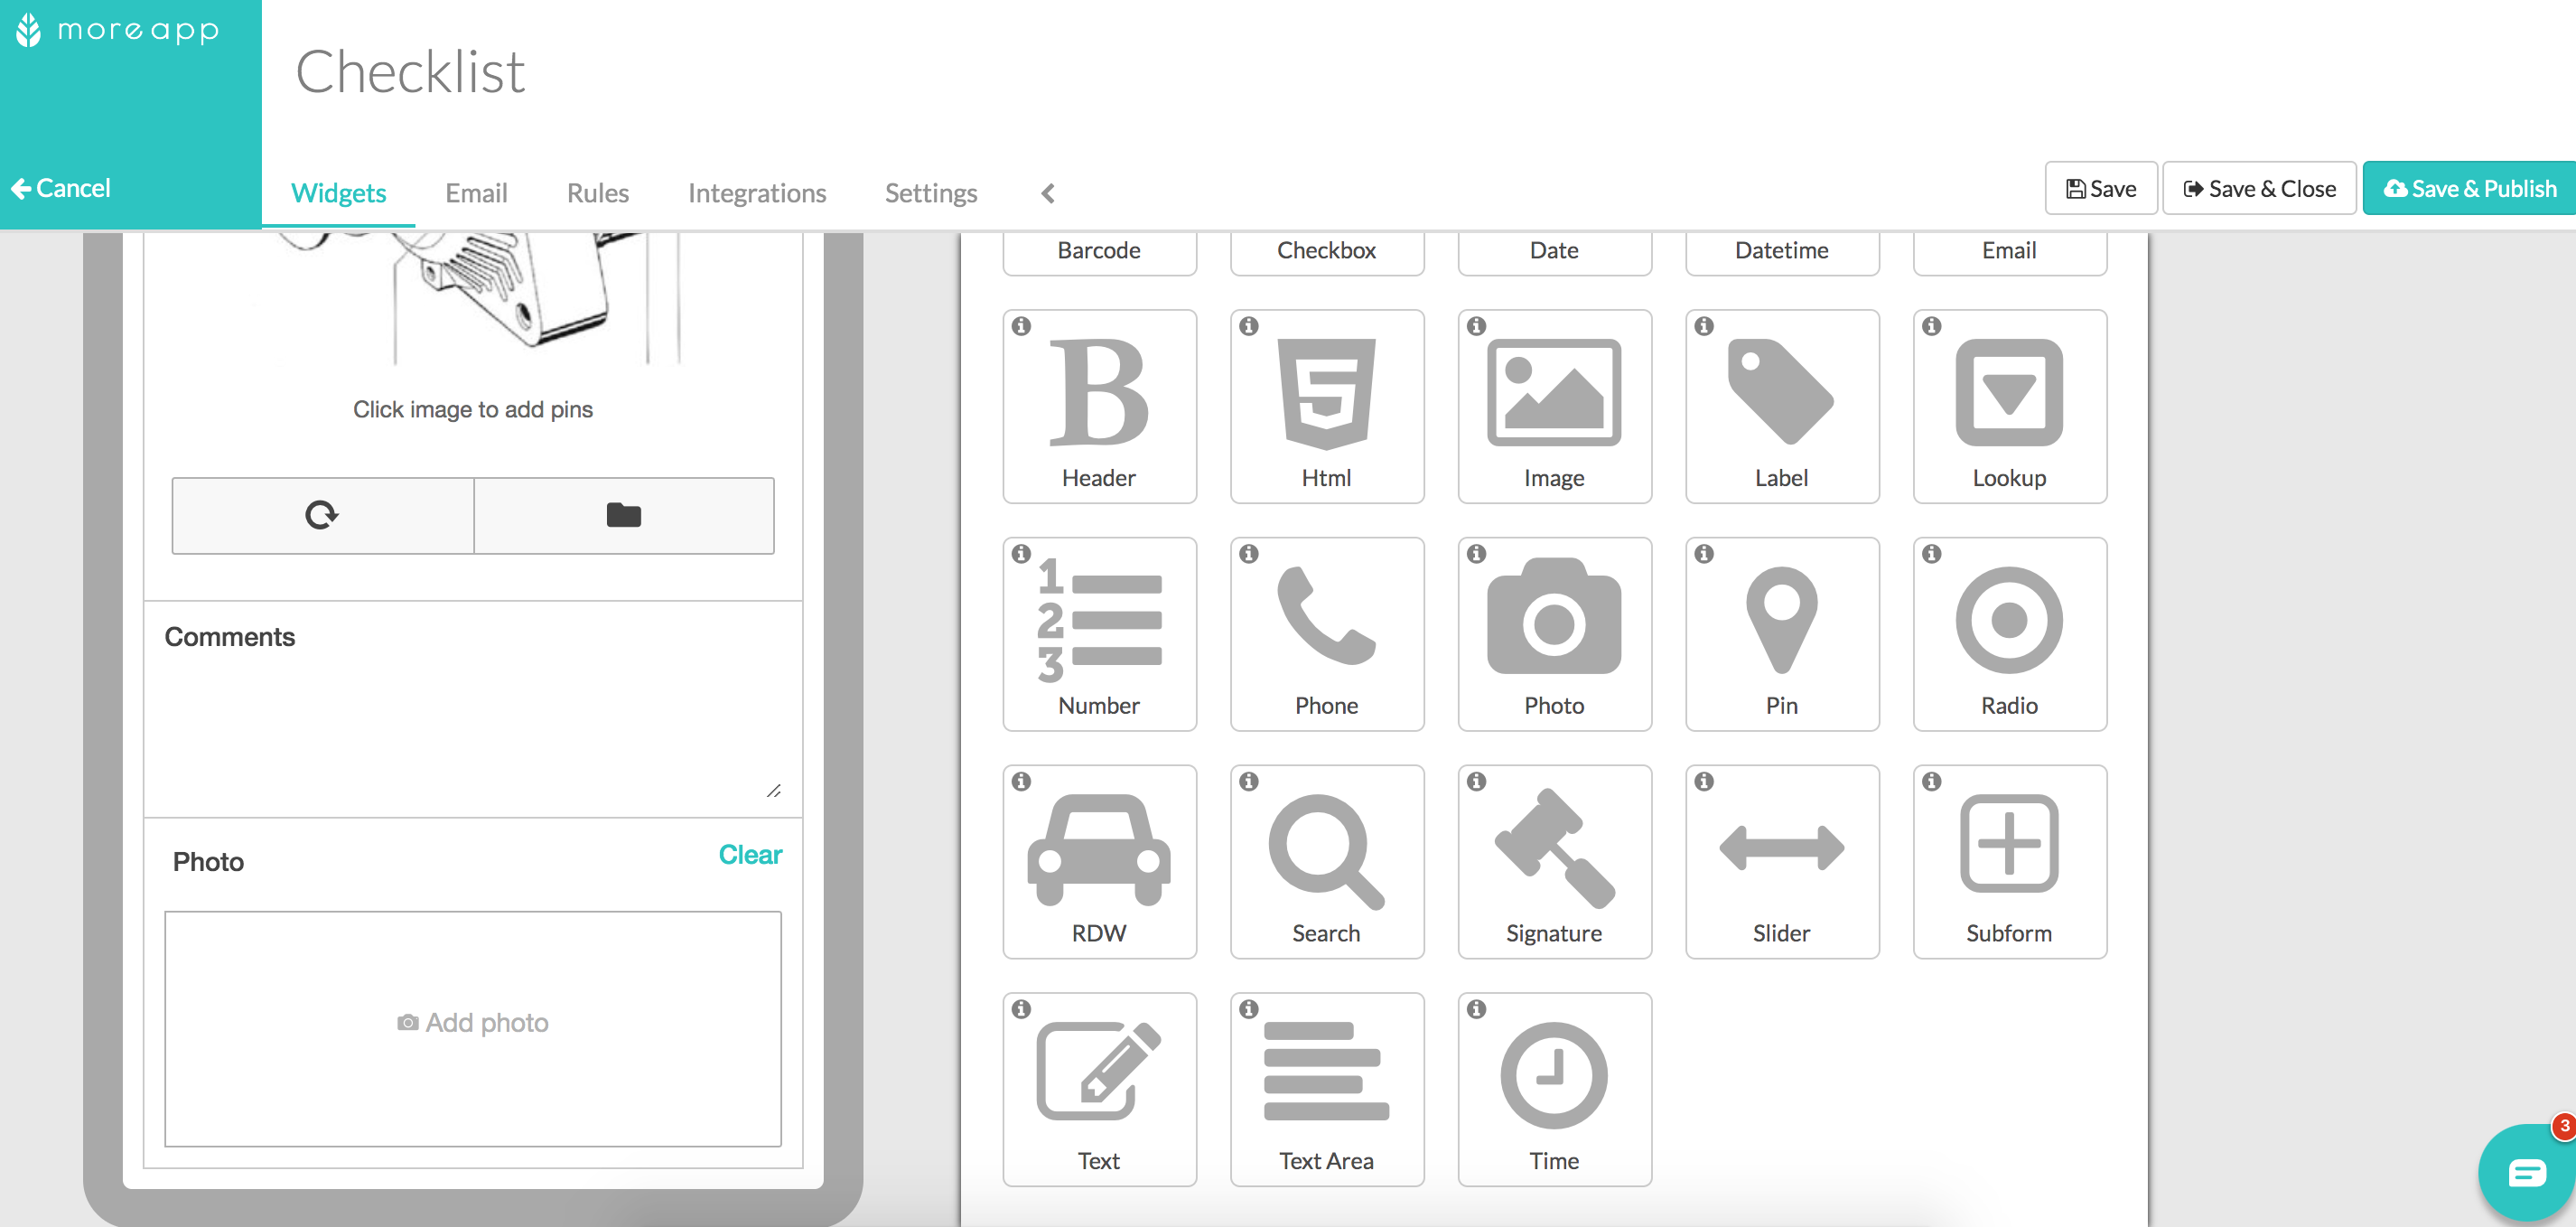
Using the Photo-widget you can insert a photo to your form using the camera of the device or add one from your gallery. The photos will appear as thumbnails in the PDF document and you can also attach them to the email.
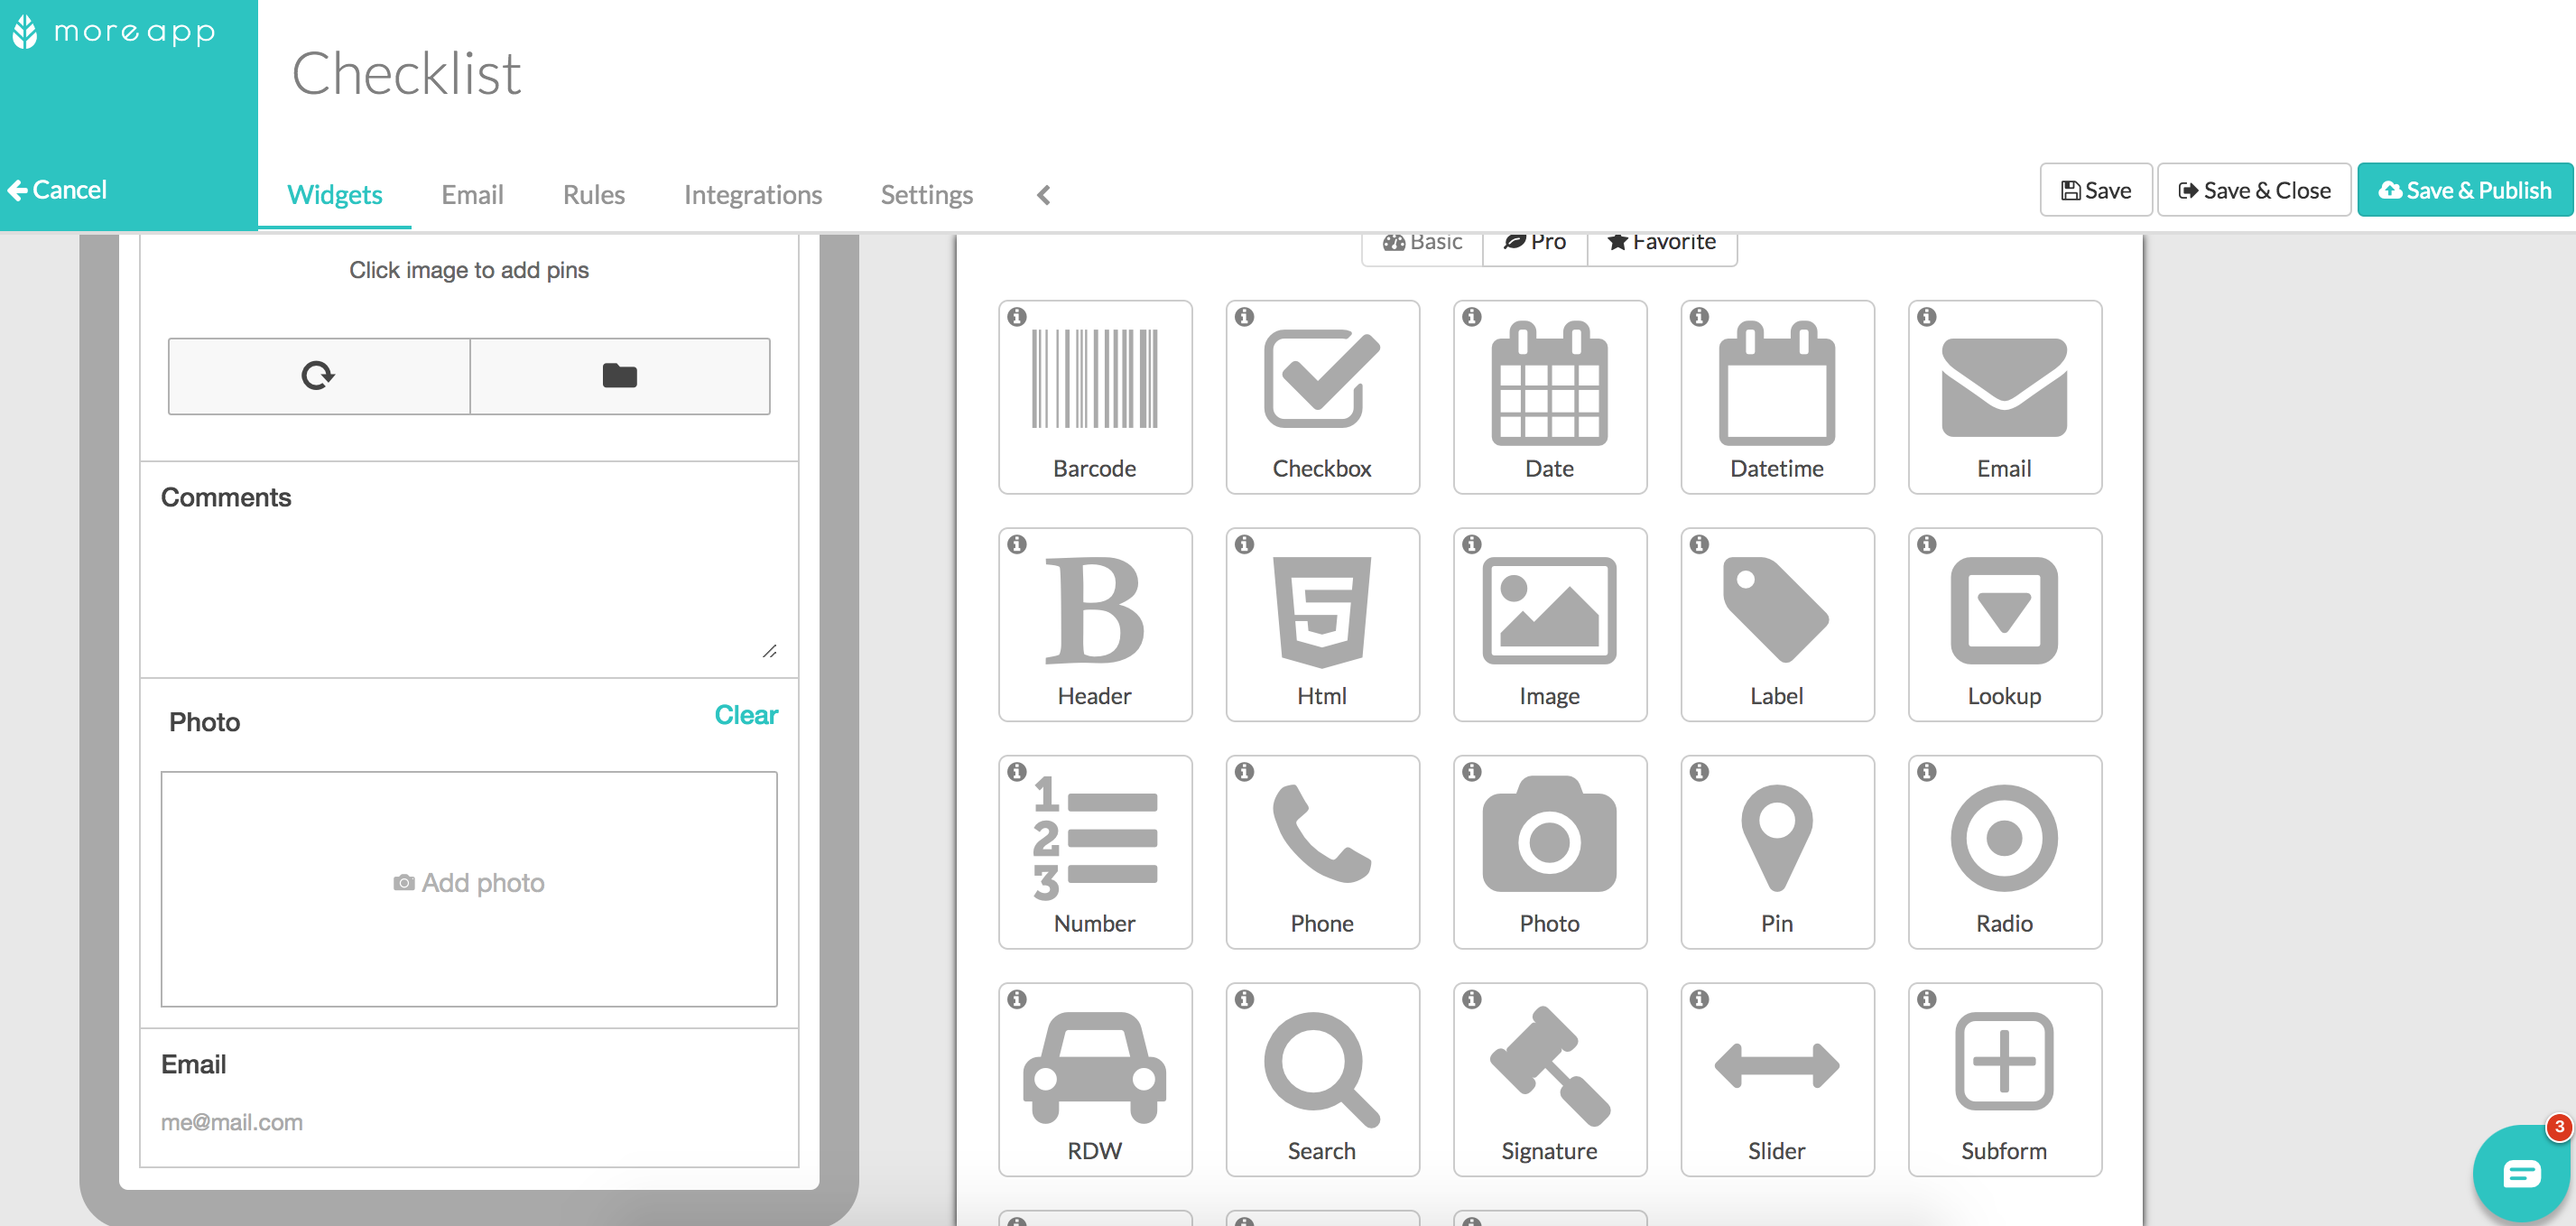
Add an Email-widget to send a copy to a recipient you do not know beforehand.
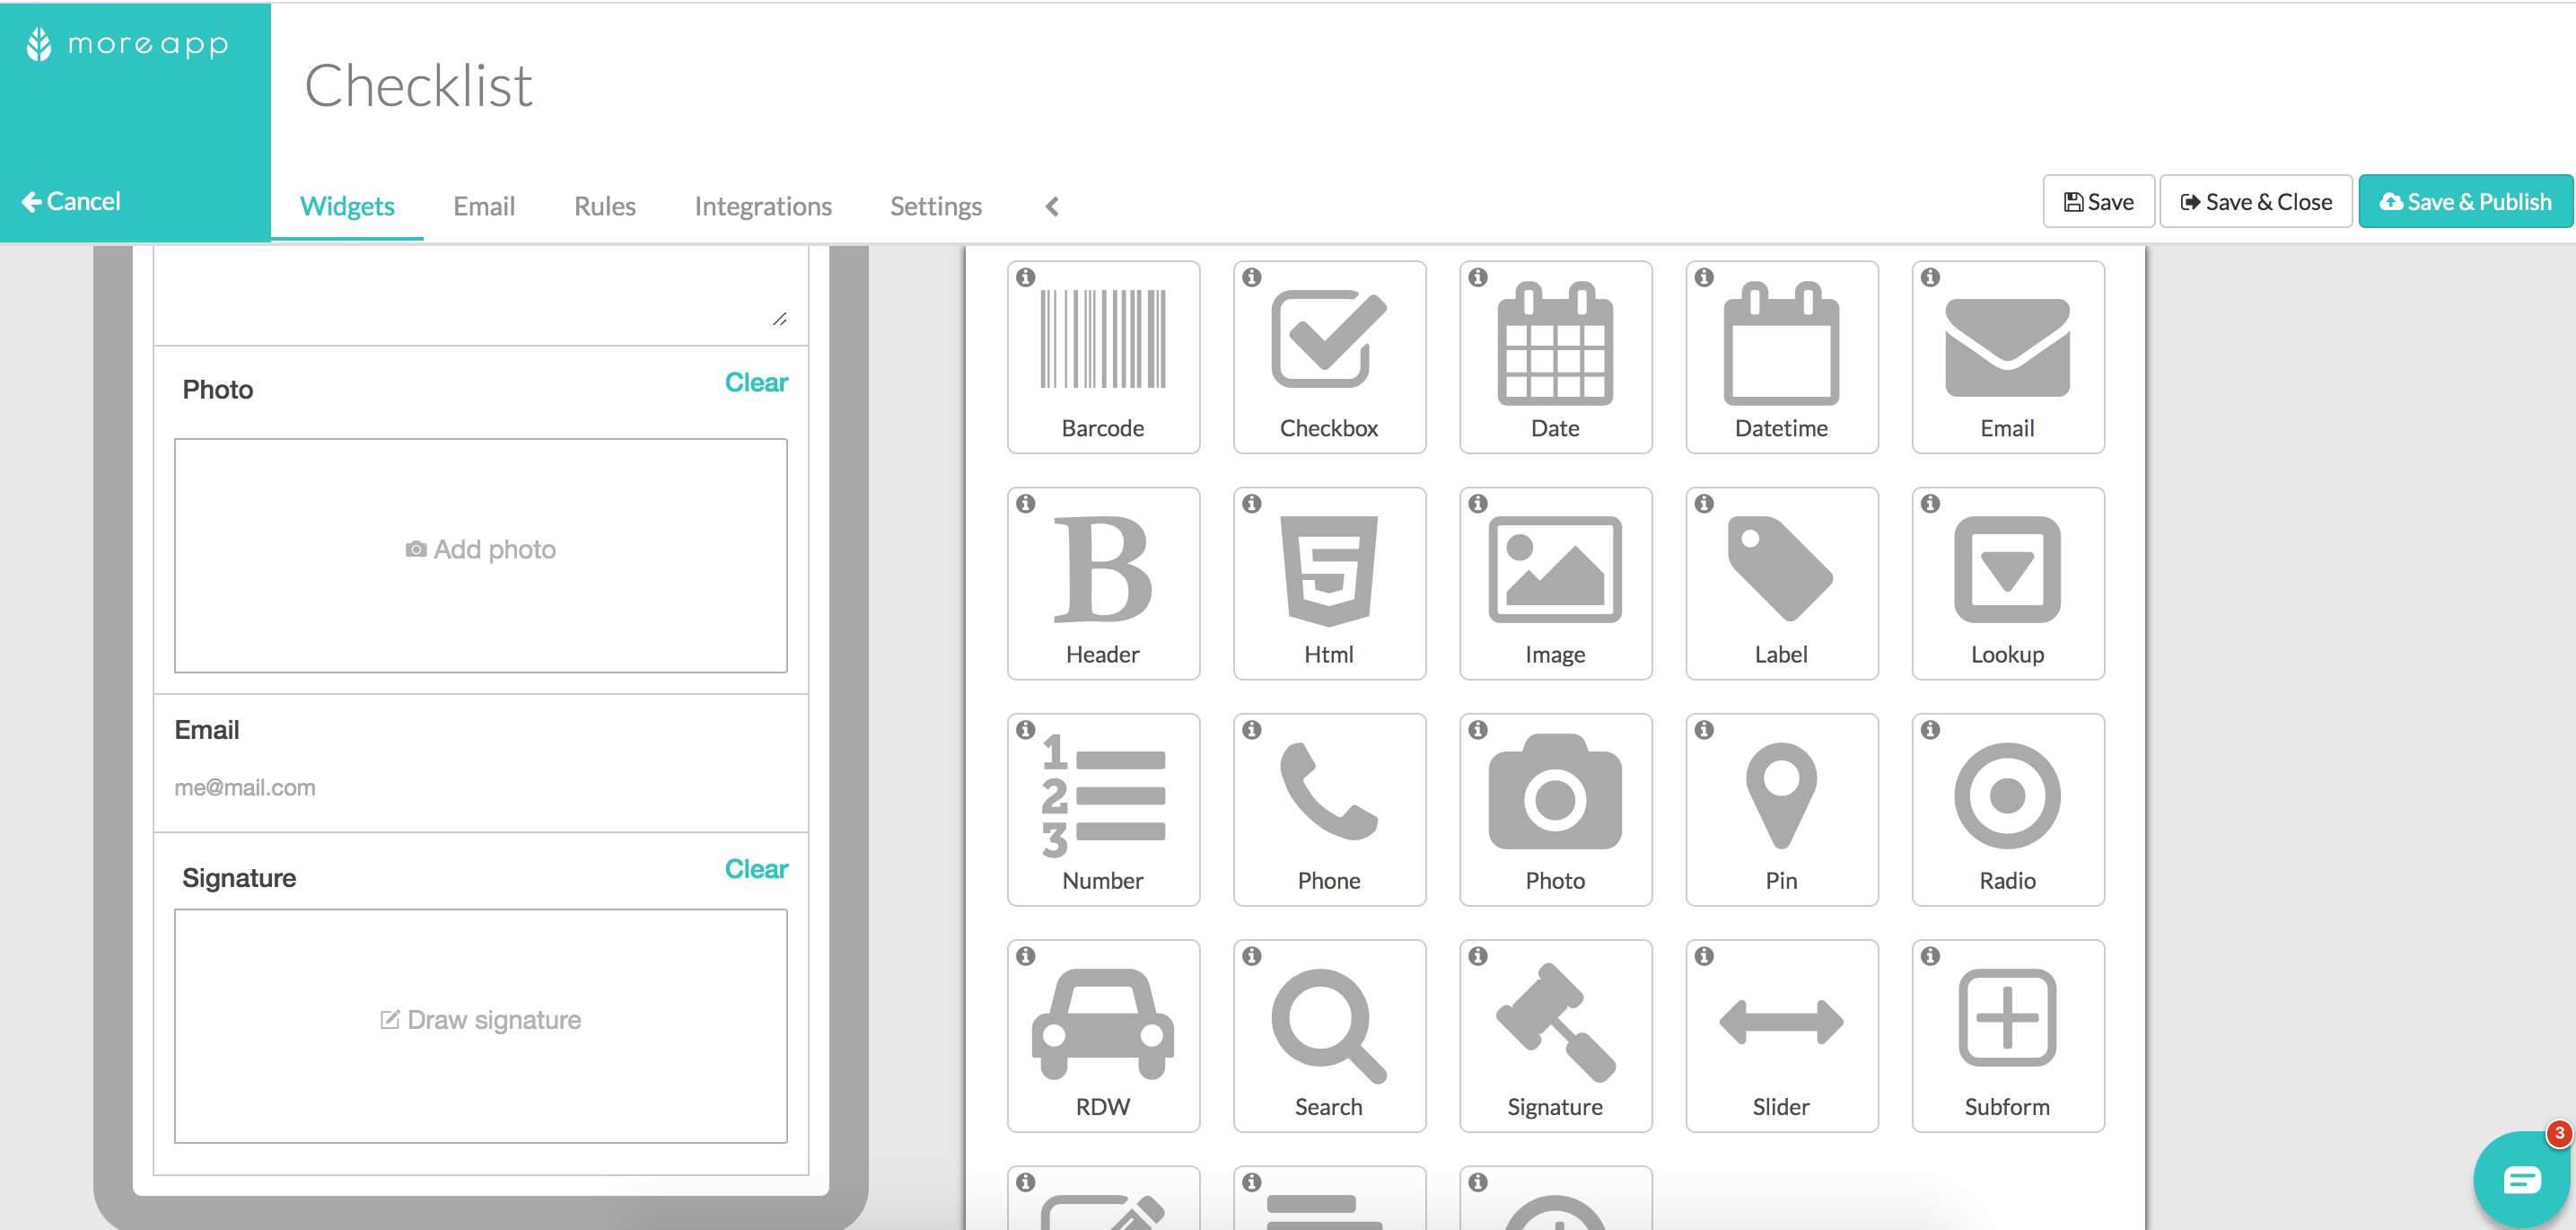
Finally, use the Signature-widget to formalise the checklist. At the end of the form, the person in charge can draw a signature on the touch screen of the device using their finger or a stylus.
3. Congratulations!
You now have successfully created a digital checklist!
Want to stay up to date with our latest tutorials? Go to YouTube and hit the Subscribe button!
